If you plan to climb Pizzo Emet (Piz Timun) it is best to start from the east side of the Lago Montespluga. This is the route I followed, and it is described here.
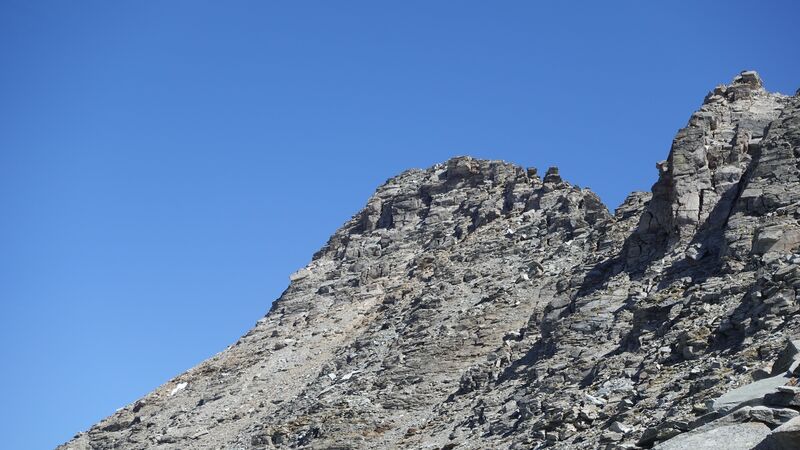
Pizzo Emet (Piz Timun) – basic data & information
- Coordinates, latitude, longitude: 46.48610 °N / 9.41390 °E.
- Normal route type: walk-up.
- Elevation: 3211 m (10534 ft).
- Elevation difference from the parking: 1303 m (4275 ft).
- Time needed to get to the summit: at least 5 hours.
- Huts/shelters:
– Italian side: Rif. Giovanni Bertacchi.
– Swiss side: none. - Towns for supplies: Campodolcino and Madesimo on the Italian side.
- Useful map: Valchiavenna Val Bregaglia, Kompass 92, 1:50000.
Name variants
Clearly, Pizzo d’Emet is the Italian name for this peak. But in many sources you will find it as Pizzo Emet or Pizzo di Emet.
The name Piz Timun is likely its Swiss variant because the peak is on the border between these two countries.
Access roads
This is the Spluga Pass area which is the border crossing road between Italy and Switzerland. So the access roads are the same as those for Pizzo Tambo and Pizzo Quadro. You can see all in the interactive map below. If you zoom out you will be able to see the wider area.
- The yellow marker shows the position of the parking on the east side of the Montespluga lake.
- The blue marker is the position of Giovanni Bertacchi hut.
- If you zoom in you will see the route from the parking. The rest is less visible so I have roughly marked it with the orange line.
- The red marker shows the summit of Pizzo Emet (Piz Timun).
Route description
The parking from which the route starts is directly above the road, it is shown in the picture below. The area was in clouds when I took the photo, so the lake is not visible, but it is under the road on the left side.
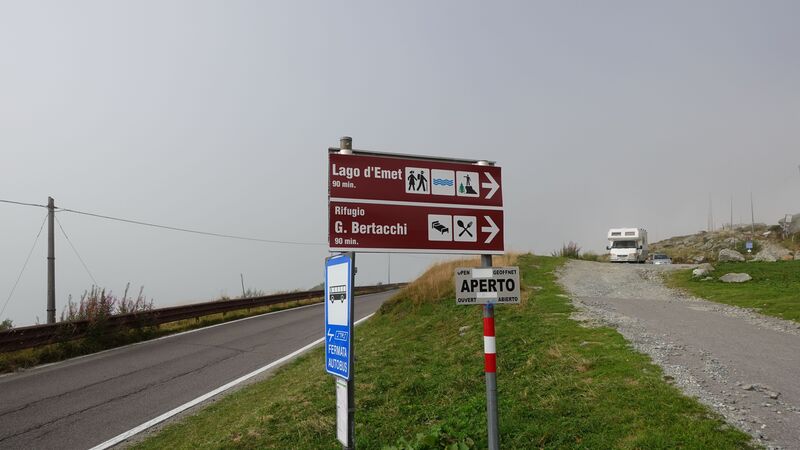
From here you simply follow the signs to Rif. Giovanni Bertacchi (2175 m). If you have a bicycle, this is the route where you can use it. As you see, the sign suggests that you need 90 minutes, but this is not so. You can easily get to the hut in 60-70 minutes.
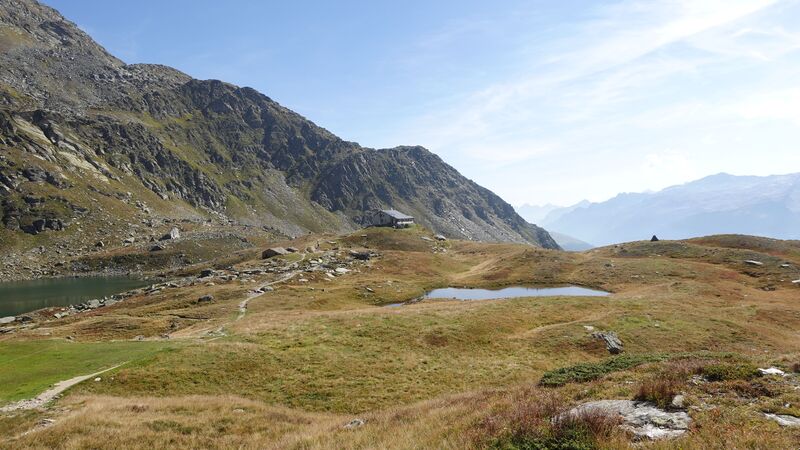
The picture above shows the hut and Lago Emet partly visible on the left. This is a flat and pleasant grassland area where you can come and enjoy even if you do not plan to get to the summits around.
From the hut, your direction will be towards Passo Emet (2294 m) which is in the east direction.
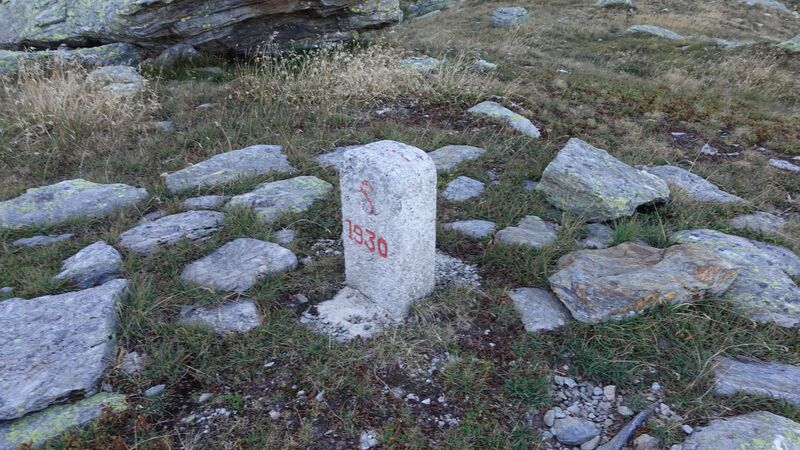
You will have several border stones on the way up, one is shown below. You see the letter S, so this is the Swiss side, on the other side of the stone is the letter I for Italy. So you will be in both countries as you walk up.
The picture below shows the view back, this is from the point above Passo Emet. Note that Montespluga lake is also partly visible. The high peak in the background on the right is Pizzo Tambo which I climbed a few days before.
The route is still easy to follow, and this will reman so until you get to a large area with boulders. At this time you will walk in the south direction and you will have a saddle high above you, which is at the elevation of 2843 m. In this part here the route is not so easy to navigate and the rocks are unstable.
The south-west ridge part
From the saddle you will have views to the south side of the mountain, and this is the place to which the routes from the south converge.
Now you continue by following the ridge which extends in the north east direction all the way to the summit. Most of the time you will be on the south side next to the ridge (on the left in the picture below), with occasional places where you are directly on the cliffs hanging over the north side.
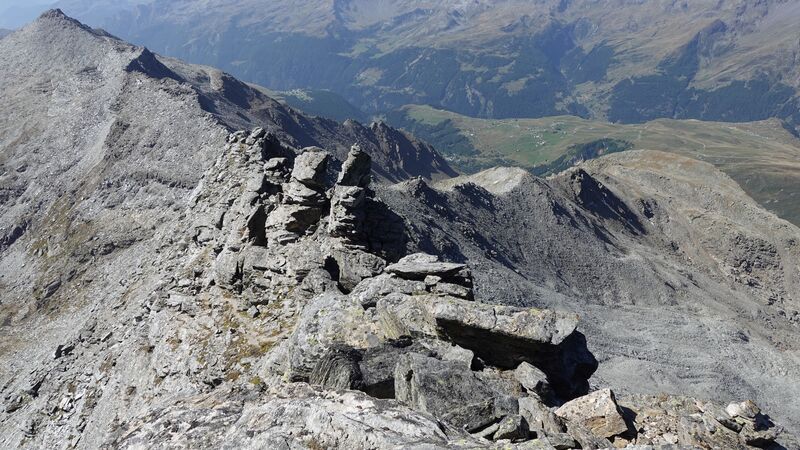
The route in this part is easy to find but not easy to climb. There are many steep and mildly exposed sections, so it is essential to remain focused.
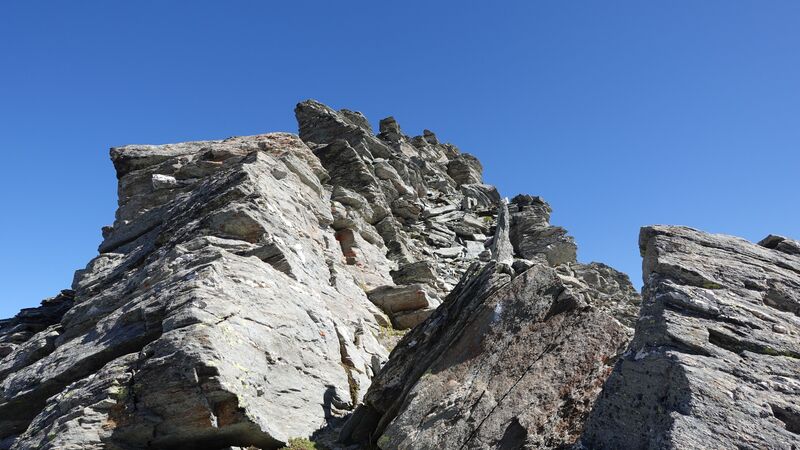
It is a mystery to me what keeps this mountain up and standing, it all looks like a mess that will collapse under my feet. In some sense, it reminded me of Pizzo Quadro summit.
Gaps & jumps section
Before the tour, I was watching some videos, and I knew there would be a place where it is necessary to jump from one cliff to another. You can see this in the video below at 9:30:
The span between the cliffs is not big, so it is not difficult to jump across those gaps. But the cliffs on their two sides are not on the same level, so make sure that you do not roll back when you land on the other (higher) side, this would end up tragically.
I could not have a great angle to make realistic pictures from the gaps. Those that I made do not show how they look in reality, but here is one:
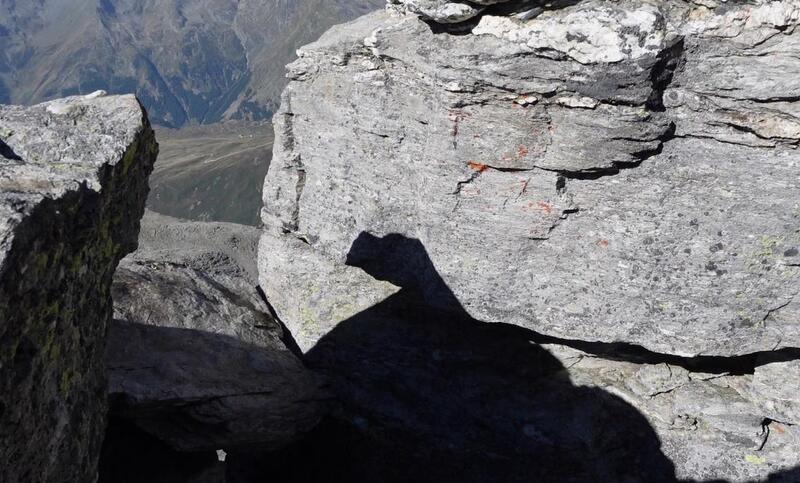
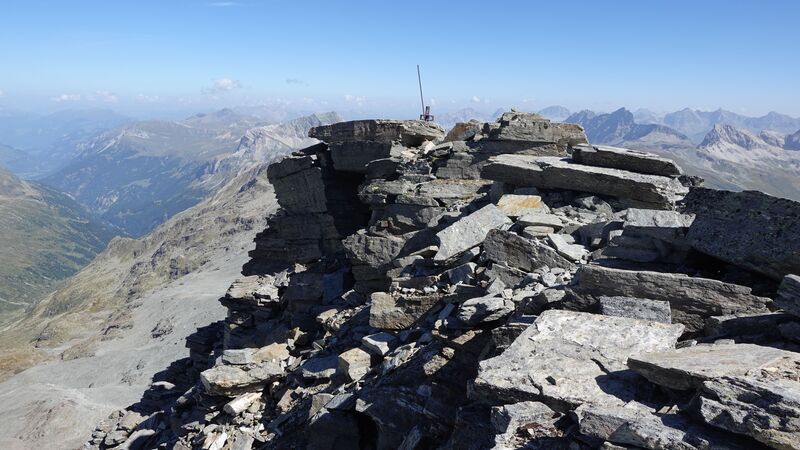
Anyway, after the gaps, the summit is just a few steps away, here is how it looked:
Alternative route
Yet another normal route starts from Madesimo valley shown in the picture below. I have visited the place, but did not walk from that side, so cannot provide more first-hand details about this route.
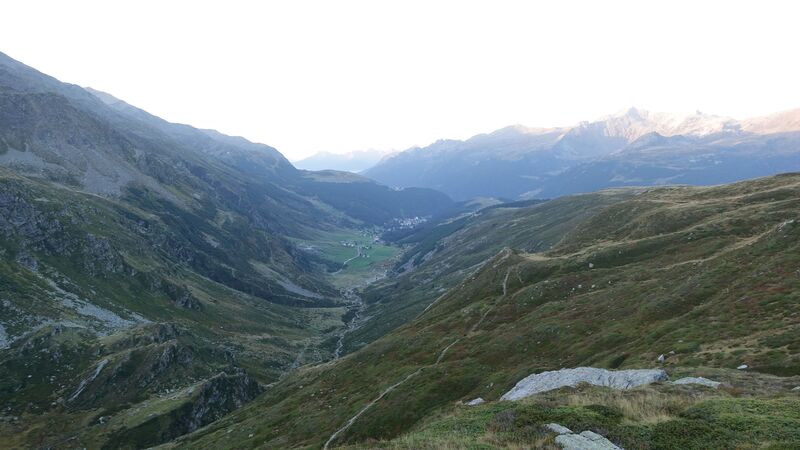
The village is narrow, so just keep driving through it and you will get to its north side (visible in the picture) where should be a parking from where the route starts. This is Macolini area, just to know if you search for it on the map. From there, your direction should be to Rif. Giovanni Bertacchi and this route will then join the route which I climbed.
But there is yet another more direct approach from the same place, and it goes to the saddle on the final south-west ridge where it again joins the Montespluga route.
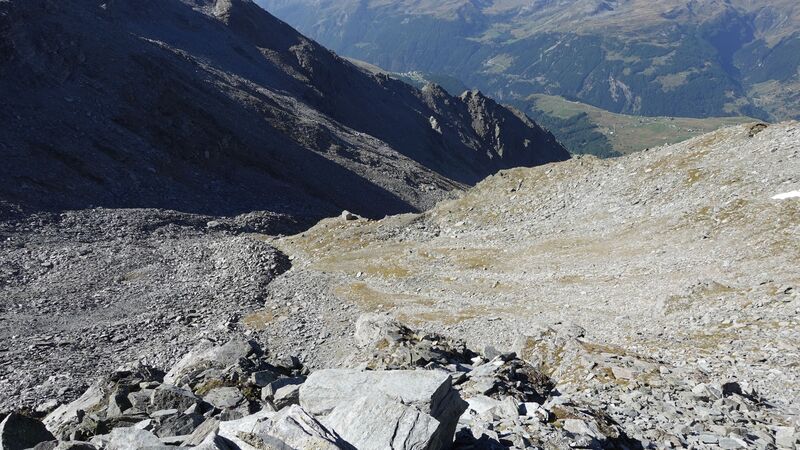
I could see a shelter from the saddle, see the picture below, but did not descend to check what it offers. Its coordinates are 46.460689, 9.399720 and you can find it in the map above if you zoom in and search carefully. It is not marked on standard maps so if anybody knows more please let me know in the comments below. This shelter should not be mixed with Baitel del Flüter which is more to the west, and it is marked in the map which I gave in my separate post.
My climb
I decided to climb from Montespluga because of its higher car access. The other route from Madesimo valley starts from a considerably lower elevation and this makes it much harder. As you have seen above, even my route was hard and long enough.
So I slept in the car on the parking in Montespluga village, and in the morning I drove the short distance to the start of the route. I was on my way up at 6:30 am.
I made a short detour to see the hut, could not see anybody around, it was still too early for them. Most likely they did not have guests. So I made a loop around the lake and continued.
There was nobody around on my way up. I was on the summit exactly at noon, so this makes it 5 hours and 30 minutes. I was a bit slow.
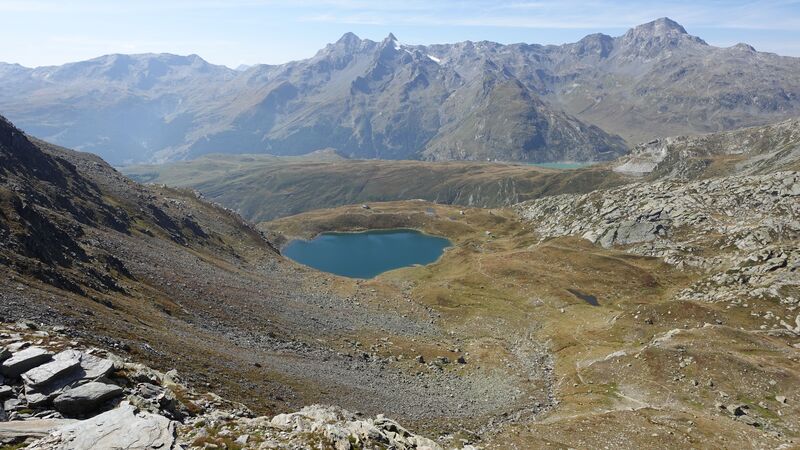
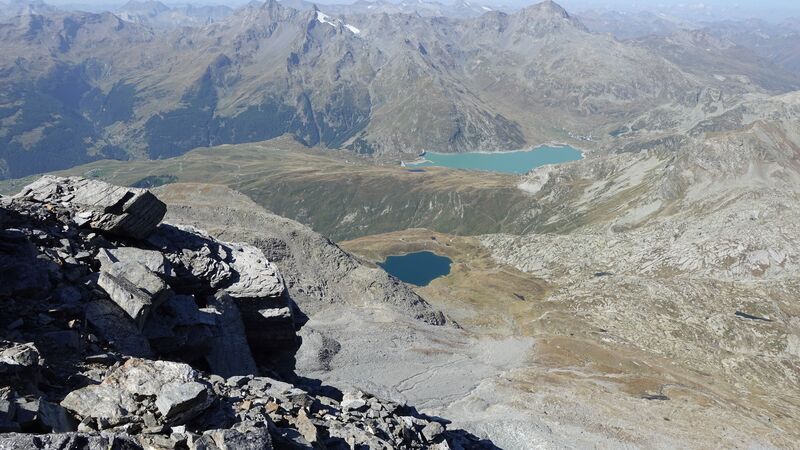
The day was simply perfect, and you can realize from the picture below. This is the view from the summit, with Lago Emet below and Lago Montespluga behind. Almost all the route is visible here.
But those gaps were all the time in my mind and I could not properly relax, I knew they were waiting for me.
On the way back, on the second gap, after a jump I landed a bit hard. So, I am writing this text more than one month later, and I still have some issues with my knee, not sure what happened. I typically avoid to go to the doctors, hopefully it will cure by itself. “At your age? You may only hope fool” – I hear my wife saying.
A bit farther below on the ridge, I met a couple, an elderly man, older than me (those are rare these years in the mountains), but much heavier, and a younger woman.
I asked them if they knew about the gaps, and the woman replied that the man knew them. He did not speak English but showed some signs by hand how they would scramble over it. I was skeptical but did not want to comment.
Later, I was able to see them standing on the cliff far above, just at the section with the gaps. After some time, I realized that they returned. I knew this would happen, the man was too heavy for such jumps, and somehow climbing over the gaps, as he assumed, was certainly not possible.
In my video you can see more, as usual this is an unedited recording, have a look:
Equipment, supplies & accommodation
This is a non-technical walk-up type tour, but there are exposed places, and it is on a high elevation. So you do not need any special equipment. I used my Osprey Stratos 24 day pack, and a pair of Komperdell poles.
If you need food, then visit Campodolcino and Madesimo on the Italian side. There are several smaller lakes on the way up, so you can refill if you have a filter or purifier. There is a hut, so you can have everything there.
For accommodation in the valley, you have a camping in Campodolcino where I stayed several days. You can also rent an apartment anywhere on the Italian side. The best places are Madesimo and Campodolcino.
Final thoughts
So, I had a really pleasant day on Pizzo d’Emet (Piz Timun), the tour was not technical but it was demanding.
If you have climbed the peaks around, or you plan to do so, you might want to know that Pizzo Emet is a bit harder than Pizzo Tambo, Cime di Val Loga, and Pizzo Quadro. I climbed them all during my visit to Spluga area.
There are more exposed sections on the final ridge of Pizzo Emet, and bear in mind also those mentioned gaps. You might want to read also my text where I compare Pizzo Tambo and Pizzo d’Emet.
For more text about the same area please check under the category Italian Alps. Thank you for reading, let me know if you have questions, there is a comment box below.
Leave a Reply