If you plan climbing Pizzo Tambo, the most convenient starting point is the Spluga Pass with its high elevation and free parking places. This is how I climbed it, and here is my report.
Pizzo Tambo – basic data & information
- Coordinates, latitude, longitude: 46.49310 °N / 9.30300 °E.
- Normal route type: walk-up.
- Elevation: 3279 m (10757 ft).
- Elevation difference from the start: 1165 m (3821 ft).
- Time needed to get to the summit: 4 hours.
- Huts:
– Italian side: none.
– Swiss side: none. - Towns for supplies: Campodolcino and Madesimo on the Italian side.
- Useful map I used: Valchiavenna Val Bregaglia, Kompass 92, 1:50000.
The mountains on the west side of the Valchiavenna belong to Leopontine Alps, and the Pizzo Tambo is the highest peak there.
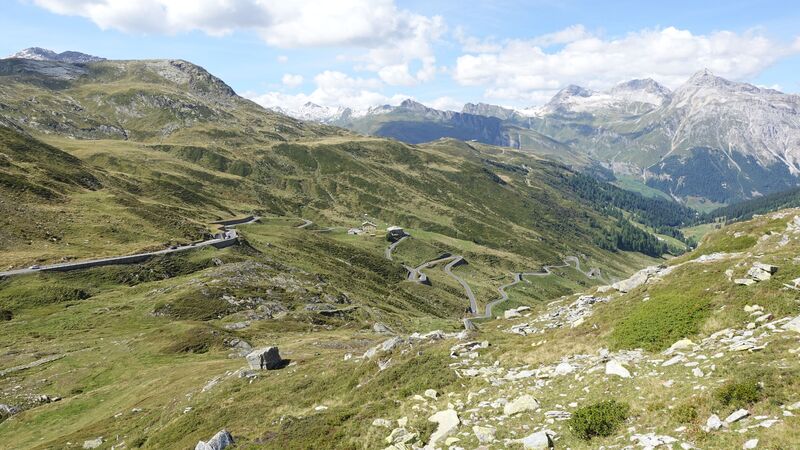
But it is also at the very end of the valley that raises all the way up to the Spluga Pass, so you have the highest car access in the area. This makes the peak a bit easier to climb that its neighbors. The picture below shows the road towards the pass on the Swiss side.
Access & roads
You can get to the mountain from the south Italian side, and also from the north side which is Switzerland. In both cases your goal is to get to the Spluga Pass (Splügenpass; Passo dello Spluga; Pass dal Spleia 2114 m (6936 ft).
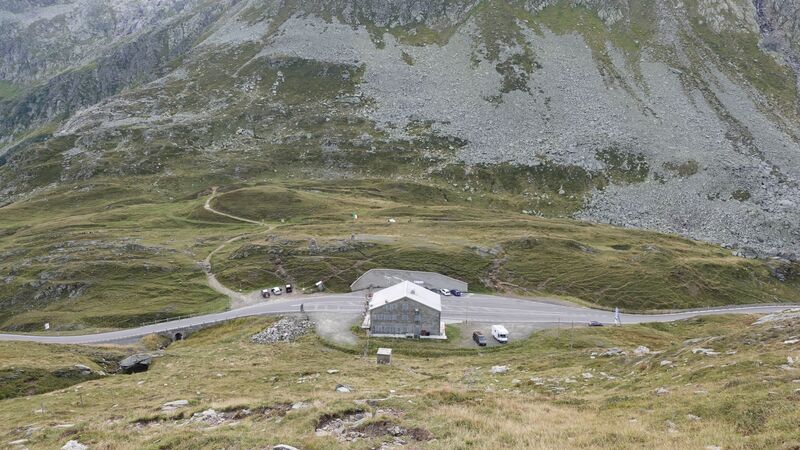
The picture below shows how the pass looked in early morning when I started the tour. Swiss side is on the left, and this is the north side, the building belongs to Italy.
The road is attractive and you can use it even with a motorhome. I have been on it all the way on both sides. The valley from the Italian side is much longer and it raises gradually all the way from Chiavenna to the pass.
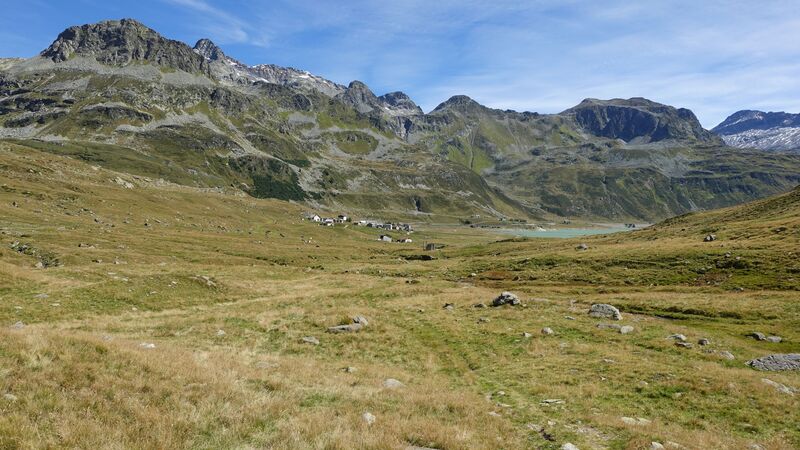
The last village below the pass from the Italian side is Montespluga, see the picture below, an attraction by itself. It is located on the north end of the Lago di Montespluga that is at 1908 meters of elevation.
The interactive map below is from AllTrails, and it shows the route which I followed. If you follow the link you can find more details.
Route description
First, note that the summit is not visible from the pass. But there is a sign on the west side of the road, above the building, and you will walk in the west direction. You will not see the summit until you are at some 3000 meters of elevation.
If you are early at the pass, you will have plenty of free space to park the car. It may be different during the day, but note that there is nothing at the pass. The building that you see in the picture above is closed, most likely it used to be the border crossing official building.
I spent two nights on the pass sleeping in the car, so I know that the area is spooky. Some bicycle riders use to set a tent on the meadows on the east side of the pass, and this is usually all.
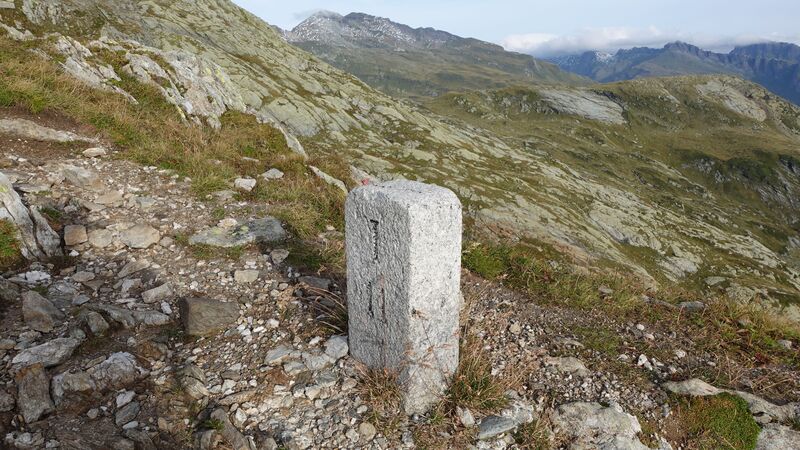
When you start from the Spluga Pass, you will roughly follow the border between the two countries. A few border stones will be on your way up, one is shown below. Later, the route goes mainly on the Italian side.
In the beginning this is already a high elevation far above the tree line, so the area is a grassland with meadows and rocks. The upper half of the route is rock only. Note that there may be snow passages there even in late summer. There was fresh snow when I was there in the beginning of September.
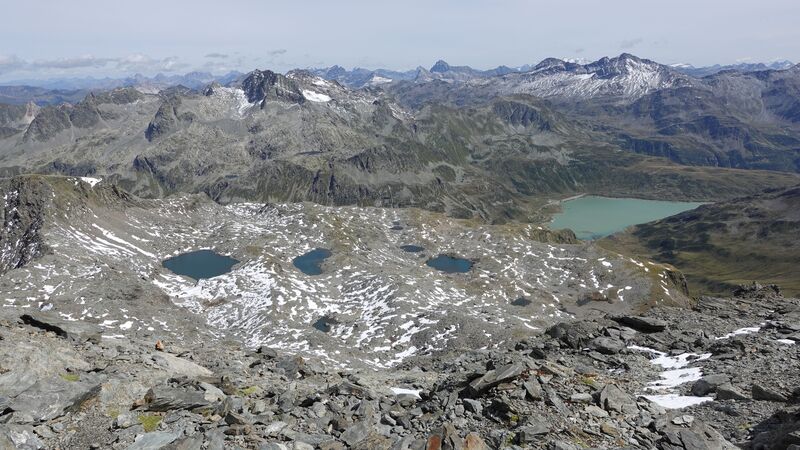
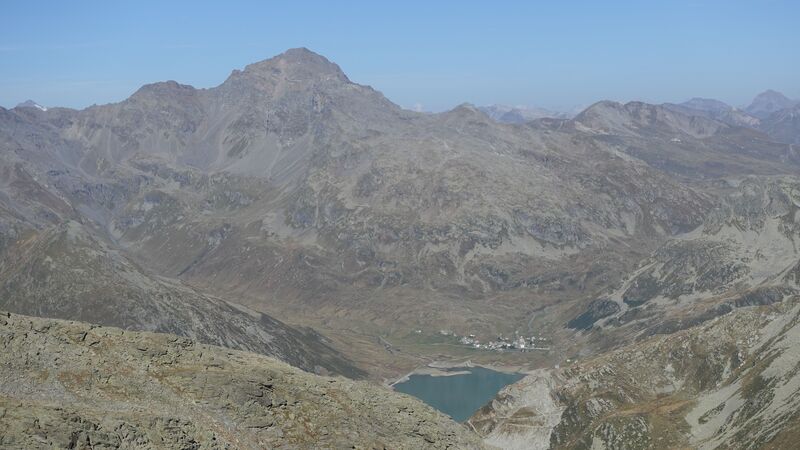
There are several small lakes below the route, some are shown in the picture. The Montespluga lake is also visible on the right below.
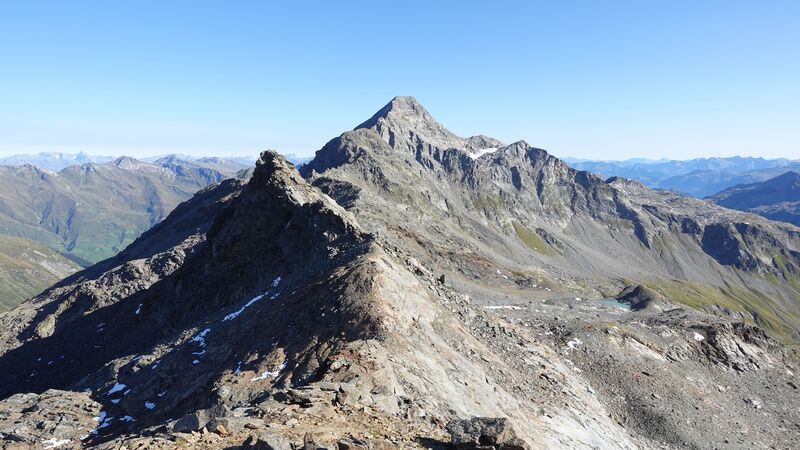
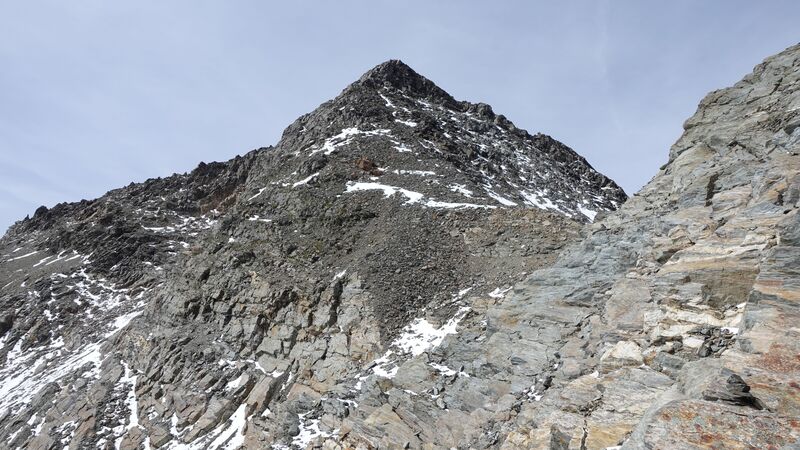
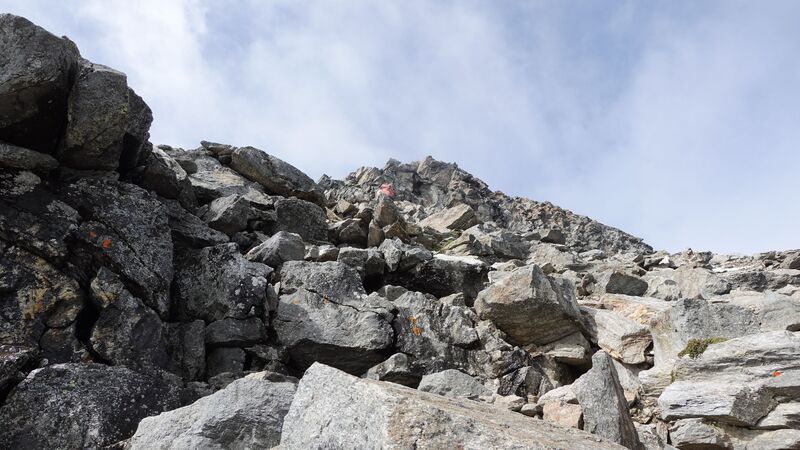
All the time this is just a walk up route, but a few hundred meters below the summit are very steep, see the picture, and there are a few easy scramble section. But there are no fixed cables or ropes at any point.
I have seen some describing this as the east ridge route, but the fact is that you are never on the ridge. I have very roughly marked the route with the yellow line in the map above.
The summit is very pleasant and elongated in the east-west direction, the east side is with a cross. This is also the border between the two countries.
The border line makes a turn here in the south direction, over a long line of high peaks with more than 3000 meters of elevations, that include Cime di Val Loga and Pizzo Quadro, which I climbed later.
My climb
I had a good sleep in the car on the pass, and started my tour at 7:44 am. There was nobody around, and the weather looked great. Bit it was very cold so I had all warm stuff.
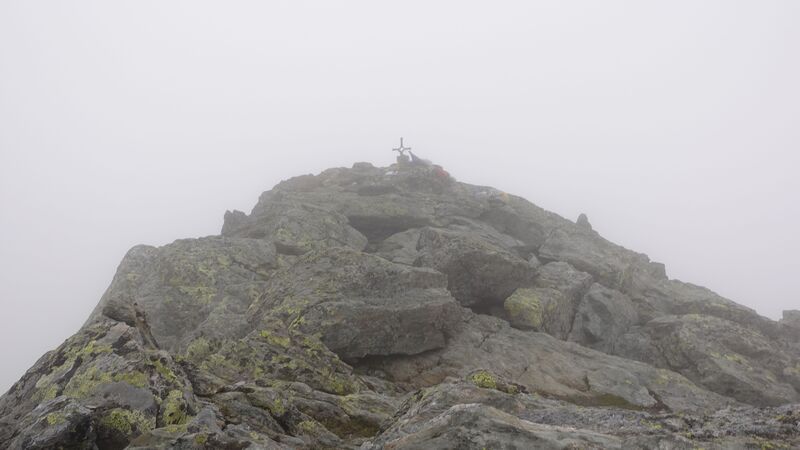
But after some time clouds came, and I did not see more than 10 meters in front of me. Several hours later I was on a summit with a small cross, see the picture below, and I had no idea where I was. It looked too early and too easily to be the main summit. My altimeter watch was showing elevation lower than the real summit.
So I decided to wait till clouds move, to get some idea of my location. Well, I stayed on that place for more than 30 minutes, and I was close to giving up because it looked hopeless.
But suddenly, a window in the clouds appeared, and I could see the true summit, so I realized I still had one hour to go, and I moved up.
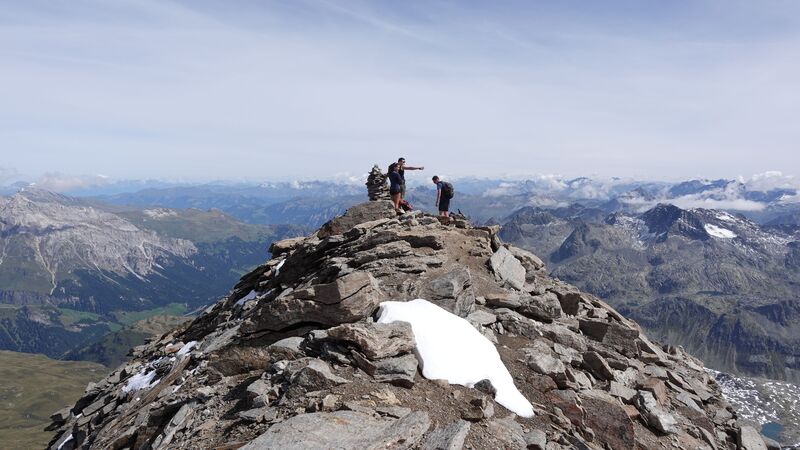
Meanwhile, a group of Italians arrived to my place, two young men and one girl, so we were moving more or less together. The picture below shows how it looked on the way up.
So I can not say how much time is really needed to get to the summit, I lost lots of time waiting for the clouds to clear.
But the elevation difference of 1165 m (3821 ft) is such that you should plan around 4 hours. I know from my earlier experience that at such elevations you need roughly 1 hour for every 300 meters of elevation.
Please see more in this video:
Equipment, supplies & accommodation
This is a non-technical tour, a walk-up type but on a high elevation and in a very harsh environment. I had gloves and a warm cap, plus an all-waterproof layer.
For this climb I used my new Nortiv 8 mid top hiking boots. I was curious of their performance on such a rocky terrain, and can say they performed great. They would stick to the rock like a glue.
I also used my Osprey Stratos 24 day pack, and a pair of Komperdell poles.
If you need food, it is best to drive to Campodolcino or Madesimo on the Italian side. In Montespluga village there is only a pizzeria and a hotel, no food shops.
For accommodation, you have a camping in Campodolcino where I stayed later, and you can also rent an apartment anywhere on the Italian side. For this, it is best to check in Madesimo and Campodolcino, or even in Chiavenna which is a much larger city in the south.
Final thoughts
In summary, Pizzo Tambo is an impressive mountain that dominates the area, but its normal route from Spluga pass requires no special equipment.
It can be climbed as a long day tour. It is not easy, you will feel elevation, and the terrain is hard. There are steep sections below the summit, but in general there are no exposed areas anywhere on the route.
For more text about the same area please check under the category Italian Alps. Check in particular my text about Bivacco Val Loga where I went the day after. But see also my text where I compare Pizzo Tambo and Pizzo d’Emet.
Thank you for reading, let me know if you have questions, there is a comment box below.
Leave a Reply