Cima della Vezzana is the highest peak in Pale di San Martino group. I climbed it from Passo Rolle by Ferrata Bolver Lugli and here is my first-hand report.
There are several normal routes to Cima della Vezzana, and the most attractive is the route that includes the long and hard Ferrata Bolver Lugli. It takes around 6 hours from the road at Passo Rolle to the summit.
Cima della Vezzana coordinates, numbers & details
- Elevation: 3192 m (10472 ft).
- Nearest places for supplies: San Martino di Castrozza.
- Mountain group: Pale di San Martino, Dolomites, Italian Alps.
- Coordinates: 46.2899136 N, 11.8297408 E.
- Route difficulty: hard ferrata.
- Cables length on ascent: around 500 m.
- Elevation difference from the car parking: 1252 m (4108 ft).
- Parking coordinates: 46.2893539 N, 11.7990456 E.
- Time needed from the road to the summit: 6 hours.
- Shelter on the route: Bivacco Fiamme Gialle, 3005 m.
- Useful map: Pale di San Martino, Kompass 622, 1:25000.
- Included in my map of best known ferratas in the Dolomites.
Access roads and map
In the interactive and zoomable map below you have the parking (marker 1), ferrata area (marker 2), Bivacco Fiamme Gialle (marker 3), and the summit (marker 4).
If you explore the map, you will see the descent route through Val dei Cantoni. It goes around Croda della Pala back to the area where Ferrata starts. Please zoom out to see access roads and cities around.
Cima della Vezzana access route description
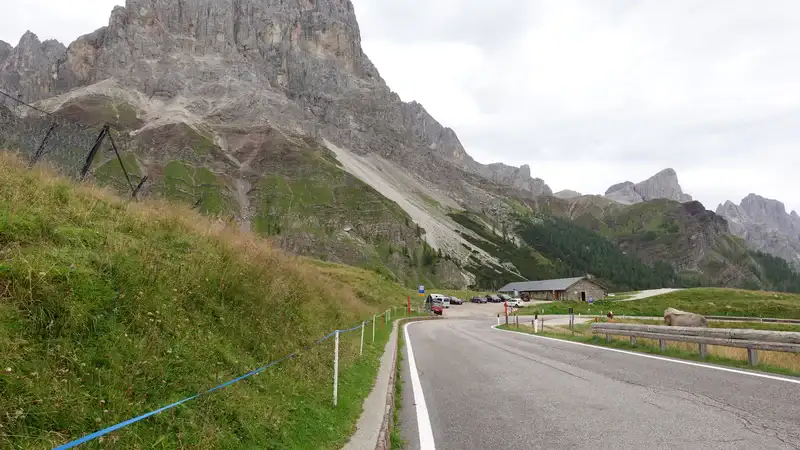
The route starts at the free car parking which is a bit more than a kilometer from Passo Rolle in the direction of San Martino de Castrozza. It is on the left side, you can see it in the photo below.
At the parking, check the sign that shows the direction of Sentiero dei Finanzieri, the route 712, see below.

The route goes below the vertical cliffs of Cimon della Pala. The ground is gravel and scree, but the route is generally easy.
After a few passages through the woods and over water streams, you will be on the grassy slopes of Crode Rosse, the picture below. There are horses grazing there all the time, they are visible in the photo, and I have seen them in photos of other people.

In more than one hour from the road, you will be at yet another sign. This is the place where your route 712 crosses with the route 706. So switch to the route 706 that goes up in the direction of the rock wall.
At Ferrata Bolver Lugli
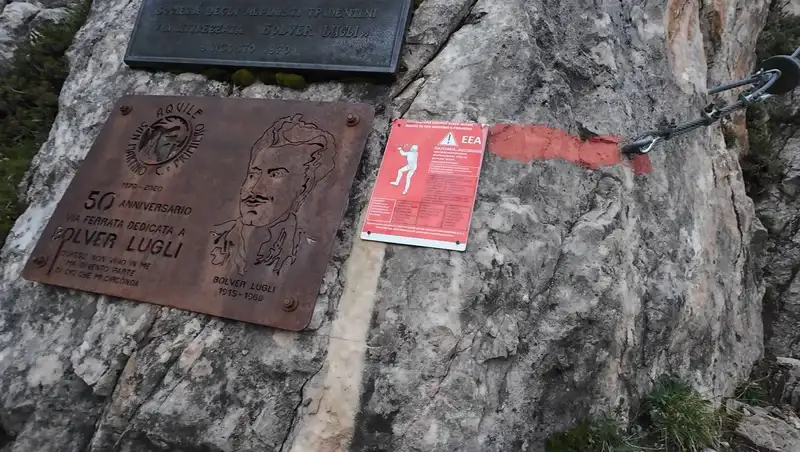
Soon you will be in front of a metal plate with the name of the ferrata, and the first cables start here. This is the formal beginning of the ferrata Bolver-Lugli, and it is time to put your ferrata equipment on.
Note that this area can be reached also from the opposite side. You get with a lift to Rifugio Rosetta (the photo below) and then descend to the ferrata area in 40 minutes or so.
What follows after that in the first part is a mix of easy cables, scramble passages, and walk up passages. Most of the time it can be graded as C. In fact, I have seen that other people rate the ferrata Bolver Lugli as C in general.
However, a ferrata must be graded by its hardest sections, and I have no doubt, here they are D. There are other parameters that must be taken into account, but those are then rated/graded separately. My grading system has three separate grades, more later in the text.
It is important to remember the following: The beginning is not hard, but this ferrata is very long, and more importantly, it gets technically harder as you go higher.
This means that stress on hands and arms increases as you climb, so make sure you do not rush, save energy for what is yet to come.
Regarding the number of cables, I tried to count them, but at around 20th, I got distracted with hard passages, video recording, and taking photos, so I lost track of the true number. Most likely there are around 30, but if somebody knows better please let me know in the comment section below.
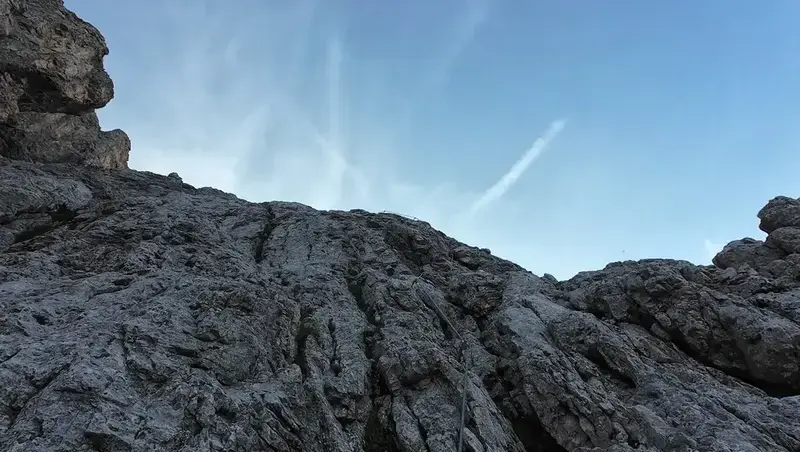
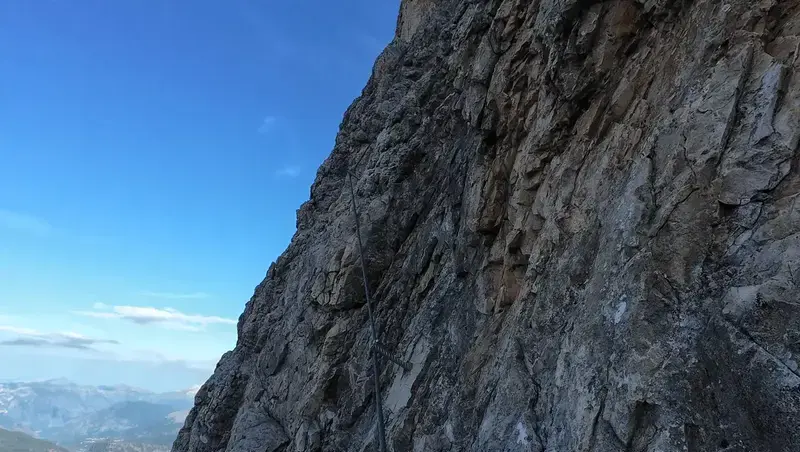
There are quite a few long and hard diagonal and vertical sections, you can see some details in the photos below.

After all the struggle on the cold rock wall, you will be rewarded with the sunshine and with the view of the bivacco as in the photo below.
Bivacco Fiamme Gialle
After the ferrata, you have a short and unproblematic walk to the bivouac, with incredible views around. The Bivacco is directly below Cimon della Pala which you can see in the photo below.

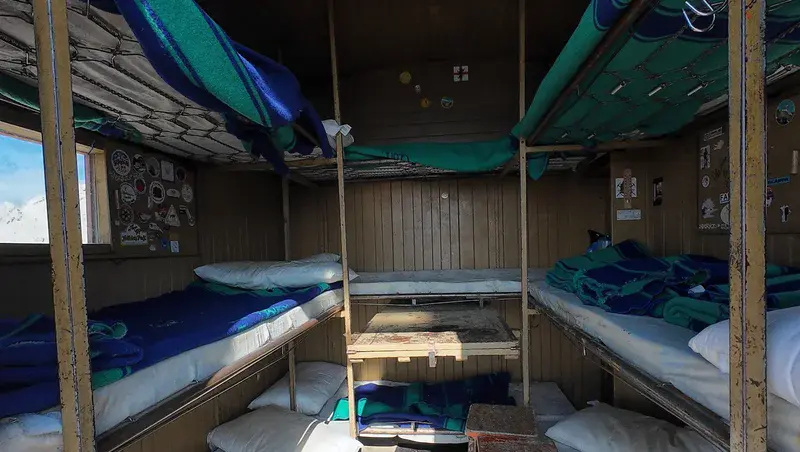
The Bivacco is a very typical alpine shelter, a red metal container with 9 beds inside, equipped with mattresses, pillows and blankets. Have a look inside:
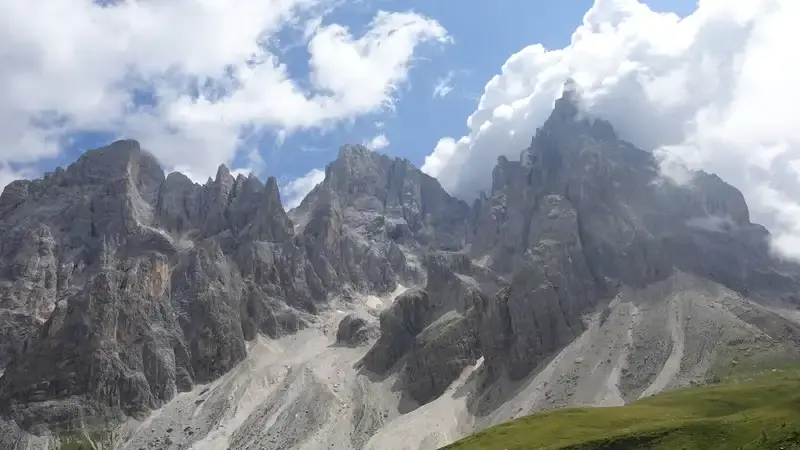
I do not think that I exaggerate when I say that views from the Bivacco are among the most breathtaking in the Dolomites. Pale di San Martino have 9 peaks over 3000 meters, and 19 more that are close to that elevation, and the rest is a very high plateau with pure rock.
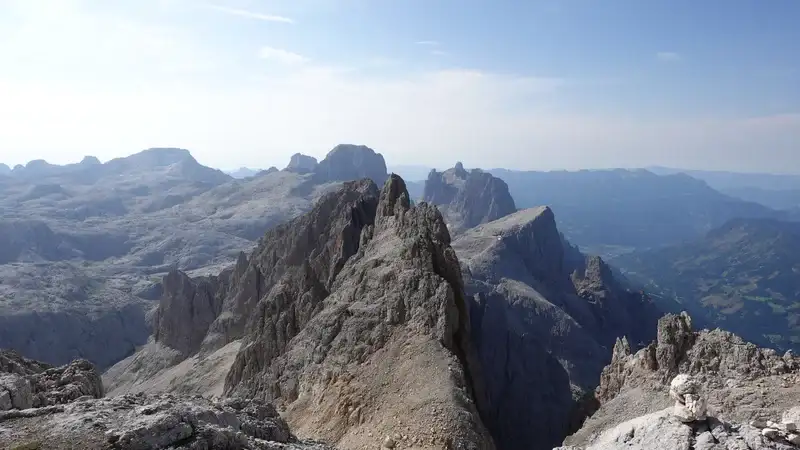
The photo below shows the view to the south, so judge yourself. Croda della Pala (2960 m) is the first peak in front, and numerous other peaks are behind.
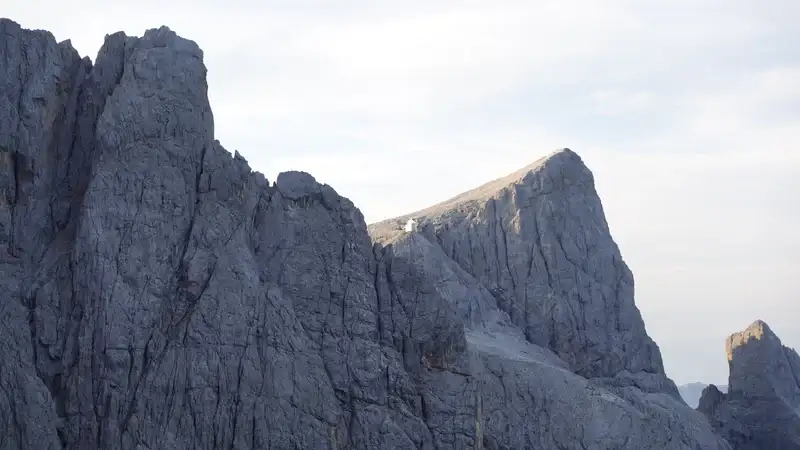
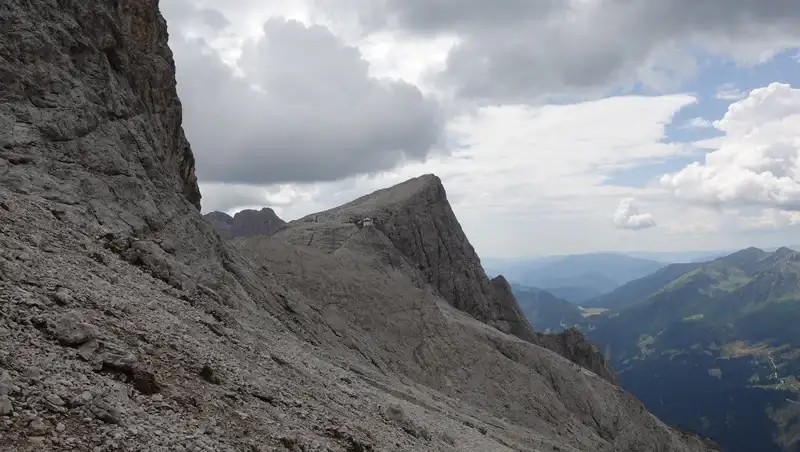
The summit of Cima della Vezzana as seen from the Bivacco is shown in the photo below. The route from Bivacco first descends to Passo del Travignolo and then climbs up, you can see that climb part in the photo.
The peak on the right is Il Nuvolo (3075 m), you can add it to the tour if you have time.

This remaining summit route may look hard, but in fact this is a simple walk up and you need less than one hour to get there.
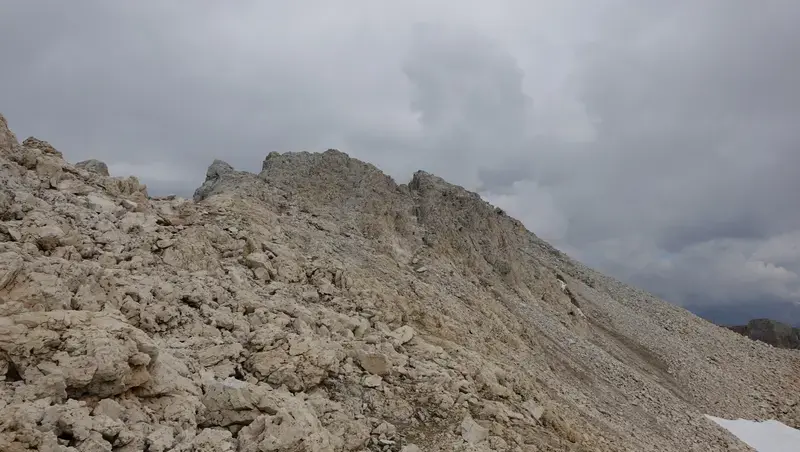
So you first descend 80 elevation meters to the point shown below which offers the views to the north side:
After that you are on a harder scree walk up, and then follows an easy summit ridge. Here are a few photos from that part:

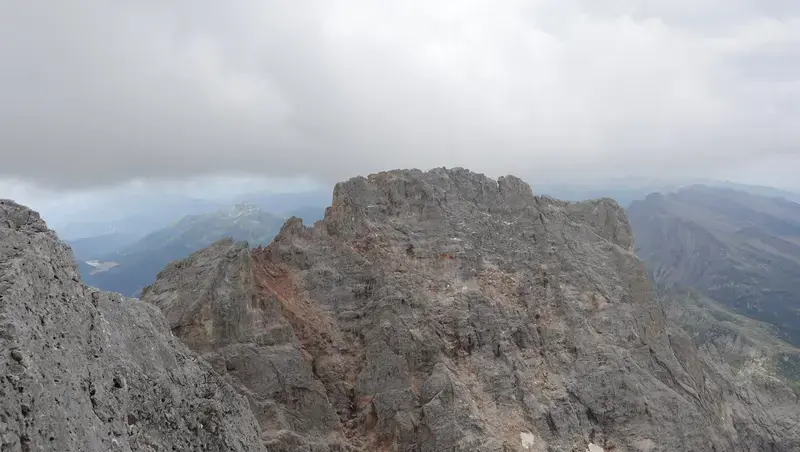
The summit cross is very simple and small, you can see it in the photo below.

In the photos below you have the neighbors of Cima della Vezzana as seen from the summit. The first photo shows east neighbors, Campanile di Val Strut (3049 m), Cima delle Zirocole (3059 m), and behind Cima dei Bureloni (3130 m) and Cima di Val Grande (3038 m).
As you realize, Cimon della Pala looks very different from here, check the top photo above to see its spear-like shape.

My rating of Via Ferrata Bolver Lugli
My rating is based on the following three essential criteria published here in the site, and assuming that you walk all the way from the car parking:
| Rating Criteria | Rating (A-E; 1-5) |
|---|---|
| Technical difficulty | D |
| Ferrata length | 4 |
| Access route difficulty | C |
| Overall Score | D4C |
Regarding technical difficulty, Ferrata Bolver Lugli is inferior to Ferrata Tomaselli which I rate E, but it is harder than Ferrata Marino Bianchi which I rate C. I put it on the level of Ferrata Possnecker. I have climbed them all and this is why I can easily compare them.
I cannot find any reliable information about the total length of cables. But I know that there are around 30 of them, and the ferrata climb covers elevation difference of around 600 meters. My estimate is that the cables length is within the range 300-500 meters, and on my rating scale this is then 4 out of 5. Hence my rating for the Ferrata length.
The access route is a simple walk up from the main road, with elevation difference to the ferrata of around 400 meters. This can be done in up to one hour and a half.
Descent route
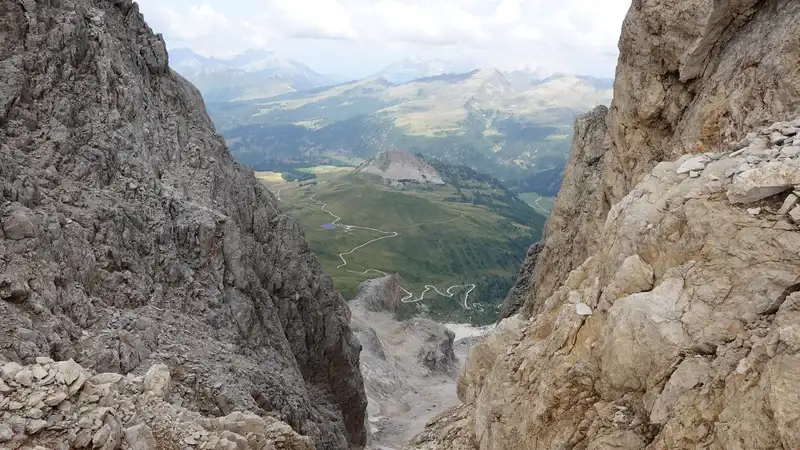
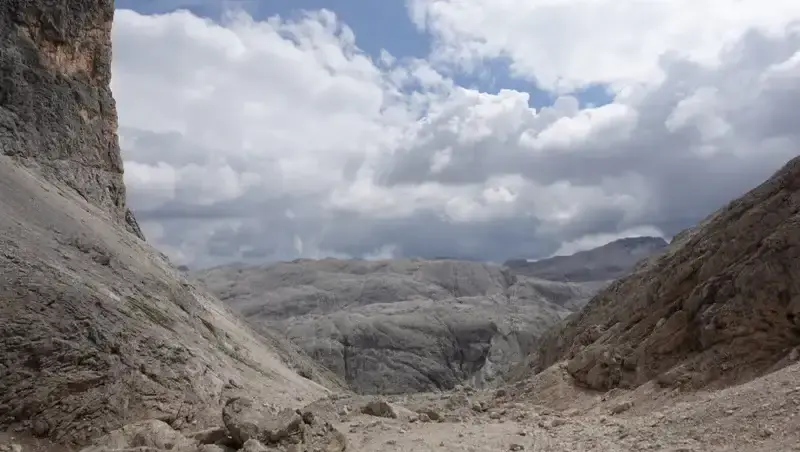
If you do not want to go back the same way, descend by following a round route that goes through Val dei Cantoni (the photo below) and then climbs to Passo Bettega (2667 m).
You can find all the details on the map above.
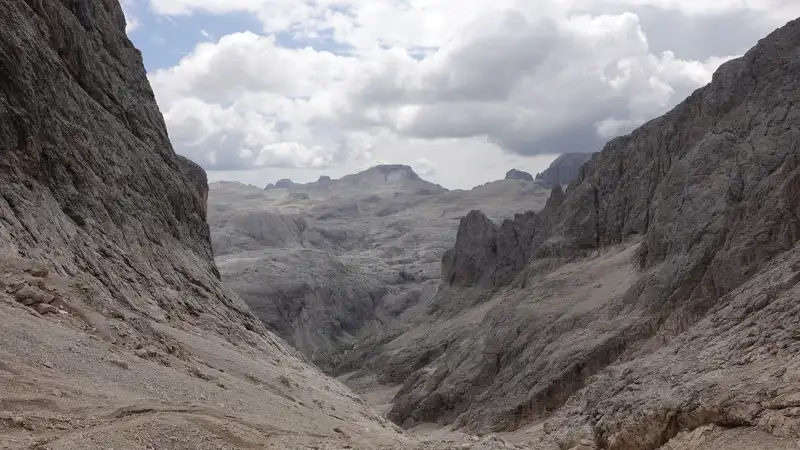
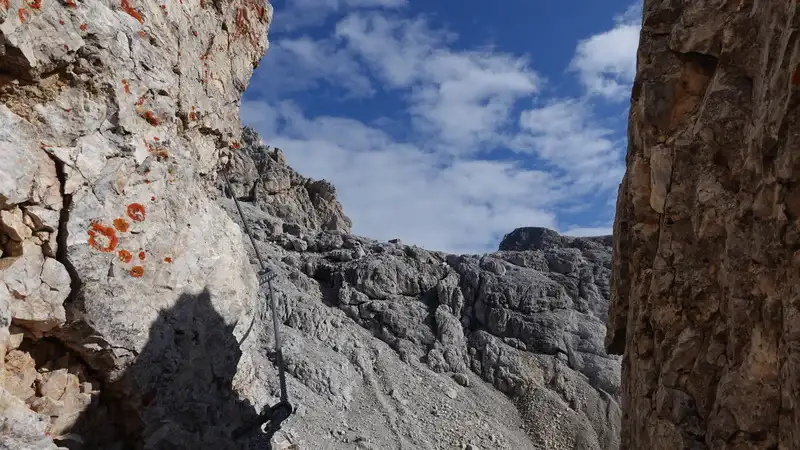
The lowest point in that part is around 2550 meters of elevation, there are a few easy fixed cables, and even a snow passage was there. Here are a few photos from that part:


On Passo Bettega you can continue to Rifugio Rosetta, or make a shortcut loop around Croda della Pala back to the Passo Rolle (visible in the map above).
There are a few steep and exposed passages on that shortcut, even a few rusty and dangerous cables are at some places. In general, it is better to go to Rifugio Rosetta, and from there follow the route 701/712 and go back to Passo Rolle. Here are a few photos:

All the tour is presented in my video, please have a look:
Alternative ascent routes to Cima della Vezzana
1. No doubt the easiest route would be the one which I used for descent. You can even start it at Rifugio Pedrotti (Rifugio Rosetta, 2581 m), and walk from there to the summit without any special equipment. On my way back I have seen a few people doing exactly that.
2. Yet another normal route is from the east, more precisely from Val Strut. On this route you also have a shelter, Bivacco Giorgio Brunner (2667 m) which is the same type as the Bivacco Fiamme Gialle.
You can explore these options if you inspect the map given above.
My tour to Cima della Vezzana
I started at 5 am, and it was completely dark. There was nobody around. Only in the middle of ferrata I met an Italian couple descending from the bivouac. They told me that they slept there.
I was at the bivouac at 9:40 am, so it took me 4 hours and 40 minutes from the road. Being tired, I took a rest there.
So, I had breakfast at the bivouac and was alone around half an hour or so before one very kind Italian girl, Valentina, arrived. Very soon yet another Italian came, Mateo. Salute to both of them.
They continued very soon to Cima della Vezzana, and I followed. At 11:10 am, I arrived at the summit. The two young Italians were there but they left soon, so I had the summit for myself. After some time a few other people arrived, they climbed from the Rifugio Rosetta.
But I could not stay long, the weather was changing, you can see this in the photos, and I did not want to be at such elevations in a storm.
Also, I did not want to be attached to iron cables in the case of lightning, so I descended by following the round route described above, through Val dei Cantoni. After that I was at Crode Rosse, and here is my last view back:

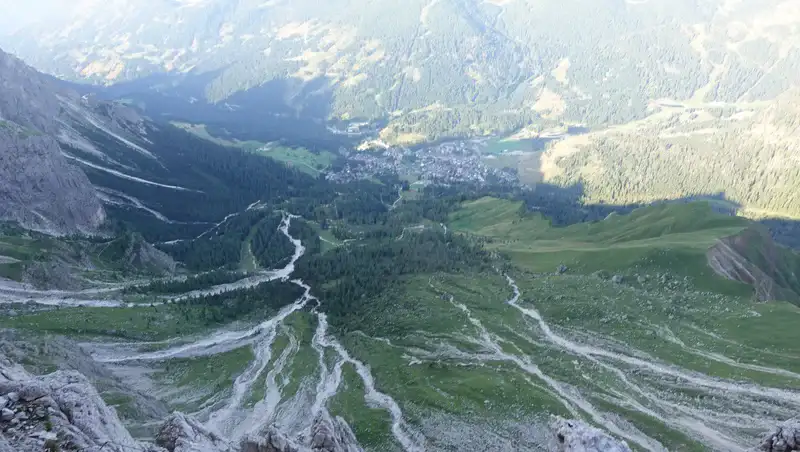
On my way back towards the parking, I could now clearly see the route which I walked in the dark earlier. Here is the view in the direction of parking, the route goes slightly right off the center of the photo and through the woods.

What gear to use for Ferrata Bolver Lugli?
Clearly, for this climb you need a full ferrata set, and this means a harness, a Y-rope, and a helmet.
In addition to this, I used Mammut Sapuen GTX boots, a pair of trekking poles, and my Mammut Lithium 40 backpack. Gloves for cables are definitely necessary, and I used them. In the backpack, as usual, I had a rain poncho and rain pants, plus a rain jacket. For such an environment I would recommend something reliable like the Mammut Crater Pro HS.
If you want to stay the night in the Bivacco Fiamme Gialle, make sure you have your own sleeping bag, and extra water and food.
Do you want to climb this mountain?
As you realize, I go solo, but I have been in this for 40 years already. This is a serious tour so if you want to do it and to play safe, which I warmly advise, get in touch with some experts and guides who can help you getting to the summit.
Final thoughts
In summary, Ferrata Bolver Lugli delivers a solid challenge for experienced climbers, with its 500 meters of cables pushing D difficulty in the upper sections and demanding steady arm strength over 600 meters of elevation gain.
The route’s length and escalating technical demands make it comparable to Possnecker, but the rewarding views from Bivacco Fiamme Gialle and the summit of Cima della Vezzana justify the effort.
Reaching the 3192 m summit after the final easy ridge walk from Passo del Travignolo caps the ascent, offering 360-degree panoramas of neighbors like Cimon della Pala and the Pale di San Martino plateau.
Total time from Passo Rolle parking hits 6 hours up, plus descent options that add exposure but complete a logical loop. Stick to marked paths like 701/712 via Rifugio Rosetta if weather turns.
Overall, this ascent suits those rated for hard ferratas, rating D4C in my system. Pack full kit, water, and energy reserves; start early to beat storms.
Alternatives from Rifugio Rosetta or Val Strut ease access without cables, but miss the ferrata’s raw edge and direct line to the group’s highest point. A top Dolomites outing if you handle the grind.
Thank you for reading. Let me know if you have questions or comments, there is a comment section below. Please join us at our Facebook group Dolomites Visitors Hub.
Cima della Vezzana climbing FAQs
Is Via Ferrata Bolver Lugli suitable for beginners?
No, this ferrata is not recommended for beginners due to its length, exposure, and sections reaching D difficulty, which require strong upper body strength and prior experience on easier routes like B or C graded ones.
Novices should build skills on shorter ferratas in the Dolomites or seek guided instruction. Improper technique here can lead to rapid fatigue or falls, especially in wet conditions common in alpine environments.
What is the best time of year to climb Cima della Vezzana via this route?
The optimal window is mid-July to late September when snow has mostly cleared from the cables and access paths, reducing slip risks. July and August offer the most stable weather, though afternoon thunderstorms are frequent in the Dolomites.
Avoid early season if avalanche remnants linger in Val dei Cantoni, and check forecasts via apps like MeteoSwiss. In shoulder months, carry crampons for potential ice patches, as reported in forums like PlanetMountain.
Are there any wildlife or environmental concerns on the route?
Hikers may encounter grazing horses on Crode Rosse slopes and marmots. But the main concerns are fragile alpine flora, stick to marked trails to avoid erosion on scree sections. The Pale di San Martino is a UNESCO site, so no fires or littering.
Ptarmigan birds nest nearby, and rangers patrol for off-trail violations. In broader Dolomites context, climate change has increased rockfall risks, so helmet use is critical beyond just ferrata protection.
Can I do this route as a day trip without overnighting at the bivouac?
Yes, fit climbers can complete it as a long day hike starting pre-dawn from Passo Rolle, totaling 10-12 hours round trip including descent via Val dei Cantoni, but factor in 1250m elevation gain and potential queues on cables.
Train for endurance with similar outings like the Sentiero delle Bocchette; if extending, the bivouac offers basic shelter, but book refugios nearby for comfort; nearby San Martino di Castrozza has huts reporting high day-tripper traffic in peak season per local guides.
Leave a Reply