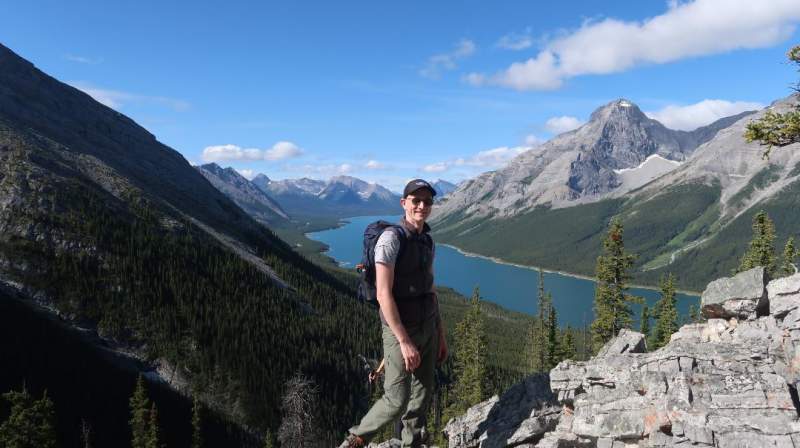
This Mount Temple Scramble is a detailed report by our guest author Yannick Griep (picture below) who climbed the mountain recently and sent us this excellent report, enjoy it.
Mt. Temple: Information
- Summit latitude: 51.35280 °N.
- Summit longitude: 116.2006 °W.
- Summit elevation: 3544 m (11627 ft).
- Elevation gain: 1665 m (5463 ft).
- Peak prominence: 1544 m (5066 ft).
- Base elevation: 1879 m (6165 ft).
- Travel distance: 15.1 km (9.4 miles).
- Accumulated elevation gain: 1789 m (5869 ft).
- Time from base to summit: 4 hours 53 minutes.
- Round-trip time: 8 hours.
- Mountain range: Canadian Rockies.
Located in the heart of Banff National Park, Mt. Temple stands alone as the tallest mountain in the Lake Louise area, and it soars impossibly above the landscape and almost every other peak within a 50 km radius.
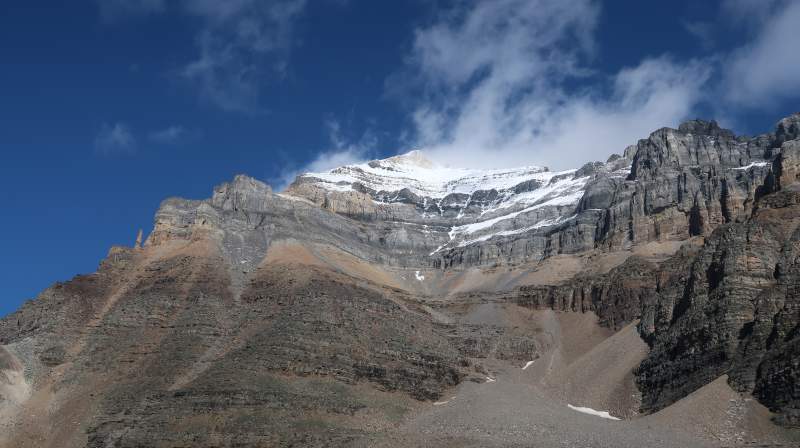
Unsurprisingly, Mt. Temple is one of the tallest mountains in Alberta (sixth highest mountain to be precise) and probably the tallest mountain, despite its intimidating East and North faces, that can be scrambled in Alberta. Due to its unparalleled views and ridiculous amounts of natural beauty, Mt. Temple has, unfortunately, become a bit of a tourist magnet.
Although the South-West scramble route (the one we ended up taking) leading up Mt. Temple is often referred to as the “tourist route”, I would strongly advise you to not let this name fool you into a false sense of security. More mountaineering accidents have occurred on Mt. Temple than on any other mountain located in Banff National Park and Mt. Temple has claimed over twenty lives since its first ascent in 1894; the most recent fatal accident took place on September 20th, 2019.
I am not putting these statistics out here to discourage those of you who, like me, are drawn to this peak by its solitary beauty and the absolutely breathtaking views of the surrounding mountains and the lush valleys. Setting aside the outstanding views for a second, keep in mind that ascending Mt. Temple is classified as a difficult scramble that can present a number of significant hazards (main concerns are summit ice, falling rock from hikers above, bad weather or whiteout conditions on the descent).
Due to both its altitude and geographic location, scrambling Mt. Temple is limited to mid-July through mid-September. Attempting to ascend the South-West scramble route outside of this period increases the chances of encountering significant snow and ice conditions towards the summit, along with cornices which may be difficult to see while on the route; all of which would elevate the difficulty of this climb and increase the risk of fatalities.
Because the temperature between the Moraine Lake parking area and Mt. Temple’s summit can vary by over 20°C, even before considering the strong cold wind near the summit, make sure to prepare adequately.
Finding the Route up Mt. Temple
The South-West scramble route for Mt. Temple begins from the Moraine Lake parking area. To get there, follow Lake Louise Drive west from the Village for 2 km and then turn left onto the Moraine Lake Road and continue for another 20 km to the parking lot.
Keep in mind that Parks Canada monitors this parking lot and will close off the access route to Moraine Lake as soon as the parking lot fills up.
There are shuttle buses from Lake Louise to Lake Moraine – the shuttles will depart every 15 minutes from 8:00 a.m. to 4:30 p.m. from the Lake Louise Park and Ride and cost $4 per person).
You’ll want to make an early start for Mt. Temple (we got lucky and grabbed one of the final spots on the parking lot at 5:30 a.m.), not only to ensure a parking spot, but also because the entire trip will take at least 8 hours to complete.
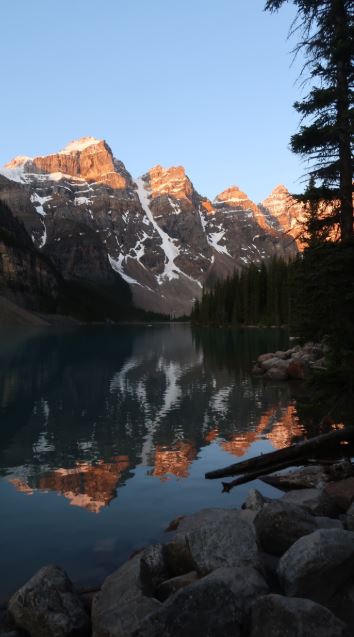
The picture shows the glacier-fed, brilliant blue-green color of Moraine Lake which is a result of light refracting off the rock flour (fine particles of rock) in the glacier run-off which flows into the lake.
Moraine Lake to Larch Valley
From the parking lot, walk towards the stunning Moraine Lake and keep left of the lake. Once you walked passed the lodges and the docks where you can rent an overpriced canoe (approximately 35 meters from the parking area), you will reach the trailhead for Larch Valley/Sentinel Pass.
From there onwards, thirteen gentle switchbacks lead up 352 meters through 2.5 km of the forest to another trail junction near a bench. Take the right (north) fork towards Larch Valley/Sentinel Pass/Paradise Valley.
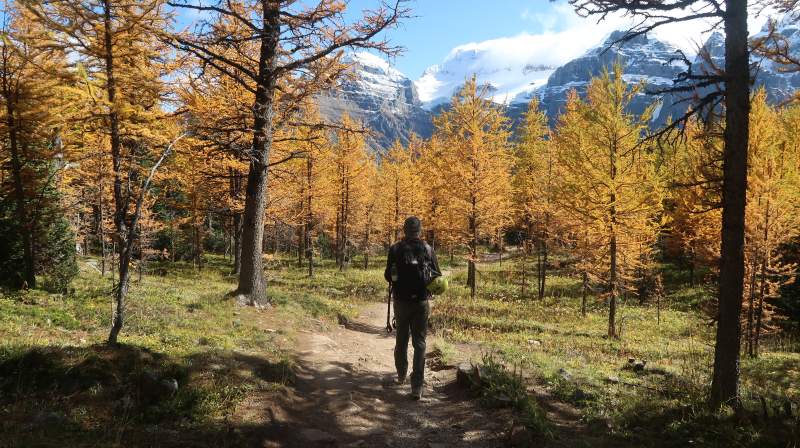
This is probably the most boring part of the entire hike and scramble, but once it levels out and you arrive at the meadows, take in the golden yellow Larch trees (Larch season starts in September and runs until the end of October).
Continue to head over to Sentinel Pass and make sure to check out the beautiful tarn lake located at the base of Pinnacle Mountain (you have to cross a small creek to get there).
Larch Valley to Sentinel Pass
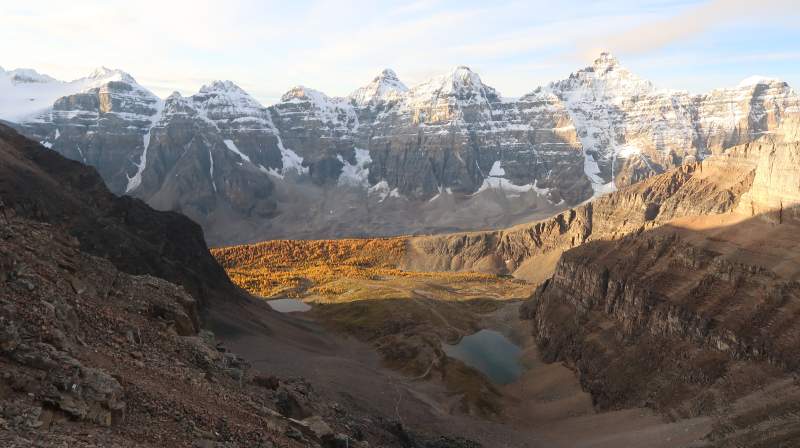
As Sentinel Pass (2611 meter) comes into view, continue to ascend the four switchbacks to Sentinel Pass between Pinnacle Mountain and Mt. Temple. Once you are on the summit of Sentinel Pass, take a short break to enjoy the first view of the Valley of the Ten Peaks.
This is also a good spot to check out the weather and trail conditions further up Mt. Temple. If there is any snow on the upper mountain (Mt. Temple is generally only snow-free from Mid-July until Mid-September), you may want to put on crampons and a helmet. If you packed an ice axe, now is a good time to get it ready.
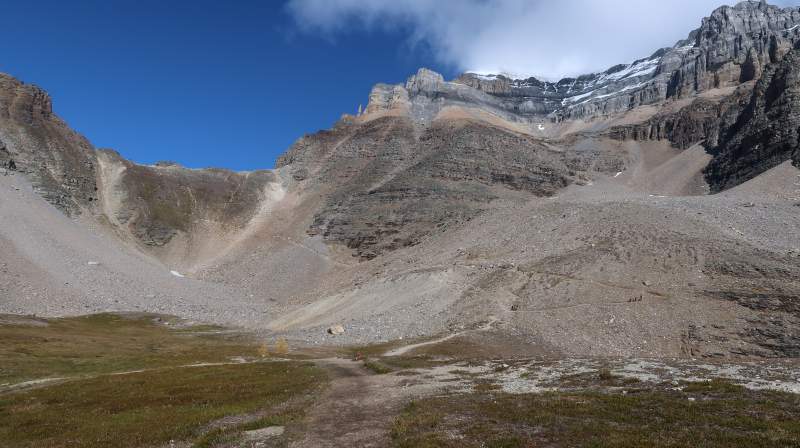
Up the Scree from Sentinel Pass
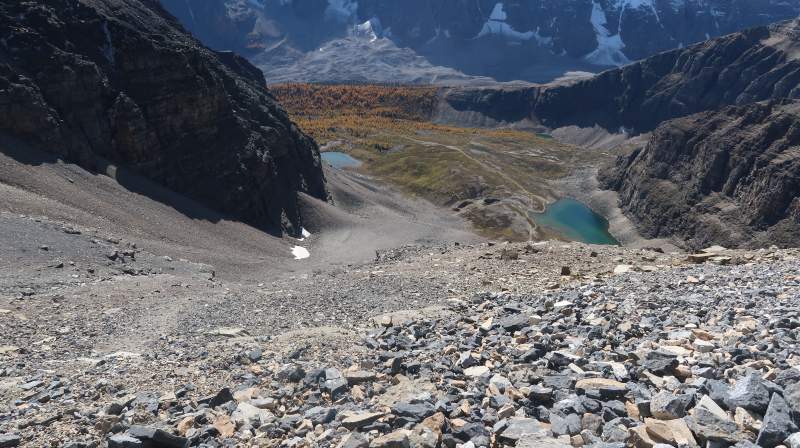
At this point, the long scramble up the South-West ridge to the summit of Mount Temple begins via a scree path on the right side of the ridge. To avoid loose scree (and potential rockfall from people coming down Mt. Temple), stay to the left of the broad gully where the footing is more secure.
At the top of the gully, you will see a long diagonal path leading upward a grey rock band. On your left, you will notice two prominent scree paths going downhill. Congratulations you made it halfway up Mt. Temple. Now the hardest part of the scramble commences.
First Grey Rock Band
Climb the left side of the shallow gully; look for a cairn marking the ascent line. Although there is also a path going to the right, do not take this path. It will take you on a big traverse to the right and the cliff band will become much harder to ascend as you keep going to the right. Stay to the left of the shallow gully and scramble up a series of rock steps. Paths and cairns lead up through the grey/black steps towards the second grey rock band.
Second Grey Rock Band (Also Known as the Crux of the Route)
Traverse under two gullies closest to the ridge and climb two steep steps just to the right of the second gully. This part gets a little tricky as you will have to climb (with exposure) a five-meter and a six-meter rock wall. Be careful as you make your way up (potentially consider the security of a rope and solid belay here on the way down; it can be done without if you have some
experience with rock climbing).
Alternatively, you can circumvent this exposed section and scramble up Gully 2 (positioned to the left of the steep steps). Note that the rockfall danger warning for Gully 2 is completely legitimate as even careful steps around its top will send a lot of rocks tumbling down the gully.
If you do climb up Gully 2, as we did, make sure to spend as little time as possible near its path and get out of the Gully as fast as possible. Once you made it past the two steep steps or Gully 2, continue to switch back over the gravel-covered rock slabs/steps until you see the ridge leveling off. Then switch back to the ridge (left) and look for the break in the next band of light brown rock (there are some red and orange indicators by the ground, indicating the break).

Light Brown Rock Steps
Once you found the red and orange indicators and crossed into the light brown rock area, follow the trail to the ridge crest and ascend the rock steps on the right-hand side of the ridge. If possible, stay to the side of the gully as much as possible, especially if you can hear people descend; this area tends to be dangerous for rockslides.
Once you made it past the light brown rock area, you will notice a black scree on the left side of the trail. Follow cairns and switchbacks by taking a slight right through the dark rock to regain the ridge. You should see the summit (and false summit) come into view. Nearly there!

The Summit
Follow the switch-backing trail in the scree towards the summit. Although the summit is within sight, you are still about 45 minutes to one hour away from the actual summit. Please be very careful on this ridge, especially when it is covered in snow because you may encounter unstable cornices on the ridgeline on your right-side as you ascent.
Although it might be tempting to try to get a better glimpse of Moraine Lake, be sure to stay on the rock well back from the edge. If your visibility is reduced (snow, clouds, etc), it can be especially difficult to spot these dangerous spots near the summit. Be extra careful!

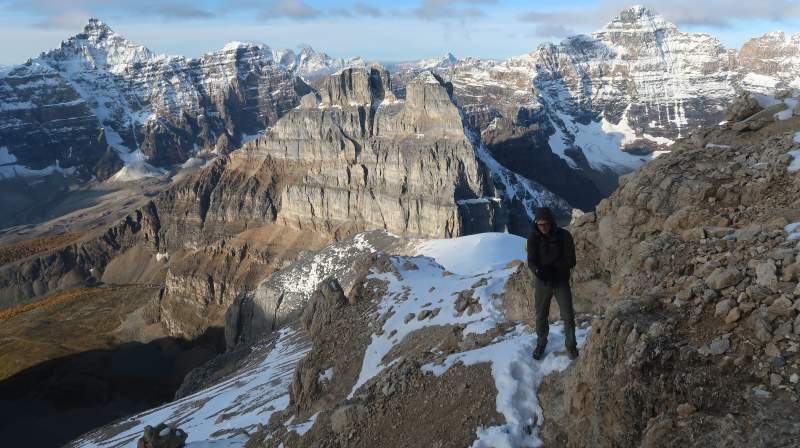
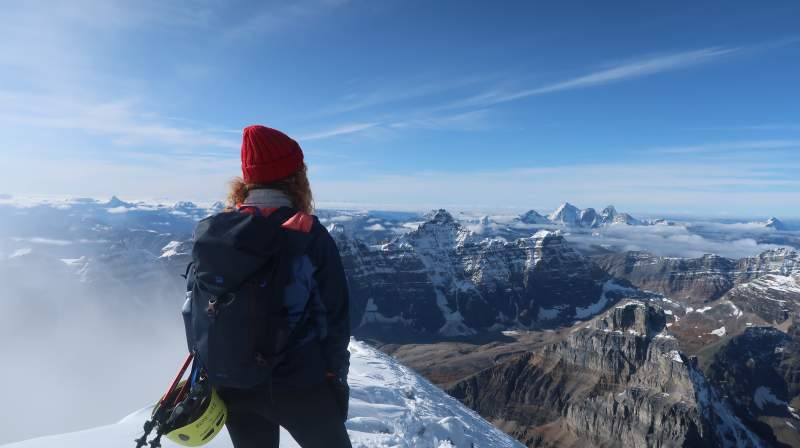
Once you reached the false summit, you are in the final homestretch towards the real summit. Push on for another 10 or 15 minutes and enjoy the breathtaking views of Banff National Park and give yourself a pat on the back – you pat yourself on the back because you just summited Mt. Temple!
We reached the summit of Mt. Temple in just under five hours after having trained for it by hiking and scrambling other mountains during summer. Mt. Temple was our cherry on the cake for the 2019 scrambling season.
The Descent
Be very careful on the descent not to dislodge rocks, which can injure people below. If you do not feel comfortable going down the steep scree paths on the side of Mt. Temple, you can just trace back your steps and head down the way you ascended Mt. Temple.
However, if you are a scrambler of reasonable experience, you can easily save 45 minutes to one hour by descending via the two scree paths. There are two things to note about this alternative route down the scree paths. First, the debris path from Gully 2 (remember: the dangerous Gully 2 from above) continues through this area and rockslides down this path are not uncommon. So, if you decide to go down the scree paths, make sure to stay on the left of Gully 2.
Second, once you’re about halfway down you can either downclimb a dry, yet steep, waterfall section directly ahead of you or you can continue through some rougher scree to left. If you are in for a trill and if you have some rock-climbing experience, downclimbing the waterfall is fun and surprisingly smooth, but it takes quite a bit longer than the scree route.
Either way, at the bottom of both scree routes there is a trail that takes you back to trailhead of Sentinel Path and Larch Valley.
You might want to read yet another text from the same author about his hiking tour of Little Lougheed in the same area.
Leave a Reply