The Bivacco Baccon Barborka is a new and very pleasant wooden structure close to the summit of Furcia Rossa. It has four beds equipped with mattresses and is always open and free to use.
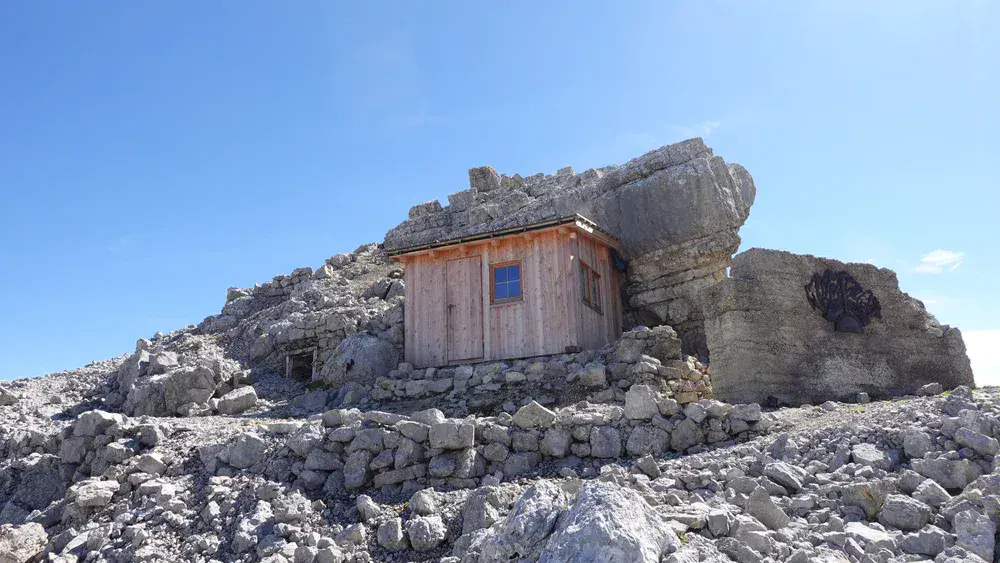
There are several access routes to Bivacco Baccon Barborka, and all of them are long and demanding. Here, I describe the route from Passo Valparola in detail. Allow more than six hours if you plan to follow this route.
Bivacco Baccon Barborka: quick facts
- Elevation: 2620 m (8596 ft).
- Coordinates: 46.58185, 12.0443.
- Location: Furcia Rossa, Fanes Group, Dolomites.
- Route type: walk-up.
- Elevation gain from the Passo Valparola parking area: 440 m (1444 ft), but there are two passes along the way.
- Parking coordinates: 46.5282483, 11.9907444.
- Time needed to reach the bivouac from the Passo Valparola parking area: more than 6 hours.
- Beds: 4, with mattresses.
- Heating: no.
- Water: no.
- Lighting: no.
- Nearest place to buy supplies: San Cassiano.
- Useful map: Tabacco number 03, Cortina d’Ampezzo e Dolomiti Ampezzane. Scale: 1:25000.
Access points, roads and map
The interactive map below highlights the following key locations:
- Marker 1: Parking area at the Passo Valparola trailhead (route 1).
- Marker 2: Parking area at Capanna Alpina (route 2).
- Marker 3: Parking area at Sant Uberto (route 3).
- Marker 4: Bivacco Baccon Barborka.
- Marker 5: Passo Forcela de Salares.
- Marker 6: Lago Lagazuoi.
- Marker 7: Passo Forcela di Lago.
- Marker 8: Ucia di Gran Fanes.
- Marker 9: Junction where you turn toward Bivacco Baccon Barborka.
Markers 1–3 indicate the trailheads for the three possible routes. I have hiked all three routes. Check out my articles about Conturines and Bivacco della Pace for information about Marker 2 (route 2), and my Fanes tour report for Marker 3 (route 3).
One additional note: the route to Bivacco della Pace described in my article covers around 90 percent of the route to Baccon Barborka when starting from Marker 2. This means you can visit both bivouacs on a single overnight tour and then choose where you want to spend the night.
This article focuses on my hike from Passo Valparola (route 1). Zoom in to explore the route in detail, or zoom out to see the main access roads leading to the area.
I have also published another article on this site about the fascinating history of this bivouac, so have a look at it before reading about the route I followed this time.
Route description
I would first like to comment on the elevation gain for route 1, which looks surprisingly small at just 440 meters.
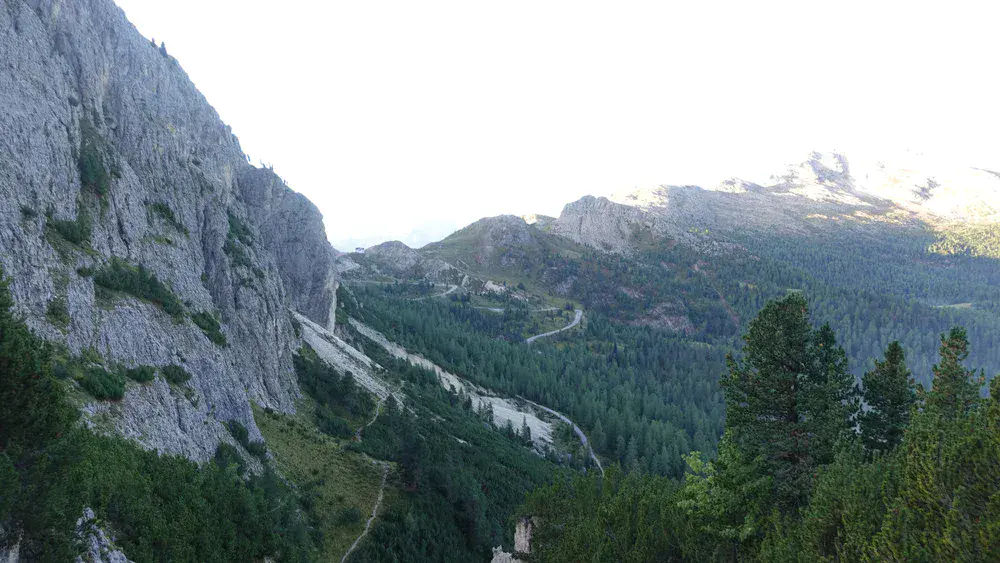
However, you first have to descend from Passo Valparola, which is at around 2190 meters, losing more than 100 meters of elevation. You then climb to Forcela de Salares (2283 m), which is Marker 5. See the photo below.
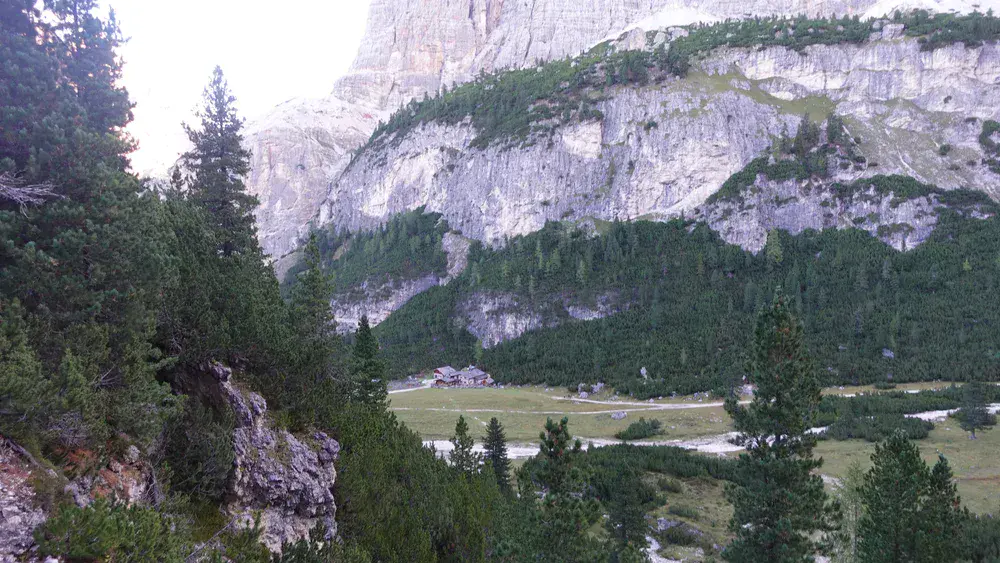
After that, you descend almost all the way to Rifugio Scotoni, which lies below 2000 meters:
From there, you climb to Lago Lagazuoi (Marker 6) and then continue to Forcela di Lago (2486 m). This is probably the hardest section of the route. Note that the section from Lago Lagazuoi to the Lagazuoi summit above (see the second photo below) is the highest passage on Alta Via 1.
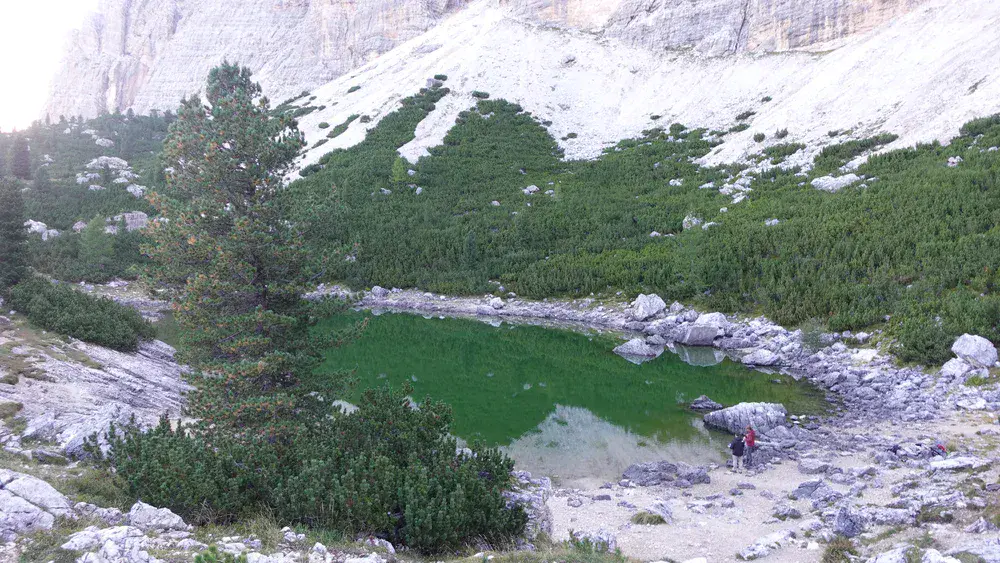
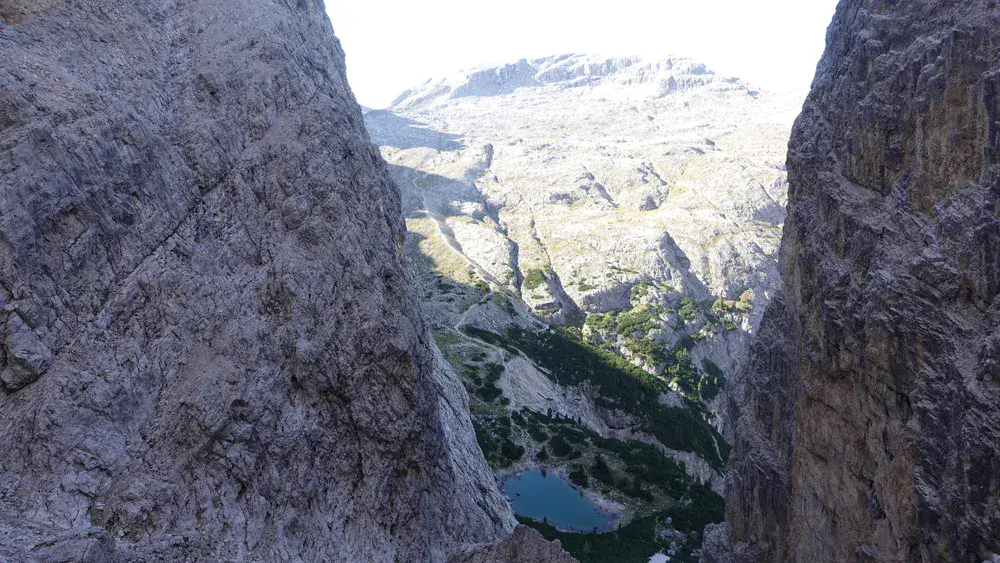
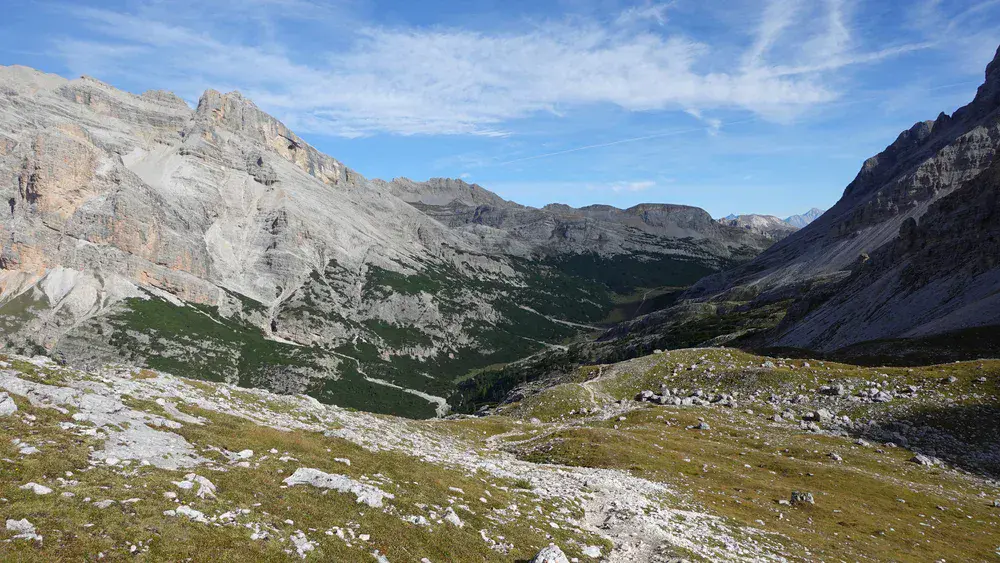
But wait, there is more: from Forcela di Lago, you have a long descent to the Grande Piano area in Val di Fanes (2100 m) before starting the climb to the bivouac (2620 m) at Marker 9.
This means you have around 1150 meters of climbing in total. So, it is better to forget about the seemingly insignificant 440-meter elevation difference between the trailhead and Bivacco Baccon Barborka.
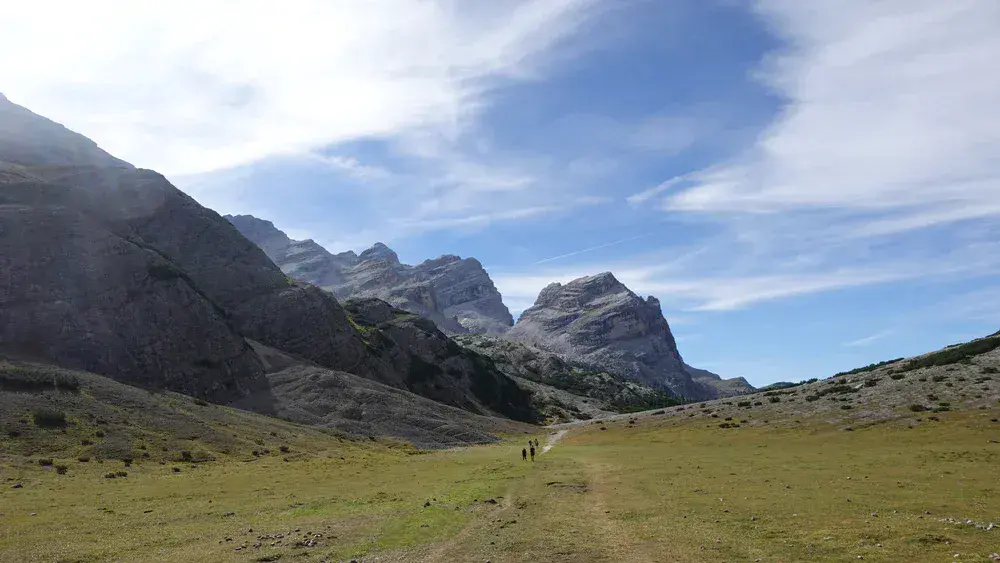
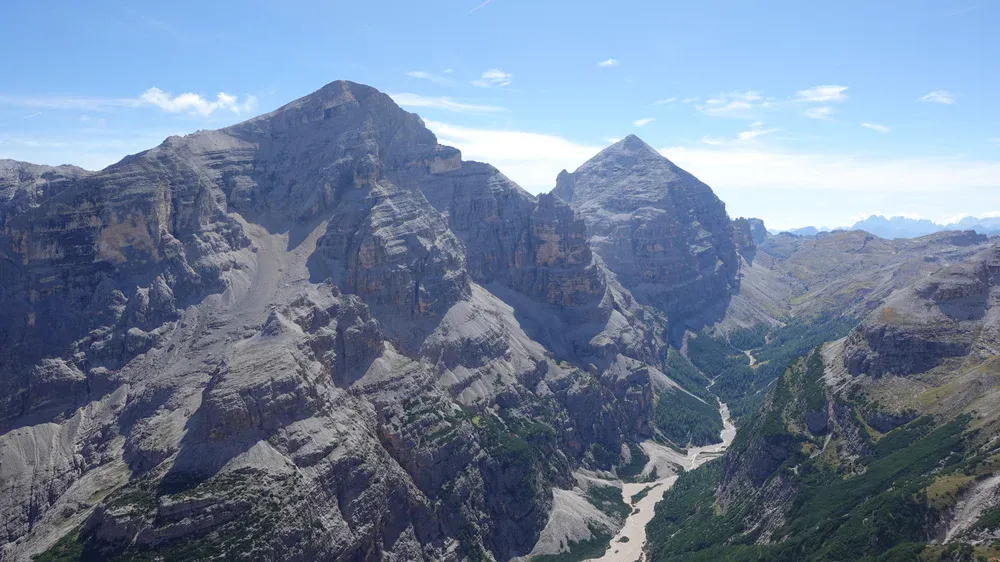
In the photo above, the narrow gorge in the middle, between the two peaks, is Forcela di Lago (Marker 7). This is a beautiful section of Alta Via 1, which crosses the pass. The peaks are Cima di Lago on the right and Cima Scotoni on the left.
You would also walk through this flat and pleasant section of the route if you started from Alta Badia (route 2). The two routes merge here.
In addition to all these ups and downs, route 1 is physically demanding because of its length. This is why you need more than 6 hours to reach the bivouac.
Marker 8 shows Ucia di Fanes, which is only a few hundred meters from Junction 9. I mention it because this is the only place along the route where you can get something to eat and drink.
From Marker 9, the route climbs continuously again. This is still the same route you would follow to reach Bivacco della Pace. The route number is 17.
After a while, you reach the point where the two routes finally split, and you continue to the left. The signs indicate the direction of Furcia Rossa and Vallon Bianco, and the route is called Via delle Pace on the map above. The first photo below shows the view uphill from this section.
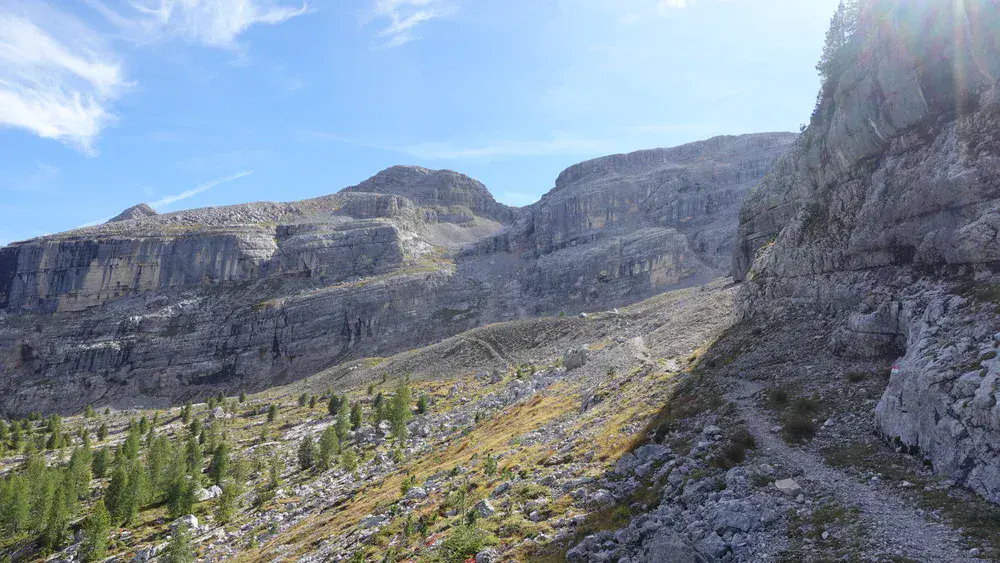
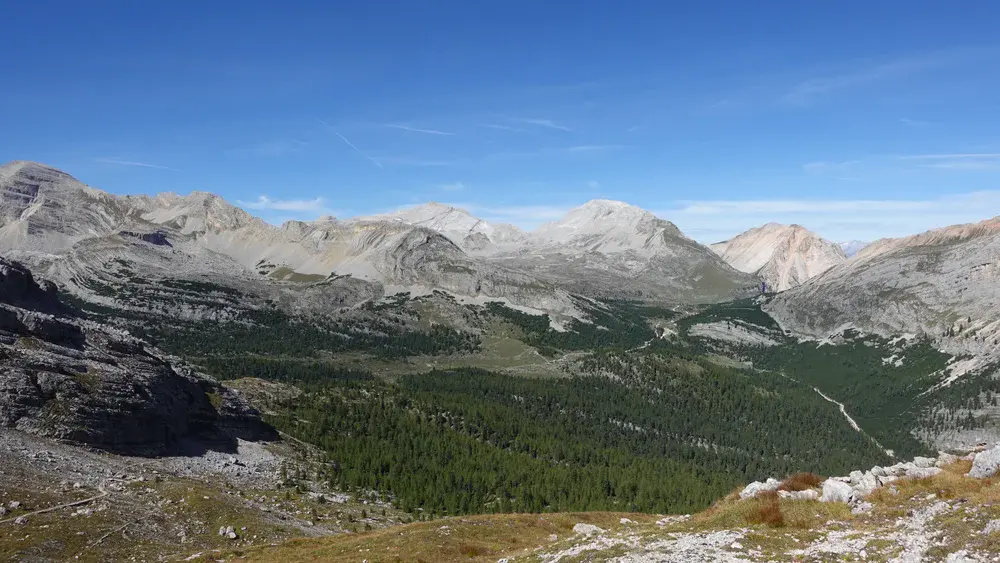
The peaks in the middle are Cima delle Nove and Sasso delle Dieci. I climbed both a year earlier, and you can read about them here on the site. Alta Via 1 is also visible, leading in the direction of Fanes Hut and Lavarella Hut.
By the time you reach this point, you will have been walking for more than five hours, and the high elevation makes progress slow. However, this upper section follows ledges and switchbacks, with no exposed passages. Here is a view back, showing the route zigzagging uphill.
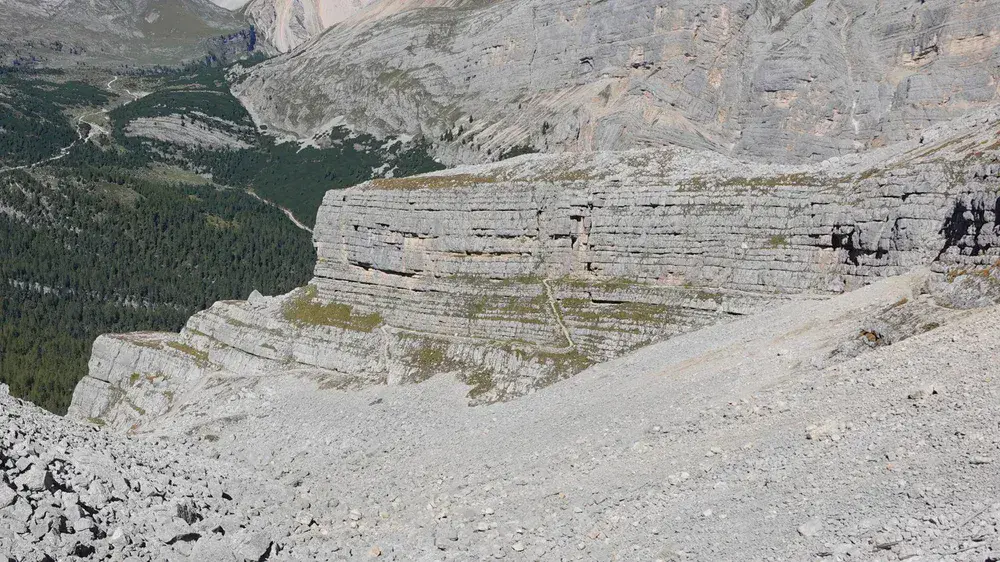
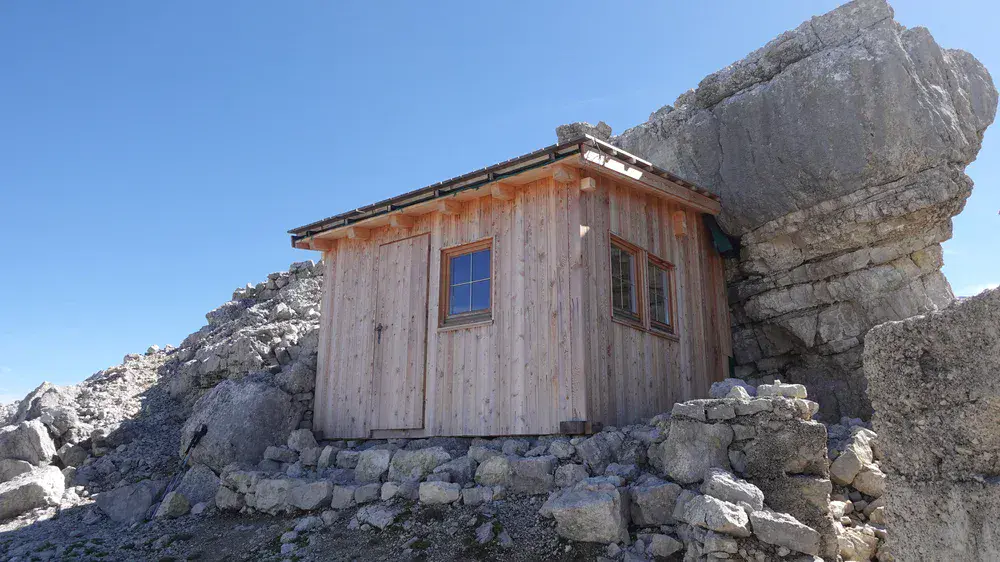
Finally, the bivouac comes into view, as shown in the photo below. It stands in a location with some of the best views in the Dolomites:
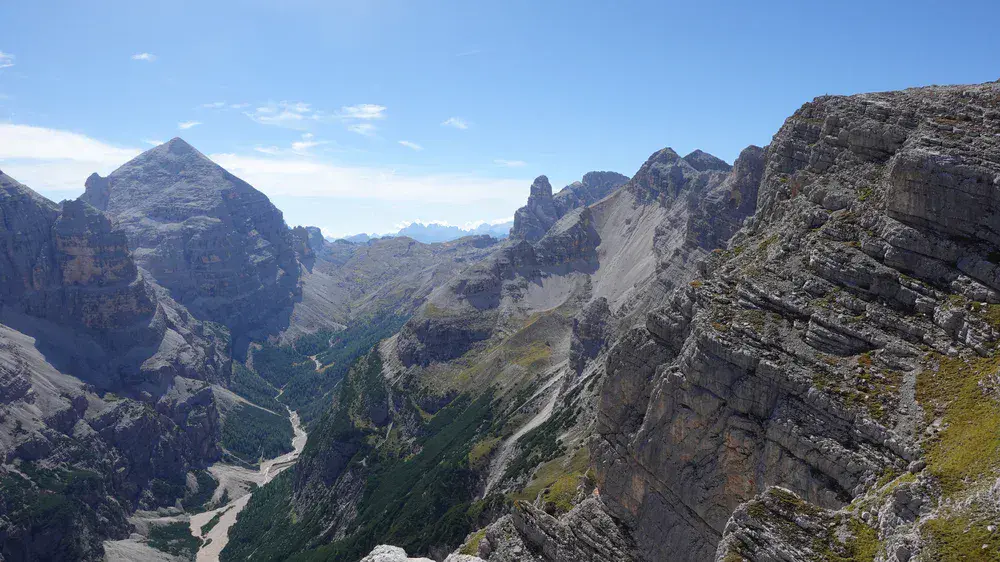
From here, you have a breathtaking view of the Tofana peaks and Travenanzes Valley:
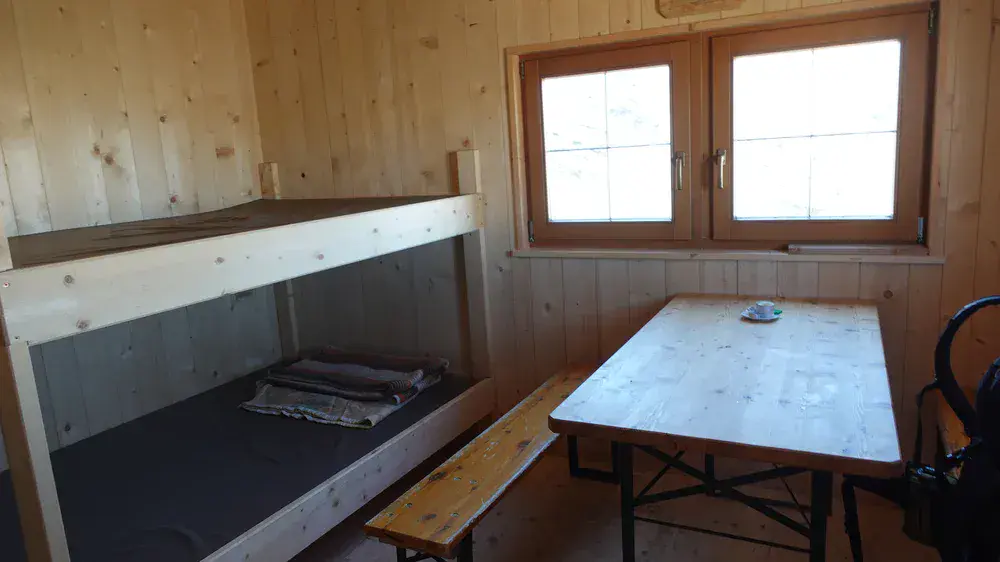
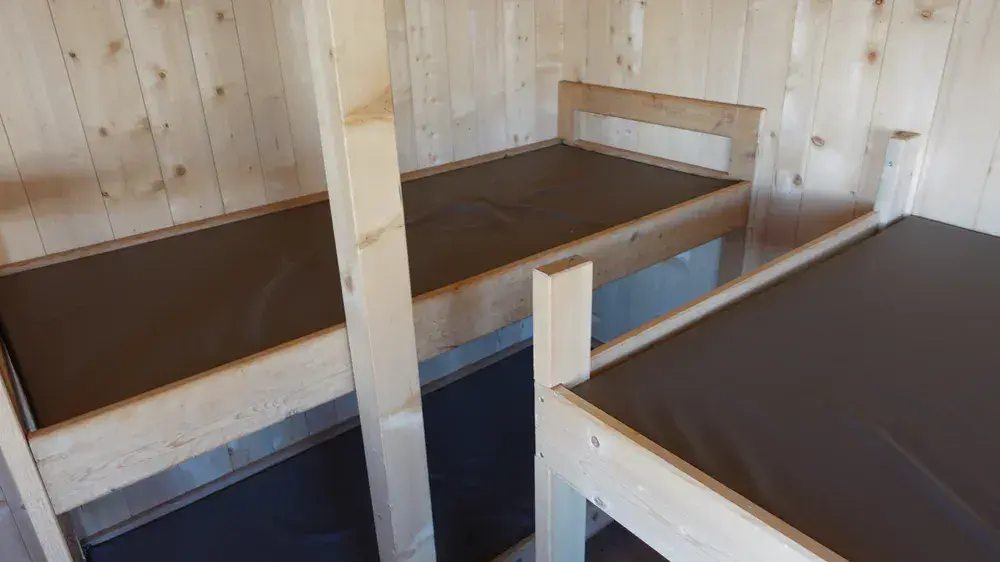
The interior of the bivouac is made of wood, just like the exterior. It has a pleasant wooden smell and is clean and comfortable. There are four bunk beds with mattresses, providing sleeping places for at least four people, as well as a table, a bench, and chairs.
My tour
I started my tour at 6:45 a.m. and reached the bivouac at 1 p.m. This took far longer than I had expected, so I had to change my initial plans. Before reaching Rifugio Scotoni, I did not see anybody around and really enjoyed the walk.
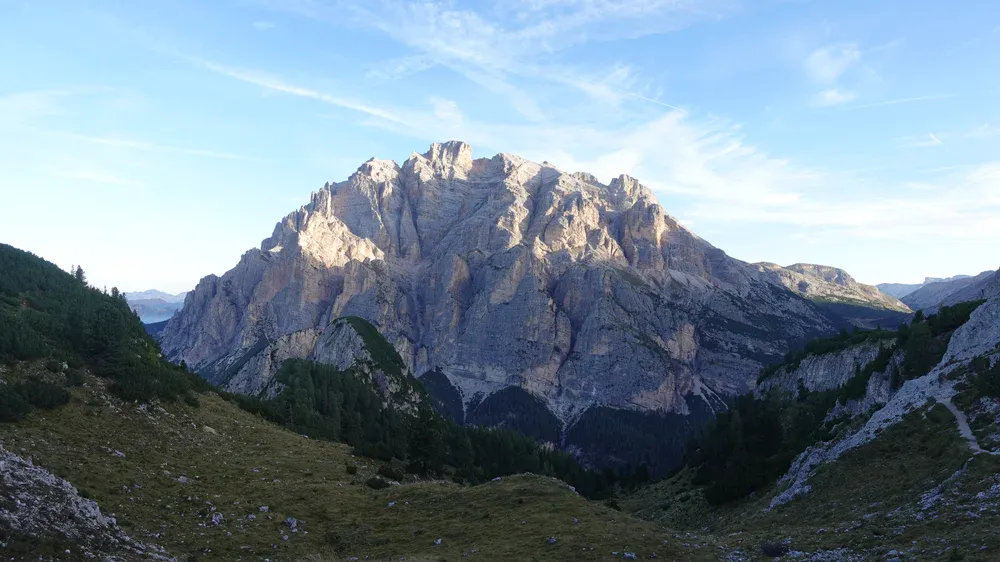
But I was shocked when I realized how far I had to descend to the hut before climbing again to Forcela di Lago. There were many AV1 hikers on this section, coming from the hut where they had spent the night. However, they were all heading toward Lagazuoi, so my climb to Forcela di Lago was once again a solitary experience.
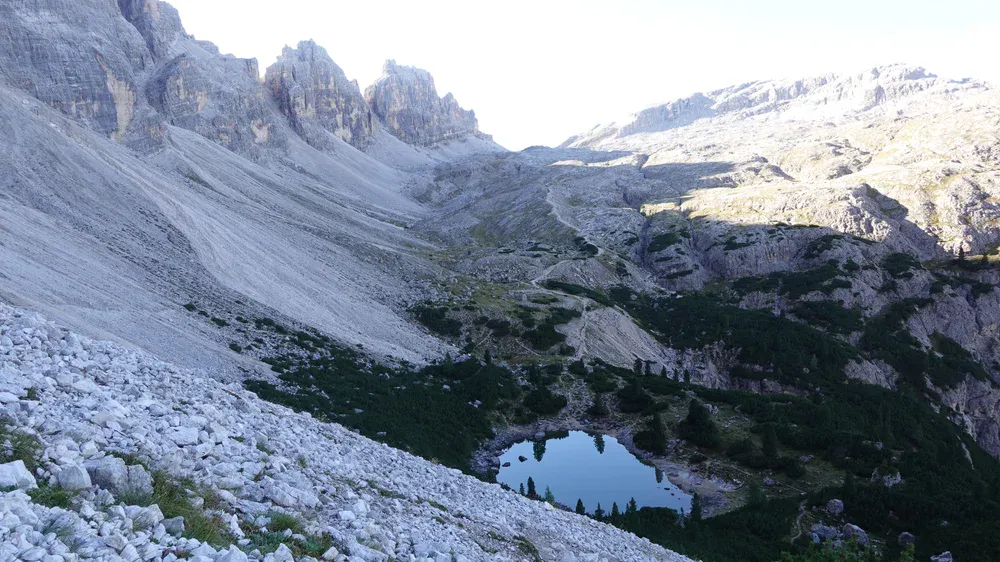
However, after crossing the pass, I encountered huge groups of hikers, all of them on Alta Via 1. I am sure there were hundreds of people in total. I would say that almost half of them were from East Asia.
There were even more people in the Fanes area. This is because many hikers travel by bus to Pederü Hut and then walk toward Alta Badia.
After Marker 9, I was alone again all the way up to the bivouac, dead tired and running late.
At the bivouac, I took a long rest. Two Italian women arrived and then left, and I stayed there for as long as I could, regretting that I had come without any sleeping equipment.
My initial plan was to continue along the ferrata toward Bivacco della Pace, then descend into Travenanzes Valley and walk back to Valparola, making this a great round tour.
I was too tired to tackle the ferrata. I was still considering the alternative of descending to the route junction at 2250 meters and switching to route 17 toward Bivacco della Pace.
But when I descended to the junction and realized how much I would have to climb again before descending into Travenanzes Valley, I understood that this was not possible. I had neither the strength nor enough water.
So I walked back to Fanes and then descended toward Alta Badia, reaching the main road. From there, I took a bus to Passo Valparola. Even with the help of the bus, this was an extraordinarily long and hard day.
I am not complaining. I deliberately chose this route to explore sections I did not know, and I would do it again, but this time as a round tour with an overnight stay in one of the bivouacs. I might still do it. As I write this, I am only 67…
Just to mention one thing: while descending from the bivouac, I met several people who were clearly planning to spend the night in the shelter. I had also noticed several large groups on the summit of Monte del Vallon Bianco, and my guess was that some of them would end up at the bivouac too. So, although the place is remote, it is in an incredible location. Bear this in mind and be prepared for crowds.
I documented the entire hike in my video. Have a look:
Alternative approach
The route described above is the hardest of the three options, but I chose it deliberately.
If you think this is too much for you, consider the approach from Alta Badia, starting at Marker 2. The elevation gain from here is 900 meters, and the route is an uphill walk all the way. Parking is not free. You have more details in the texts about Conturines, Bivacco della Pace, and Lavarela.
If you prefer the third option, starting at Marker 3, the total elevation gain is 1280 meters. You first descend a little from the road, after which the route climbs continuously. Details are in my separate text.
All three routes converge at Junction 9. However, routes 1 and 2 overlap for much of the way, as you can see if you inspect the map closely.
Gear, water & food
For this walk-up route, no technical equipment is required. A reliable pair of hiking boots is perfectly adequate. However, if you plan to continue along the Forcia Rossa ferrata, make sure you have all the necessary ferrata equipment, including a harness, a helmet, and a Y-lanyard.
As usual, I brought trekking poles and used my daypack, along with my usual rain gear: a rain poncho, rain pants, and a rain jacket.
If you plan to stay overnight, bring a suitable sleeping bag and a sleeping pad.
There are streams in Val di Fanes, and if you want to use water from them, bring a portable water filter. There is no water source anywhere near the bivouac.
As for food, there is a supermarket in San Cassiano, and you can also buy some food at Camping Sass Dlacia.
Conclusion
Visiting Bivacco Baccon Barborka was a memorable experience, with spectacular views, a beautiful wooden shelter, and some demanding hiking along the way.
The route from Passo Valparola is much harder than the modest elevation gain suggests, because of the repeated ascents and descents and the long distance involved. If you choose this approach, start early, carry enough water and food, and allow plenty of time. The bivouac itself is simple but comfortable, although you should bring your own sleeping equipment if you plan to spend the night.
There are also two alternative approaches, from Capanna Alpina and Sant Uberto, so you can choose the one that best suits your plans. If you have enough time and energy, combining this visit with Bivacco della Pace could make an excellent overnight tour.
Just remember that this remote location can attract more hikers than you might expect, and the four sleeping places are limited. For me, the combination of wild mountain scenery, the fascinating location, and the challenge of reaching the shelter made this a hike worth doing.
Thank you for reading. Let me know if you have questions or comments; there is a comment section below.
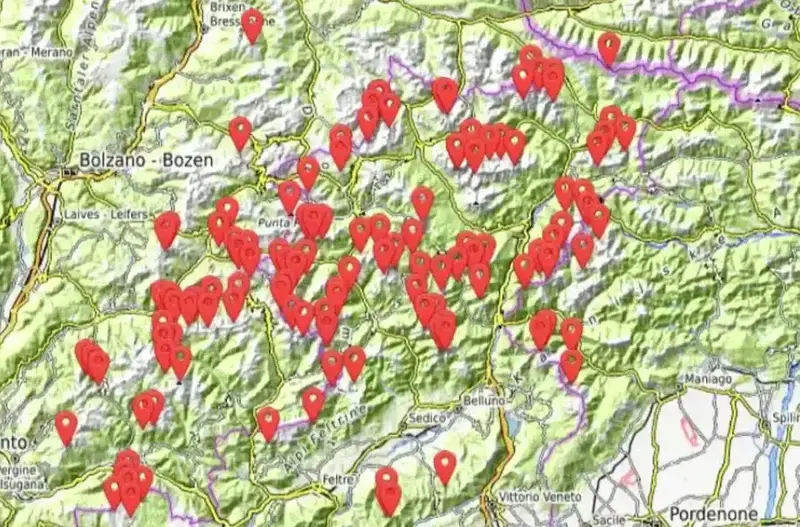
This bivouac, together with more than 140 others, is included in my interactive map available here on the site, see it below. Note that I also have a book titled Dolomites Solo, so have a look if you plan to do some mountaineering tours in the area.
Leave a Reply