The Bivacco Voltolina is one of several classic Berti-type bivouacs in the Marmarole area of the Dolomites, but the approach is the most exciting of them all. It is always open and free to use.
The most convenient access to Bivacco Voltolina is from the main road, SR48, which connects Auronzo di Cadore and Cortina d’Ampezzo. There is a free parking area before the bridge over Ansiei river, and from there, you need around four hours to reach the bivouac. You can also reach the shelter from Alta Via 5, either from Bivacco Musatti or from Rifugio San Marco.
Bivacco Voltolina: quick facts
- Official name: Bivacco Leo e Gino Voltolina.
- Elevation: 2175 m (7136 ft).
- Coordinates: 46.4919769, 12.2559958.
- Location: Marmarole, Dolomites.
- Route type: walk-up with fixed cables.
- Elevation gain from the parking area: 1035 m (3396 ft).
- Parking coordinates: 46.5308050, 12.2824364.
- Time needed to reach the bivouac from the parking area: 4 hours.
- Beds: 9, with mattresses and blankets.
- Water: no.
- Nearest place to buy supplies: Auronzo di Cadore.
- Useful map: Dolomiti di Auronzo e del Comelico, Tabacco 017, 1:25000.
Access roads and map
The interactive map below highlights the following key locations:
- Marker 1: Parking area at the trailhead.
- Marker 2: Section with fixed cables.
- Marker 3: Location of Bivacco Voltolina.
Zoom in to explore the route in detail, or zoom out to see the main access roads leading to the area.
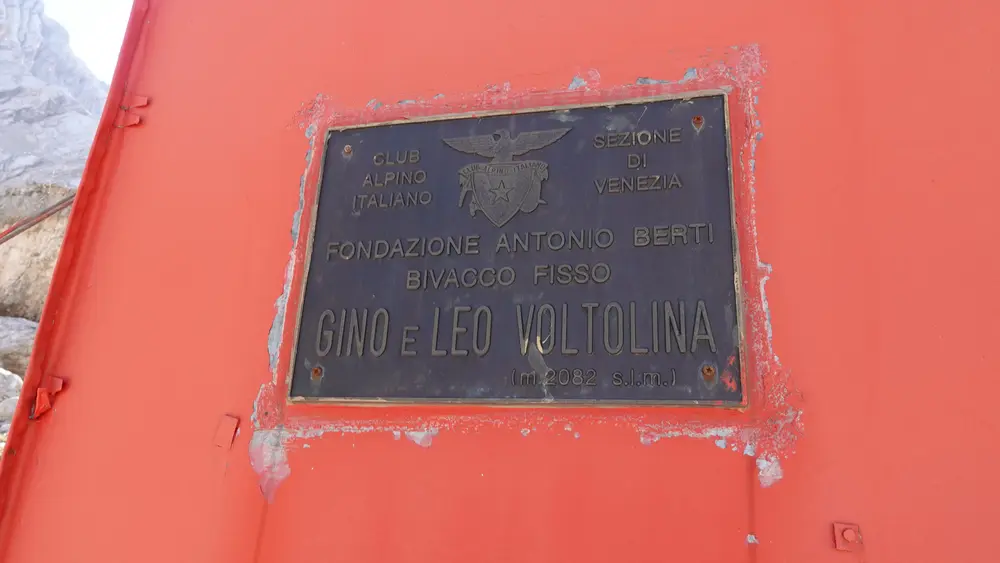
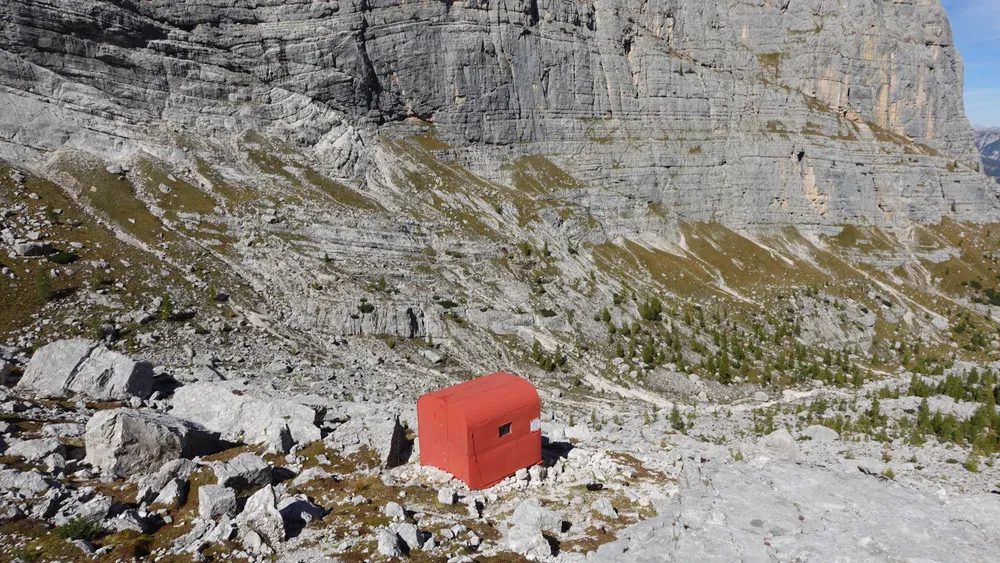
The bivouac is dedicated to the brothers Clodoveo (Leo) and Gino Voltolina. Note that the official website gives its elevation as 2082 m, and the same figure is displayed on the bivouac itself, as you can see in the photo. However, if you inspect the map, you will see that the elevation is considerably higher, at around 2175 meters.
The bivouac is in an area shown on maps as Val di Mezzo, a large, high-altitude cirque surrounded by impressive peaks: Cima Bel Prà (2917 m), Cime Scotter (2716 m), Cima Bastioni (2926 m), and Corno del Doge (2610 m).
Route description
The parking area is just a few steps from the main road, before the bridge, which is closed to the public. You can see it in the photo below.
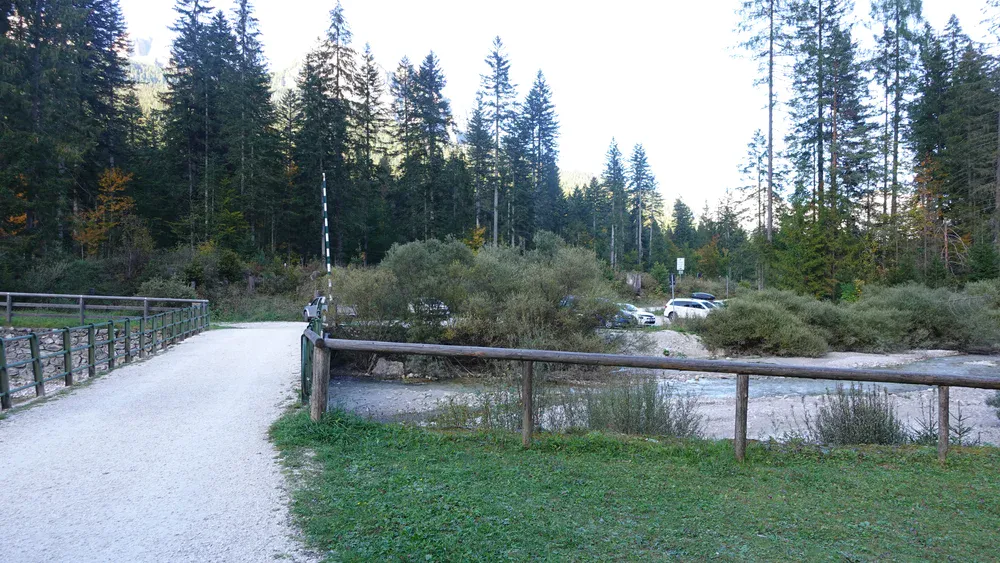
Behind it, there is a picnic area where you can fill your bottles. From there, follow a straight road along a completely flat valley floor. The route number is 226, as shown on the map.
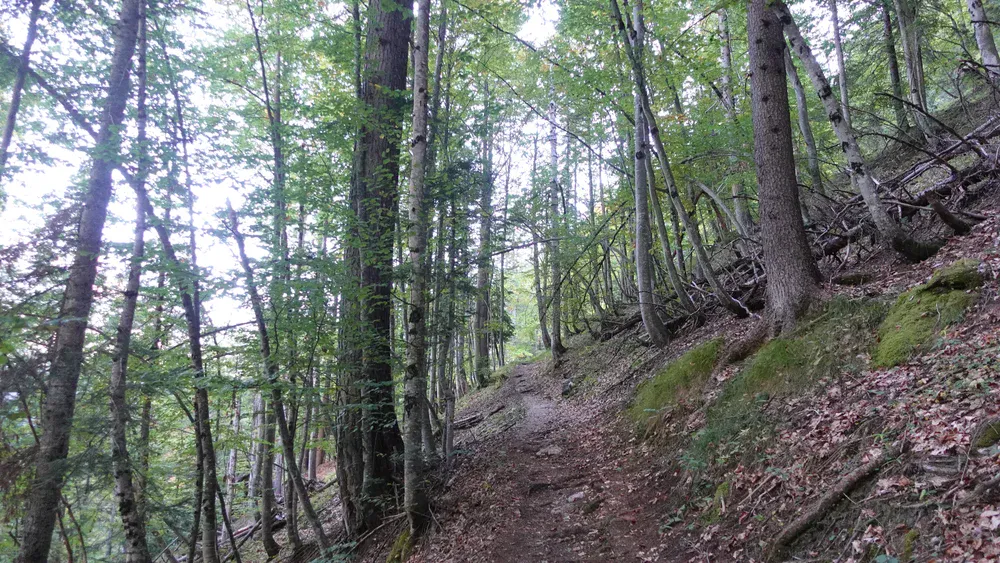
After around 20 minutes, you reach the point where the route splits. One branch, route 227, goes to the right toward Bivacco Comici and Lago Sorapis. You continue to the left on route 226, climbing through a pleasant forest. The path is gentle and follows a series of switchbacks, so it is not difficult at all.
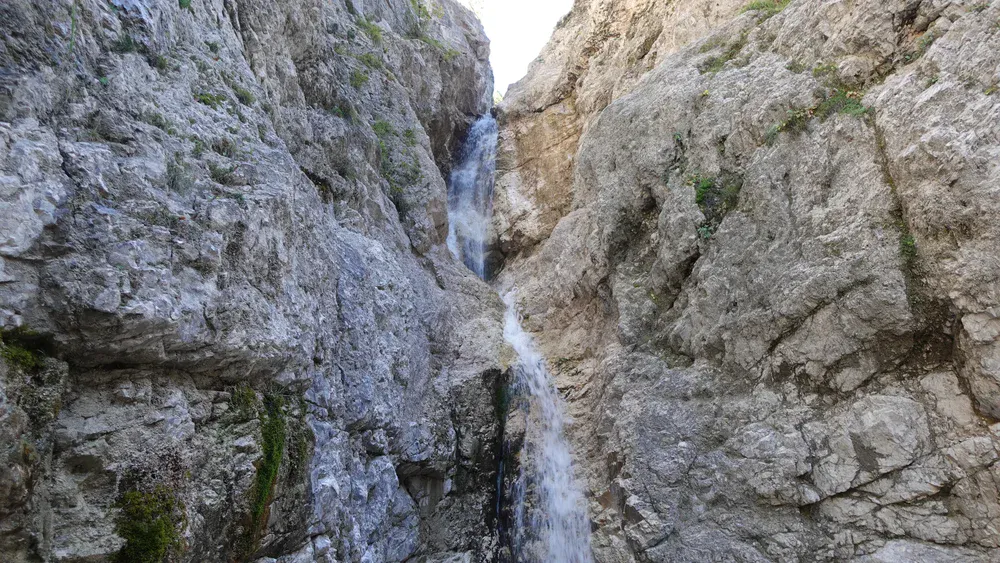
There is a beautiful waterfall along this section, where you can cool off and even take a shower on your way back.
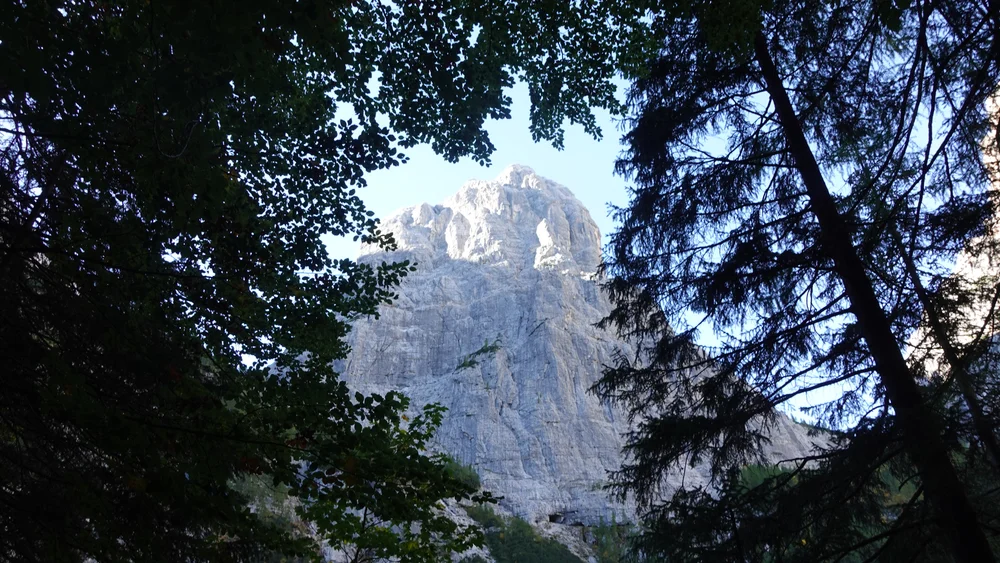
After this steep but easy climb, the path enters a higher valley (Valle di San Vito on the map). The terrain is initially flat, and you can see the rocky slopes of Corno del Doge through the branches.
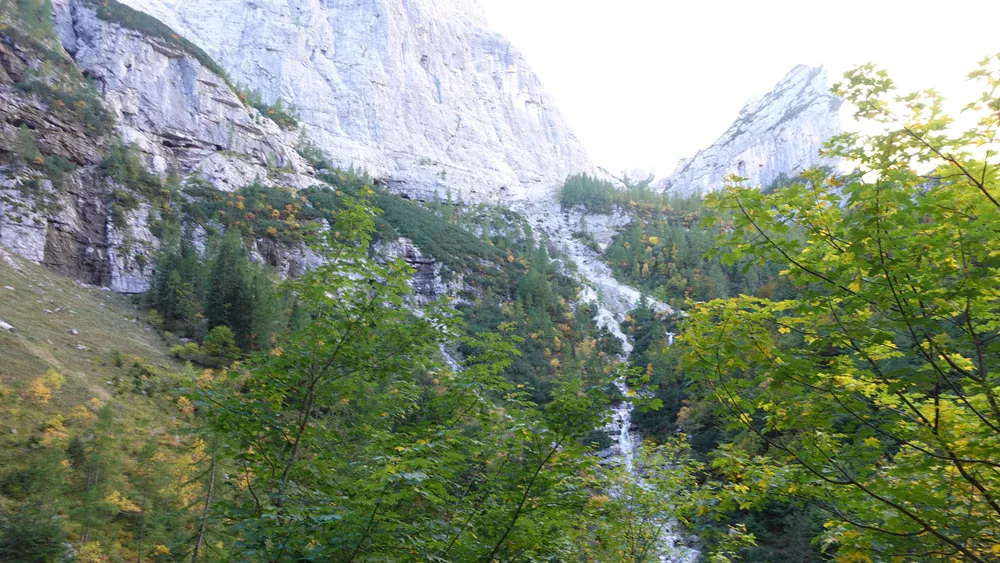
The path makes a loop through this breathtaking valley, one of the most beautiful I have ever seen in the Dolomites. It is enclosed by nearly vertical walls on several sides, with waterfalls and streams all around. The route then climbs parallel to the stream shown in the photo below, remaining on its left side.
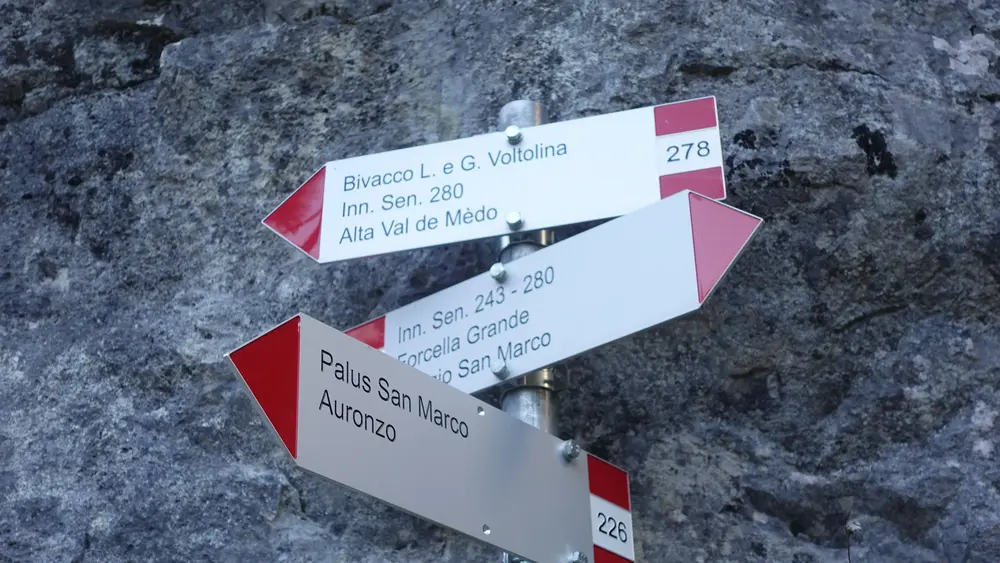
In this area, the route splits again. Follow branch 278 to the left; consult the map again and look at the photo below. Branch 226 continues toward Rifugio San Marco and joins AV5 higher up.
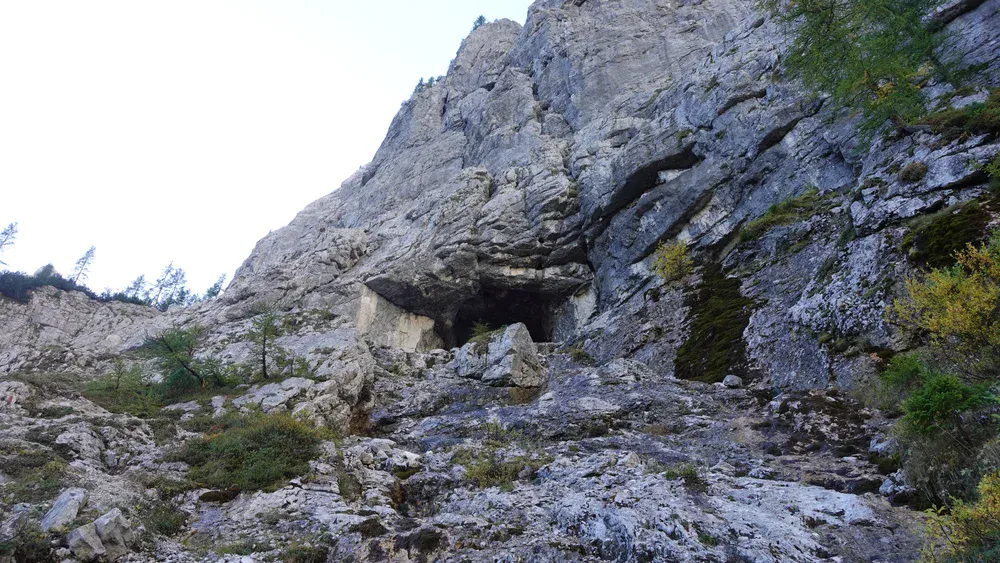
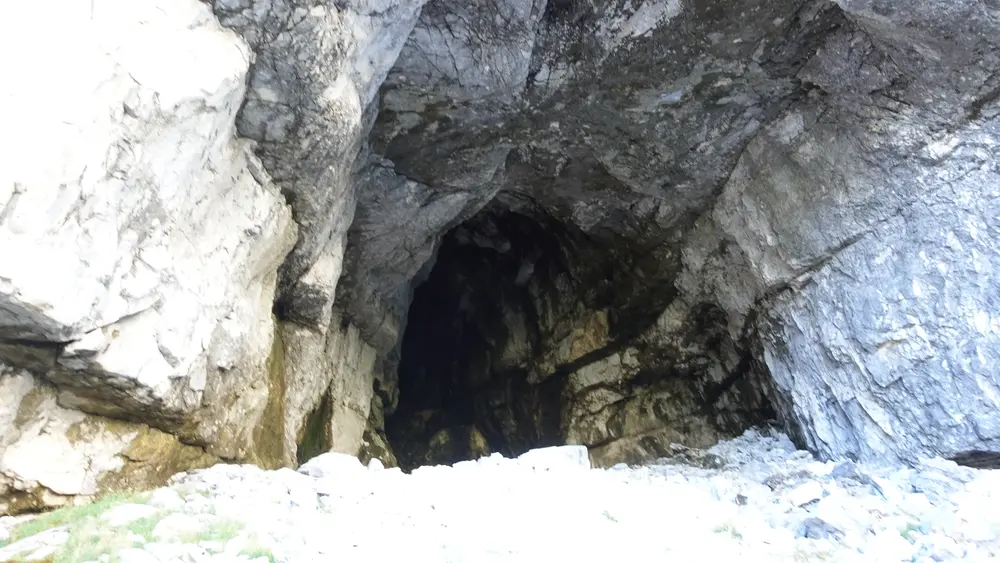
Below, you can see a cave beneath the rock face. The route passes just a few meters below it, and you can easily enter the cave.
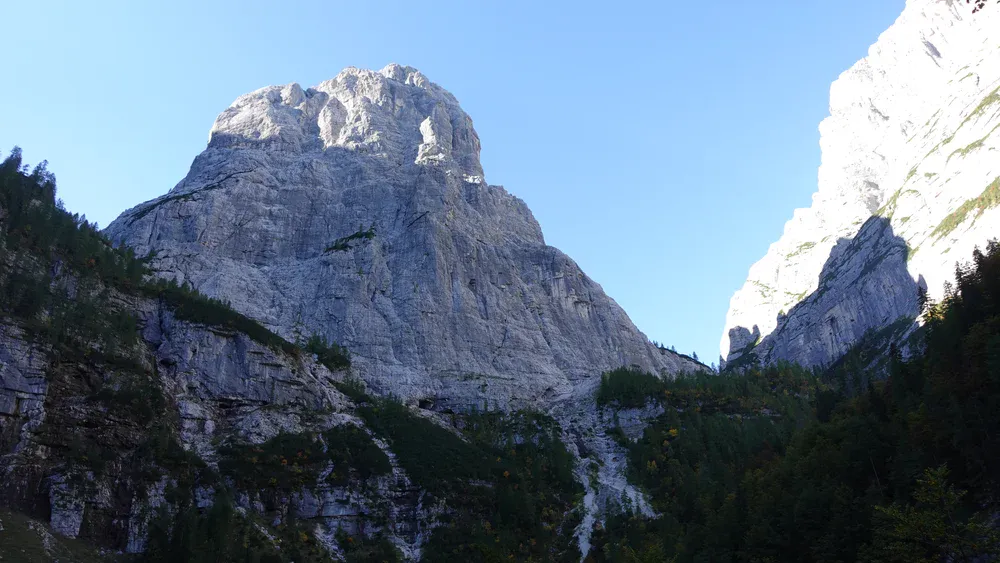
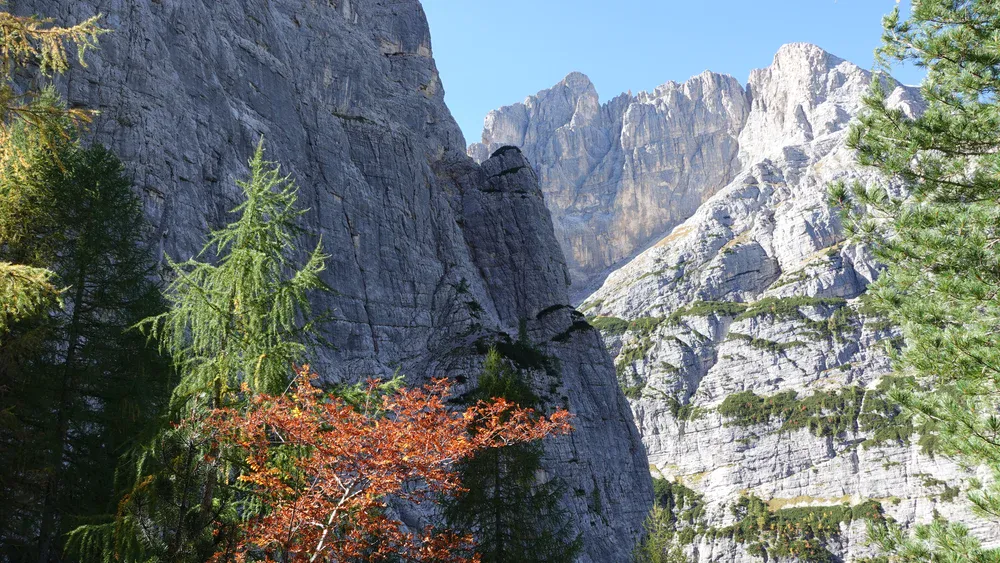
When you get close to the rock face, you realize just how steep it is. Here is a close-up view, with the area around Punta Tre Sorelle (3005 m), part of the Sorapis group, in the background.
The cave looks man-made, but I believe it is natural. A stream flows directly out of it.
Beyond the cave, there is a steep passage with unstable rock and scree. You need to navigate it carefully to avoid dislodging boulders onto the route, which could endanger people in the valley below.
Once you get past this section, you reach a bare rock face equipped with several fixed cables. Without them, passing this section would be practically impossible. You can get through it without via ferrata equipment, but I would advise bringing it with you.
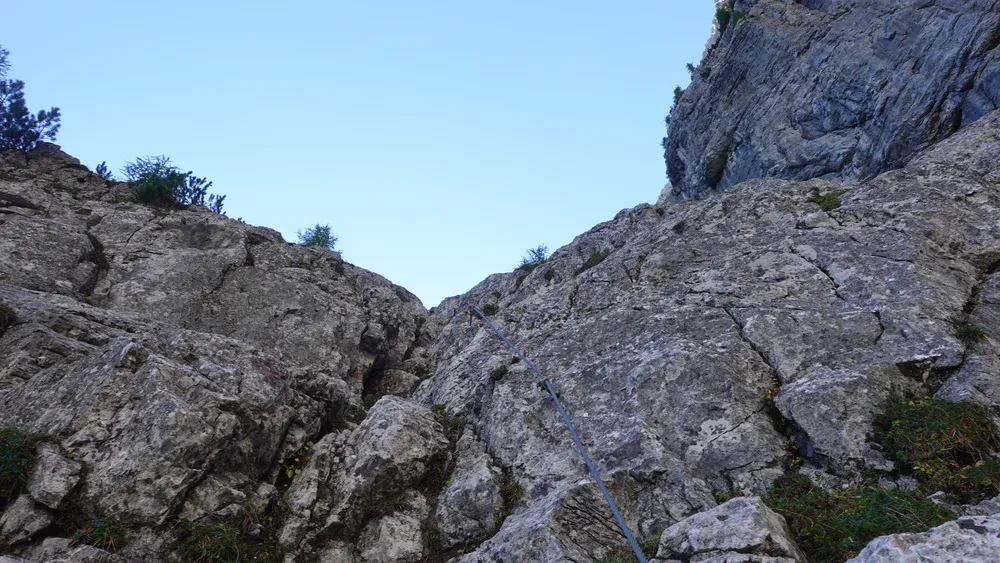
Once you get past this section, you can relax. The rest of the route is an easy walk, first through a patch of low forest and then across rocky but relatively gentle terrain. After a while, you reach the point (1970 m) where Alta Via 5 joins your route from the left:
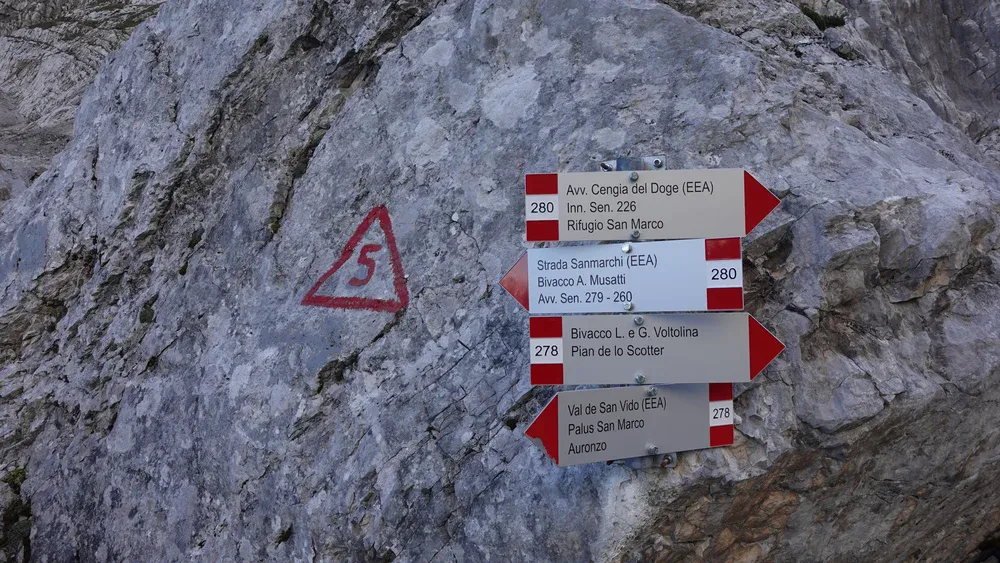
Here, you will see the sign for Bivacco Musatti. Note that it takes at least five hours to get there. This is a high, rugged route with no water sources, so make sure you carry enough water if you decide to go that way.
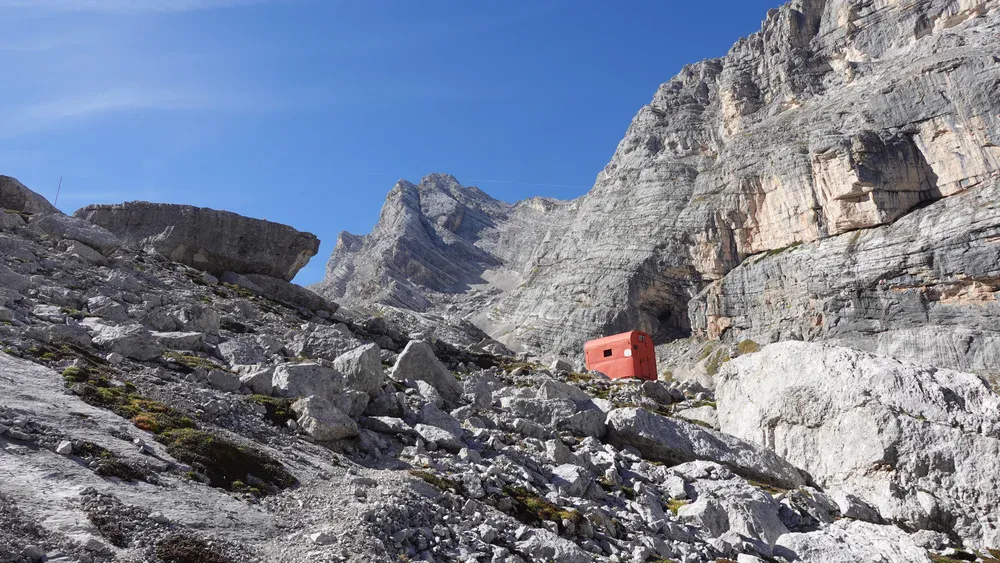
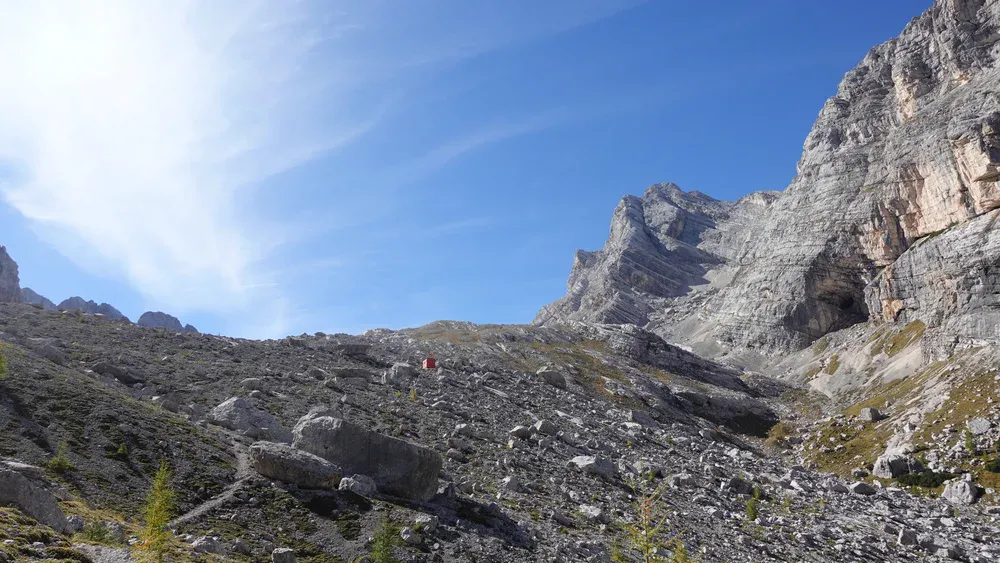
The remaining section is the most pleasant part of the route. You are now in Val di Mezzo, where you can enjoy sunshine if the sky is clear. The bivouac appears as a tiny orange dot high above.
The photo below might help you understand why I felt so happy with what I was experiencing. The beauty of this wide-open area, surrounded by very high peaks, is hard to describe.
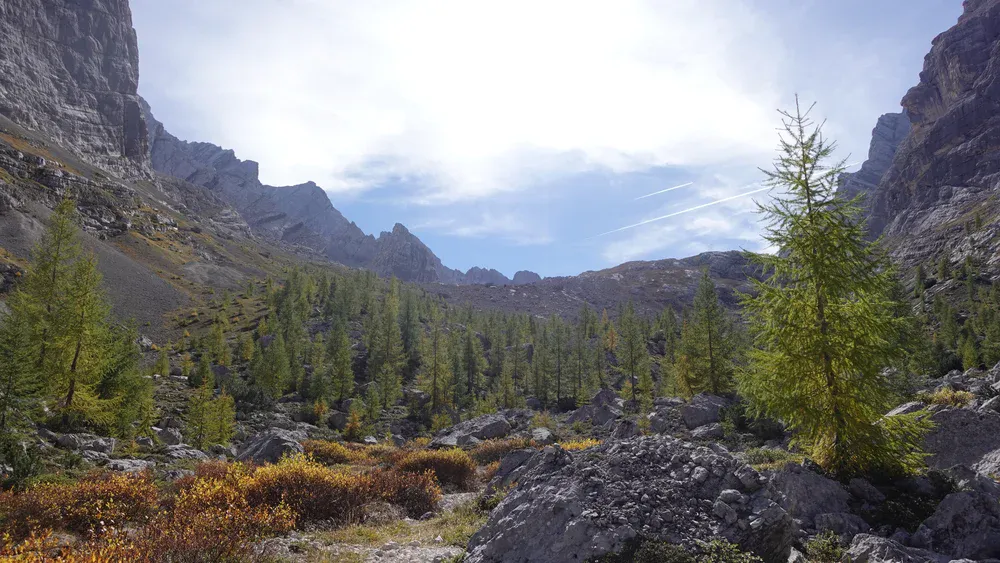
This is in sharp contrast to the valleys you have passed through. Those valleys are cold in the early morning, with the constant noise of flowing streams. Here, there is a complete absence of sound.
You are now on Alta Via 5, but very soon the route splits to the right and crosses a scary, exposed ledge. From what I know, there are cables there, but I did not walk that section. It is known as Cengia di Doge, and it eventually joins route 226, as mentioned above. You can see all these details on the map.
The map shows that the remaining section is also part of AV5. This is simply because trekkers following this route use the shelter as a place to spend the night.
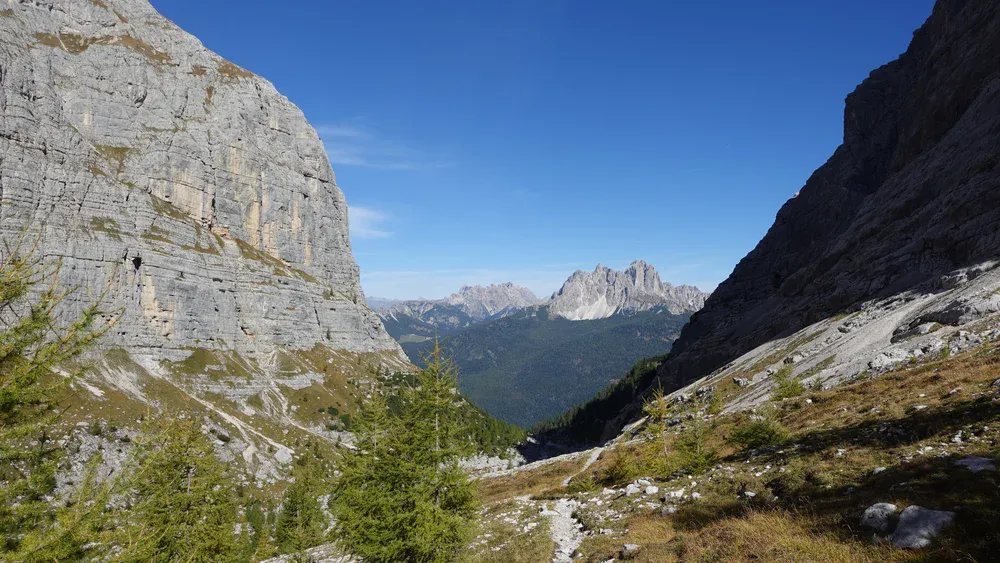
The photo below shows the view back across the main valley, with Cima Cadin (2839 m) in the distance.
When you turn in the opposite direction, this is what you see: the bivouac and its incredible surroundings.
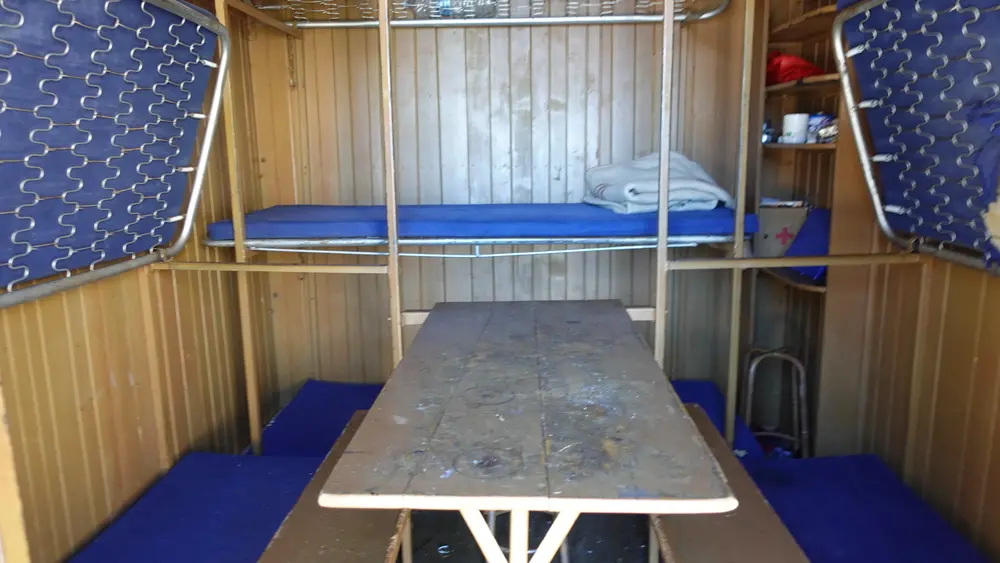
Inside, the bivouac offers the standard amenities: nine beds with mattresses and blankets, along with a small table and two benches. The bivouac is more than 65 years old, and its age is evident. Nevertheless, it remains a reliable shelter if you need to spend the night there.
My tour
I started my hike at 8 a.m. and walked up without meeting anyone. Only halfway along the route did I meet three Italians. I am not sure where they had come from, as I met them below both of the junctions mentioned above.
One of them was wearing a military cap from 1942, and I complimented him on its great design. He explained that he had covered the emblem on the front, which was obviously not appropriate to display because it was a symbol of the military forces of that time.
Later, I entered the cave mentioned above, and I am convinced that it is not man-made. See the photo below. As far as I know, this was not the front line during WWI, but I may be wrong.
I did not have any via ferrata equipment with me. The cable section was manageable even without it, but going without such equipment is generally not a smart idea. If I were to hike the same route again, I would bring it with me.
There was nobody around, and I had the whole area to myself. I took a rest inside the bivouac and then enjoyed looking at the surrounding mountains.
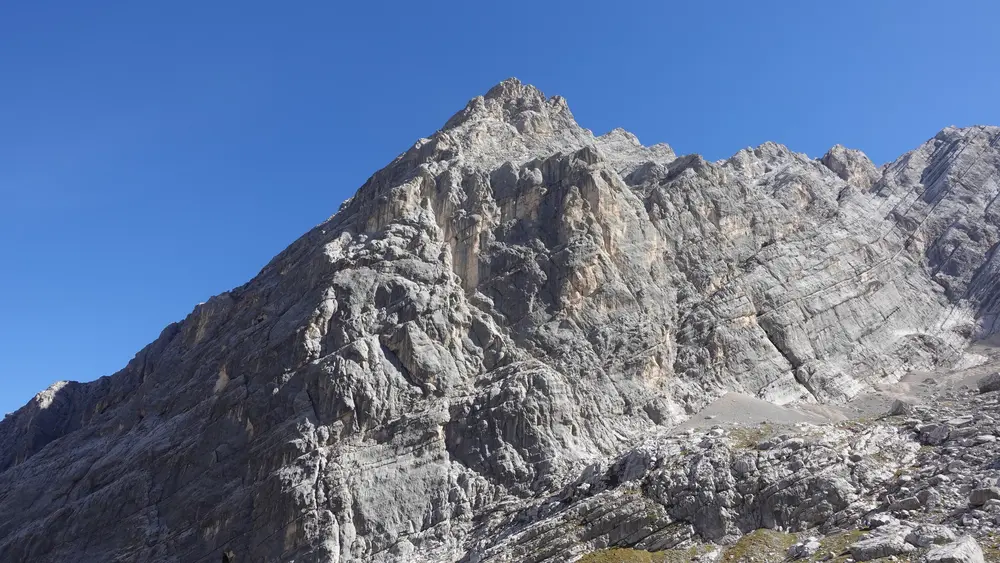
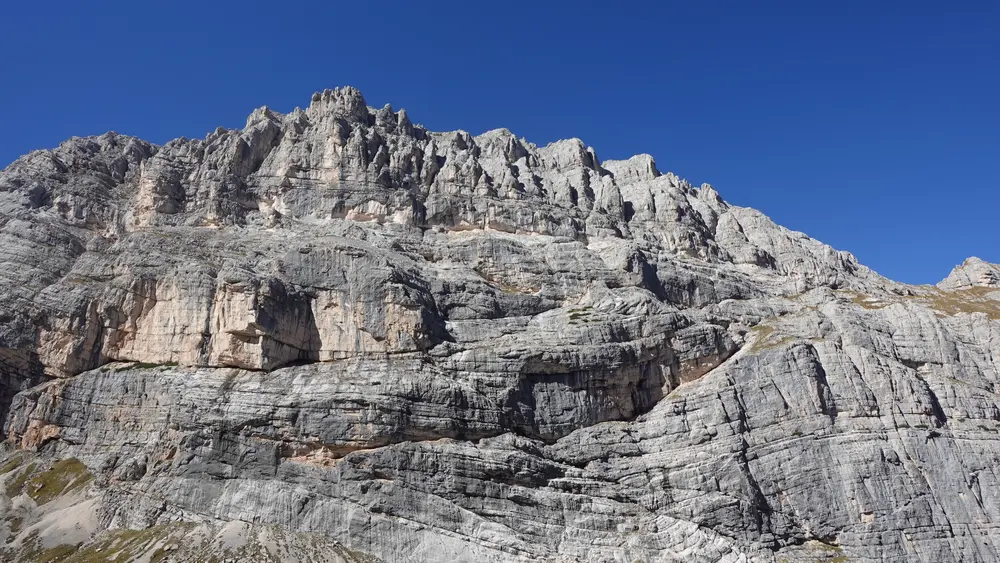
After more than an hour, I noticed a group approaching from below. That was when I decided to descend. I soon met them: ten local Italians, both men and women, all over 50 years old. One was of my age, which is 67. They were all carrying plenty of via ferrata equipment.
They told me they planned to hike Cengia di Doge (Doge Ledge), the very exposed route mentioned above. However, they had already passed the junction leading to it, which is on the westbound section of AV5. So, it seemed that they simply wanted to visit the bivouac first.
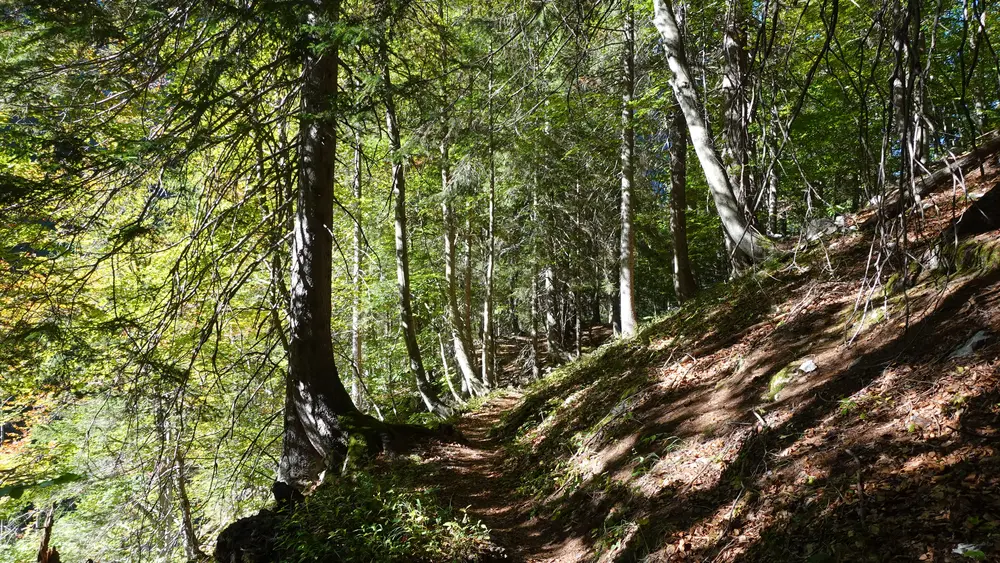
In any case, they continued toward the bivouac, while I descended the same way I had come. The sun was now shining from the west, creating some beautiful moments in those magical valleys. Here is one example:
The route was empty again, and it remained that way all the way back to the parking area, where I arrived tired but very happy.
Here is one more detail from the area near the parking:
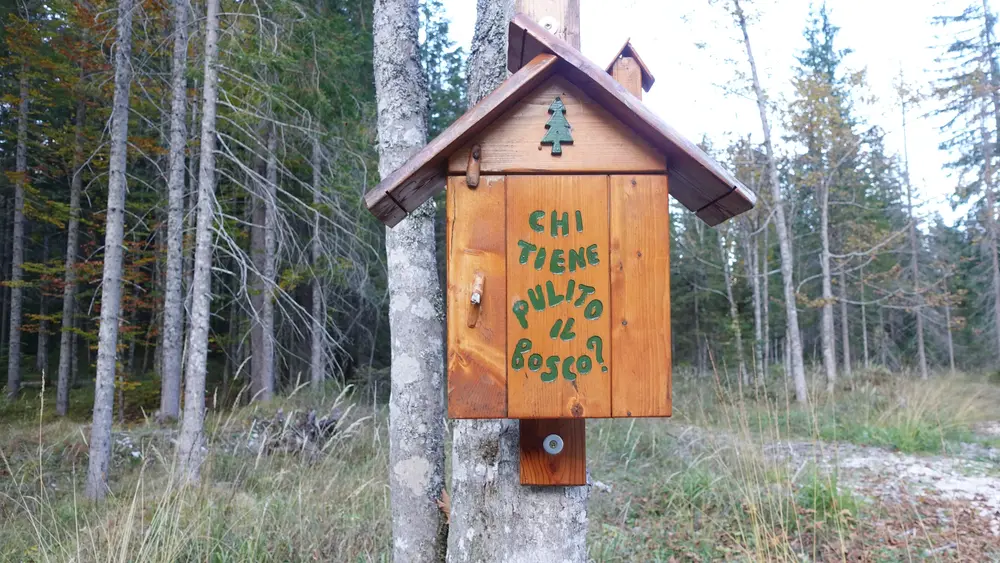
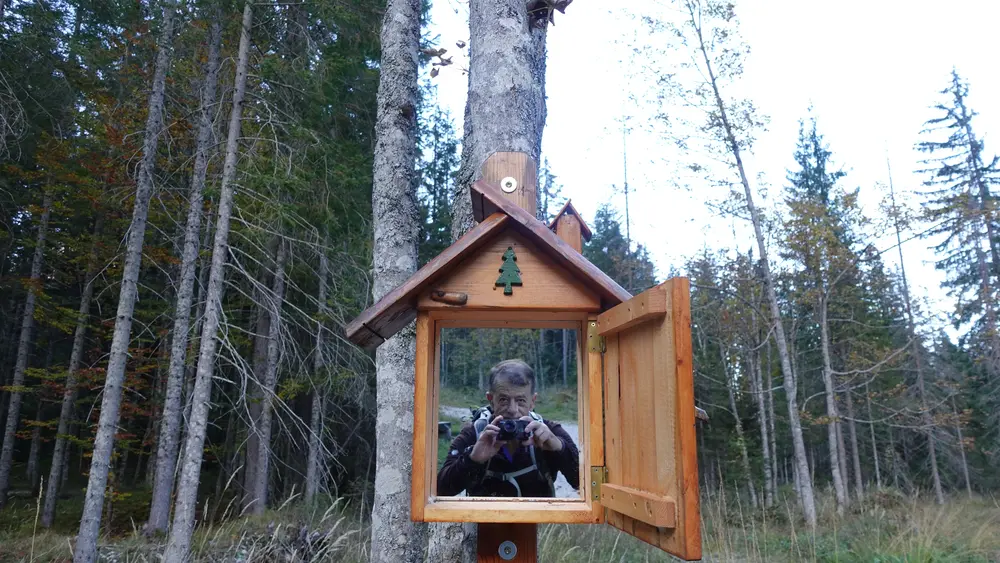
The sentence means “who keeps the forest clean.” When you open it, you find a mirror and see yourself. I really appreciate the spirit of the people who came up with this idea.
I documented the entire hike in my video. Have a look:
Alternative approach
As already mentioned, you can also reach this bivouac from the AV5 route, either from the east (from Bivacco Musatti) or from the west (from Rifugio San Marco).
You can therefore use it as a shelter on a multi-day tour in either direction. Heading east, after Musatti, you can continue to Bivacco Tiziano and Bivacco Toso, and then continue to Bivacco Fanton as well.
Gear, water & food
This is a walk-up route, but there are fixed cables along the way, so it is best to bring a via ferrata set and a climbing helmet.
A reliable pair of hiking boots is perfectly adequate. I brought trekking poles and used my daypack, along with my usual rain gear: a rain poncho, rain pants, and a rain jacket.
If you plan to stay overnight, bring a suitable sleeping bag and a sleeping pad.
There is tap water available near the parking area. There are also streams at several points along the route, so bring a portable water filter. You can refill your bottles along the way and avoid carrying too much water from the start. However, there is no water anywhere near the bivouac.
As for food, make sure you stock up in Auronzo di Cadore or Misurina.
Conclusion
Bivacco Voltolina is one of the most memorable bivouacs I have visited in the Dolomites, not because of its facilities, but because of its incredible setting in the wild and beautiful Val di Mezzo.
The approach takes you through forests, past waterfalls, beneath impressive rock walls, and across a section equipped with fixed cables. The final part is particularly rewarding, with the small orange shelter standing high above a vast, peaceful valley surrounded by towering peaks.
If you enjoy remote mountain places and want to experience a quieter side of the Dolomites, this is a destination worth considering.
However, this is not an ordinary walk-up to a mountain shelter. The route includes steep and exposed terrain, loose rocks, and a section with fixed cables, so good mountain experience, suitable equipment, and careful planning are essential.
Bring enough food and water, and consider carrying via ferrata equipment and a helmet. You can also include Bivacco Voltolina in a longer traverse along Alta Via 5, connecting it with other spectacular bivouacs in the Marmarole Mountains.
Whether you visit for a single-day hike or as part of a multi-day adventure, the scenery and the feeling of solitude make this a special place to discover.
Thank you for reading. Let me know if you have questions or comments; there is a comment section below.
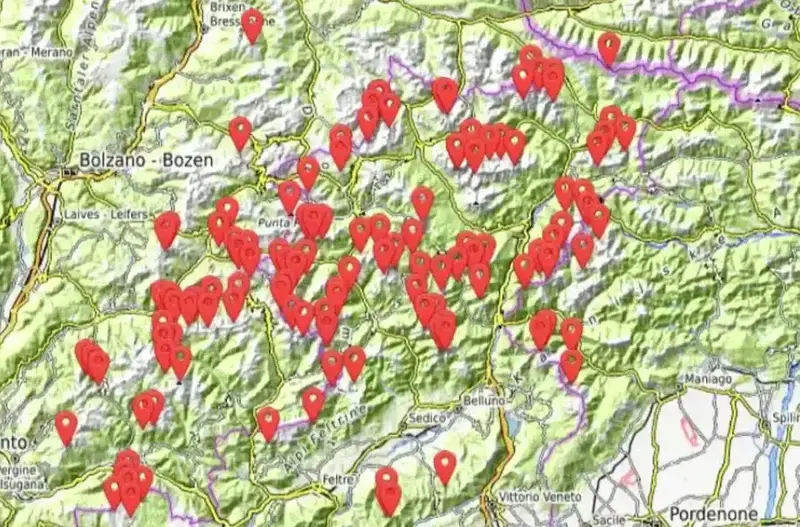
This bivouac, together with more than 150 others, is included in my interactive map available here on the site, see it below. Note that I also have a book titled Dolomites Solo, so have a look if you plan to do some mountaineering tours in the area.
Frequently Asked Questions
How long does it take to reach Bivacco Voltolina?
It takes approximately four hours to reach Bivacco Voltolina from the parking area along SR48, near the bridge. The route gains around 1035 meters in elevation and includes a section with fixed cables.
Is Bivacco Voltolina free to use?
Yes, Bivacco Voltolina is an open mountain shelter that can be used free of charge. It has nine beds with mattresses and blankets, but no water supply.
Do you need via ferrata equipment to reach Bivacco Voltolina?
The fixed-cable section can be negotiated without via ferrata equipment, but carrying a via ferrata set and a climbing helmet is advisable. The route also includes steep terrain and loose rocks, so assess the conditions and your experience before setting out.
Is there water at Bivacco Voltolina?
No, there is no water supply at the bivouac. You can find water near the parking area and streams along the route, but treat natural water appropriately before drinking it.
Can you reach Bivacco Voltolina from Alta Via 5?
Yes. You can reach it from Alta Via 5 both from the east (via Bivacco Musatti) and from the west (via Rifugio San Marco). The shelter is commonly used as an overnight stop on multi-day AV5 traverses.
How many beds are available inside?
There are 9 beds with mattresses and blankets.
Leave a Reply