The Sassolungo is a very prominent group in the Dolomites, with 7 named peaks over 3000 meters, numerous routes for alpinists, and several ferratas. Many huts are on and around the massif.
If you plan to walk the Sassolungo round route, plan for around 7 hours. This is a high-elevation tour, always above 2000 meters, with the highest point at 2300 meters. However, the total elevation difference is small, and the route has no exposed passages. You do not need any special equipment.
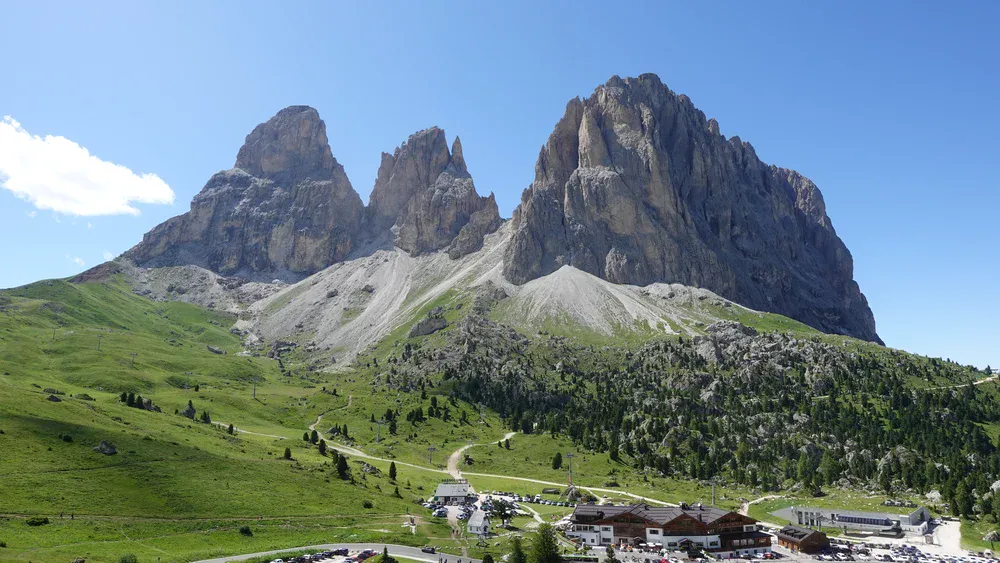
Quick facts
- Route difficulty: walk-up.
- Maximum elevation difference: around 200 m (656 ft).
- Parking coordinates: 46.5080317, 11.7683303.
- Time needed for the tour: 7 hours.
- Nearest place for supplies: Canazei.
- Useful maps:
- Tabacco 05, Val Gardena Alpe di Siusi Groden Seiseralm, 1:25000.
- KOMPASS Wanderkarte 59, Sellagruppe, 1:50000.
Access roads and map
Some of the most important points on the route are presented in the interactive and zoomable map below. It shows the following:
- Marker 1: Parking at the highest point on Passo Sella.
- Marker 2: Rifugio Emilio Comici.
- Marker 3: Rifugio Sasso Piatto (Plattkofelhutte).
- Marker 4: Rifugio Sandro Pertini.
If you zoom in, you can see many details regarding the route and numerous huts. Zoom out to see the access roads to the area.
Route description
Going clockwise or anti-clockwise?
This is a round tour, so you can start it anywhere, and you will have to decide which way to go. Here are a few details you should know before deciding.
1. There are many huts on the route (though I show only three with the markers), but only one is on the north side of the mountain group, and this is Rifugio Comici shown in the photo below.
If you start from Sella Pass, the hut is very close to it, which means it is basically not very important early in the tour. So when you start fresh in the morning, you will likely not need to take a rest there, and you can walk the larger part of the route before you get tired or hungry.
2. The weather is usually more stable in the morning than in the afternoon, so it is better to be in the area with more shelters in the afternoon.
3. The south side is more exposed to the sun. On the north side you have passages through the forest. So if it is a very warm day, and you want to reduce sun exposure, perhaps you might want to walk the south side first. This would mean walking the route clockwise.
But I walked it anti-clockwise, just to know.
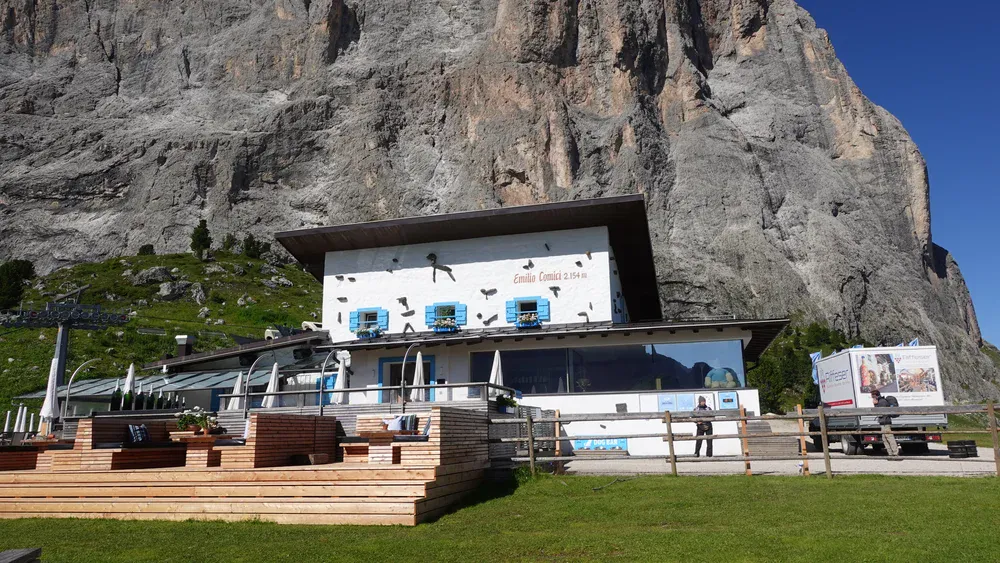
In any case, there are many places at the pass where you can leave the car, but the only free areas are around the Hotel Maria Flora at the highest point of the pass. Make sure you come early because there are not many free options there.
Regarding the elevation at the Sella Pass parking, there are many different numbers you can find around, so it is far from clear. In my linked text I give 2218 m (7277 ft), but the map above shows 2240 m, and the same number is on the hotel, so go figure.
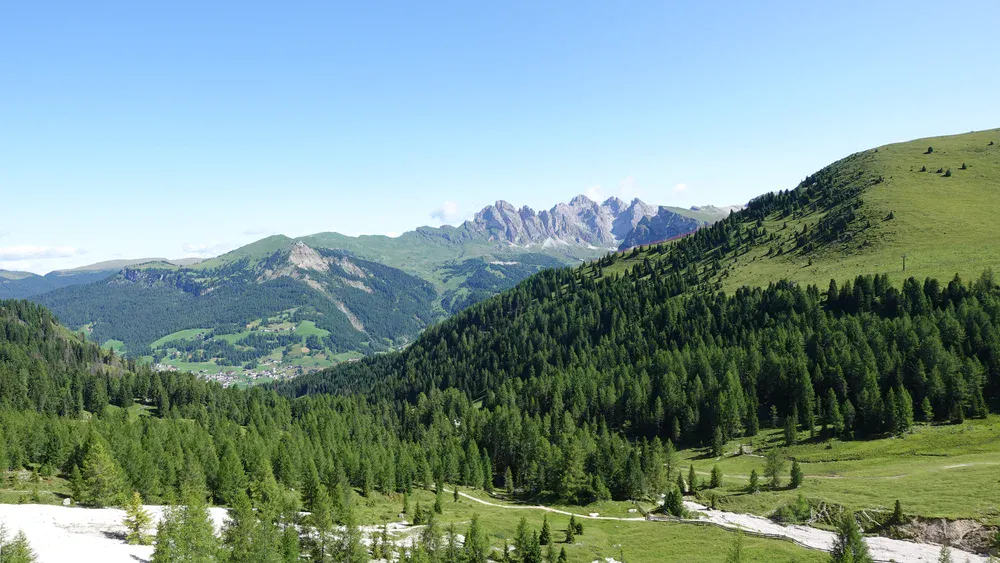
So you descend from the free parking area in the direction of the lift stations below, and then continue north in the direction of Comici hut. Seceda and Sas Rigais are in view all the time:
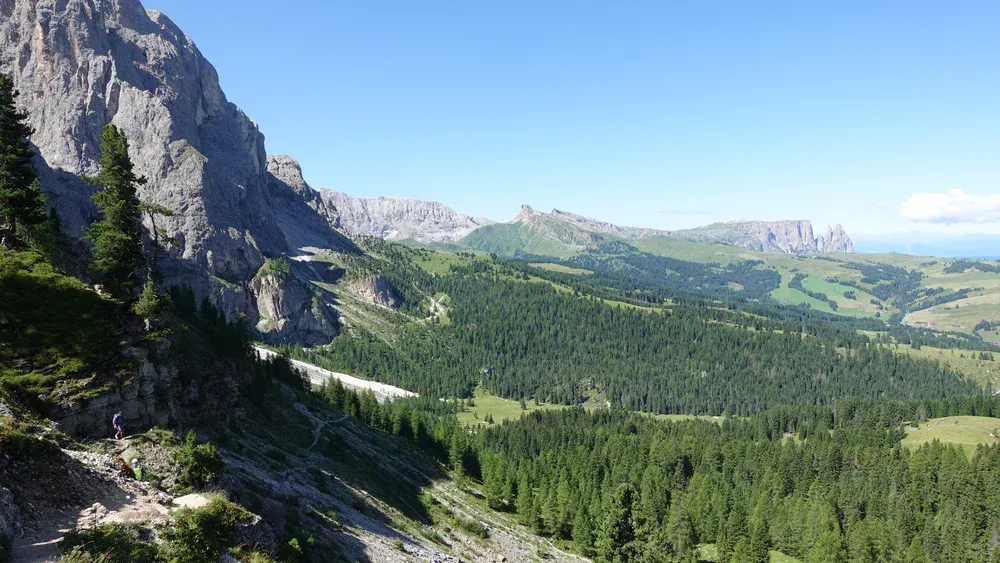
After Comici hut, this is a beautiful walk below the cliffs and at the edge of the forest, with some easy ups and downs, but without any shelters. See how it looks:
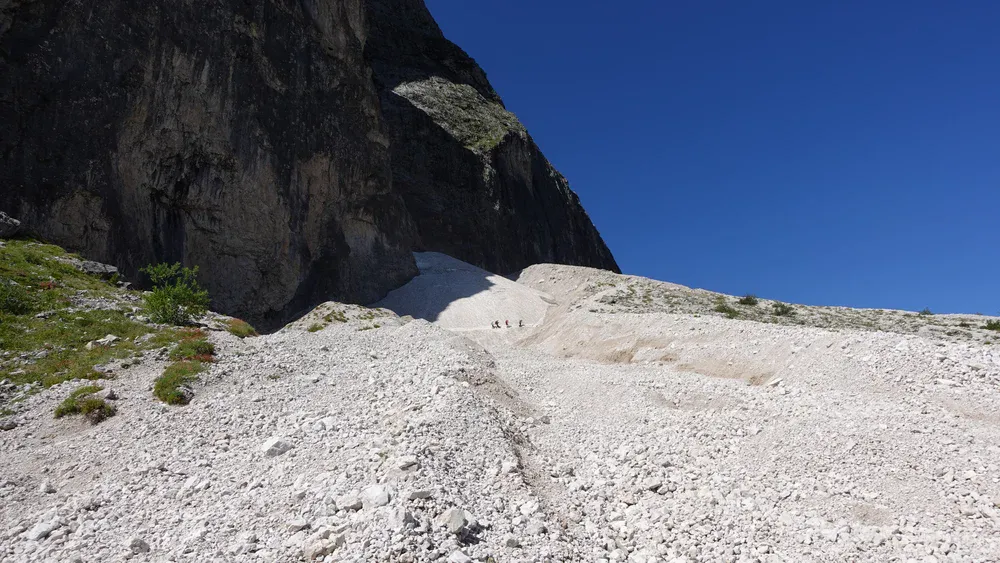
If you inspect the map given above, you will realize that there is another route that goes higher, directly under the cliffs. The photo below shows why it is not good to go that way early in the season. This was mid-July, but there were still passages with snow, and I saw people struggling there.
After around two and a half hours, you will reach the point where the route to Rifugio Vicenza (Langkoffelhutte) splits to the left.
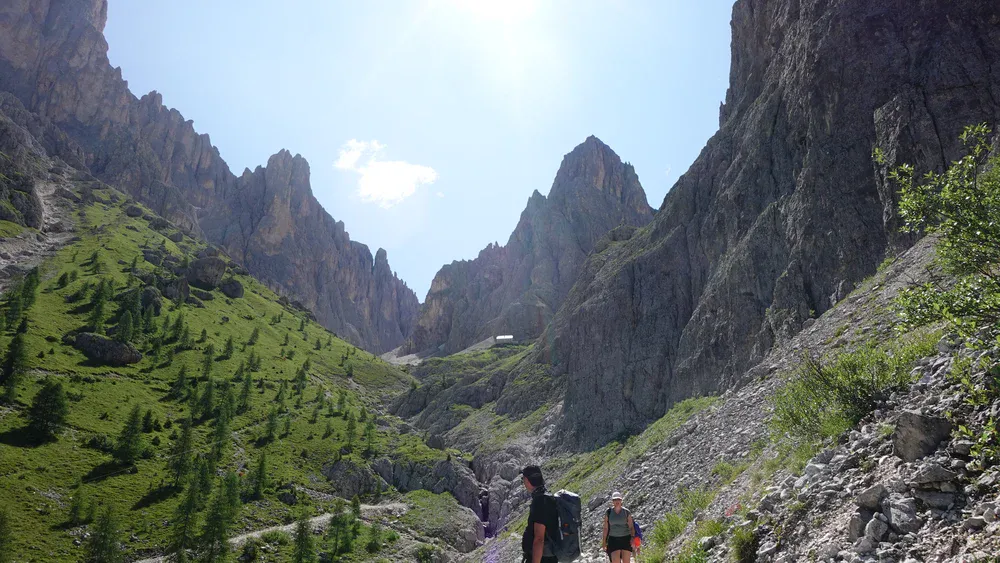
This is on the opposite side of the mountain group relative to Passo Sella, and the elevation is around 2050 meters. So here you have the option to walk up and cross the mountain group through the middle. This route also goes to Tony Demetz hut and then back to Passo Sella.
But if you plan to continue the full round tour, the remaining part will be a slightly harder walk up. You have to climb to an elevation of 2300 meters here.
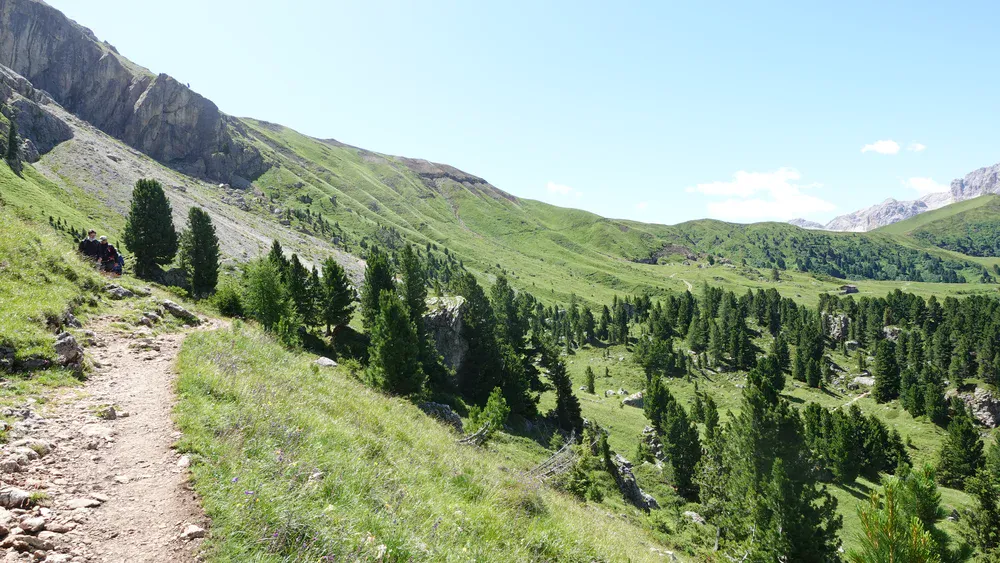
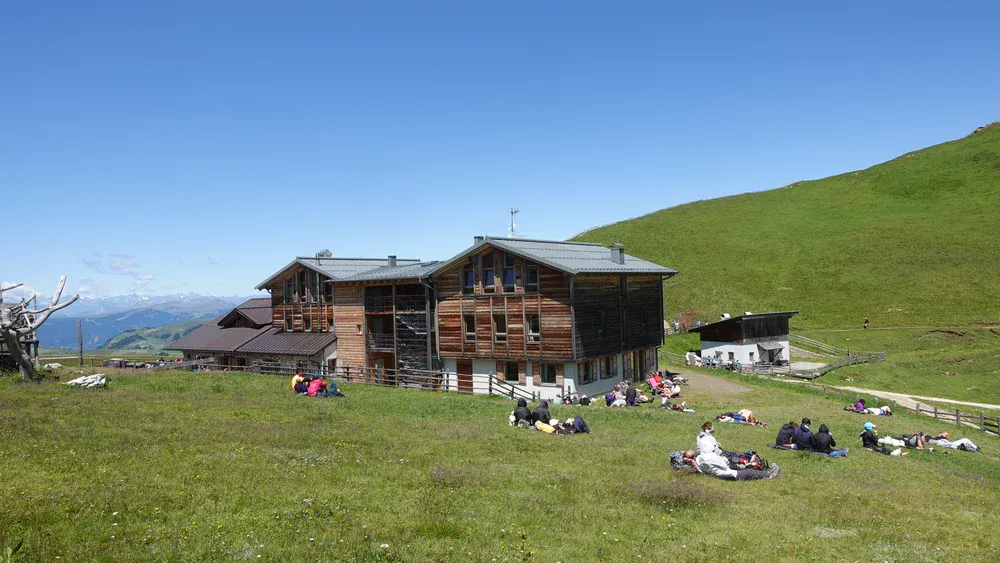
After this you will have the beautiful Rifugio Sasso Piatto in front of you. This is the highest point on the whole route and the place where you can have your well-deserved rest.
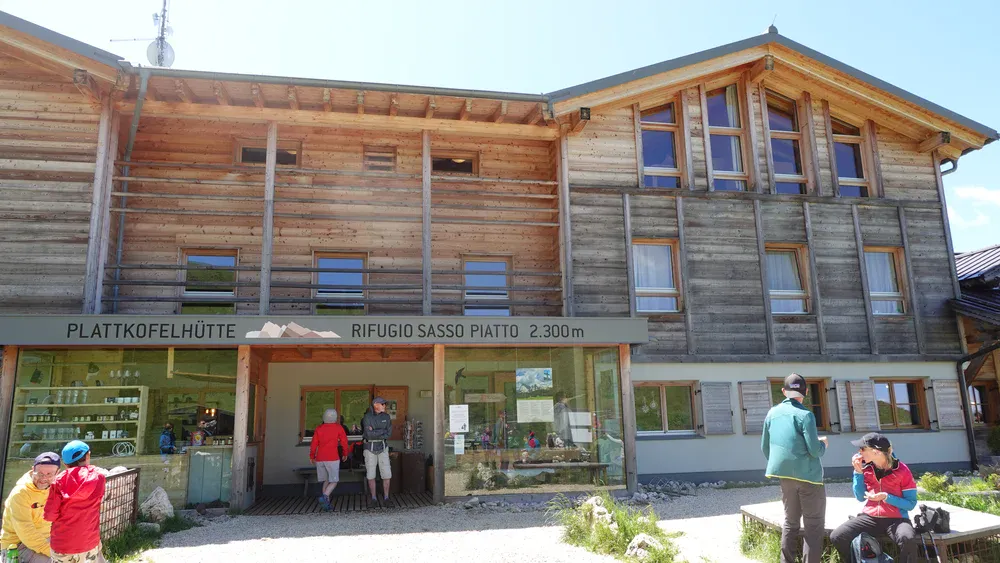
The hut is on a pleasant grassy plateau, and you can see from the photo below that many people decide to spend time here enjoying the day.
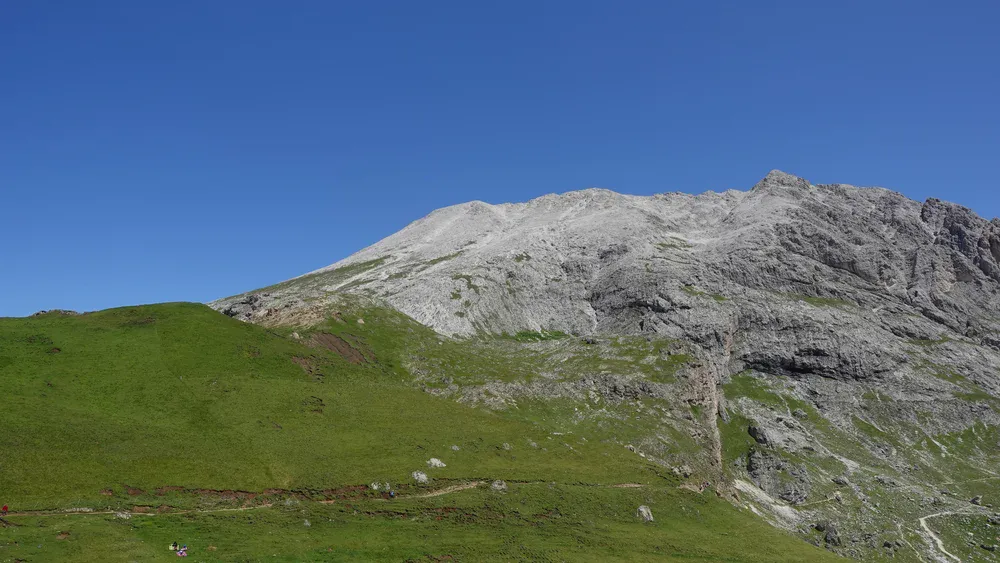
You should know that the remaining part of the route is easier. So if you still have stamina, you can climb Sasso Piatto (2958 m, 9705 ft), which is directly above. It is a walk-up climb and you do not need any extra equipment; the route is marked and easy to follow.
There are no exposed passages of any kind. The climb looks simple, but bear in mind that you will need more than two hours to reach the summit from the hut.
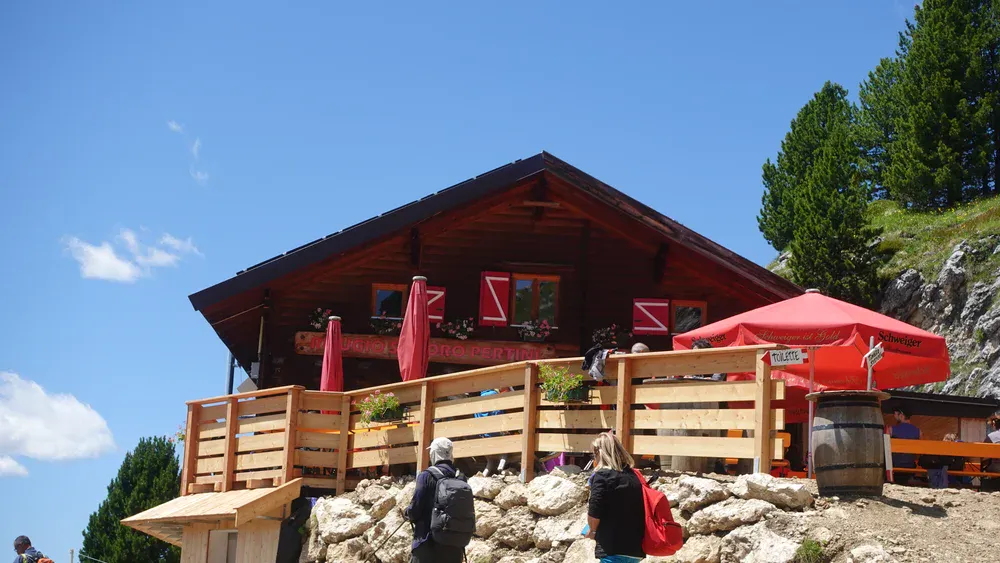
When you continue the round tour, you will find many huts along the remaining part. Rifugio Pertini shown below appears to be one of the most popular places here.
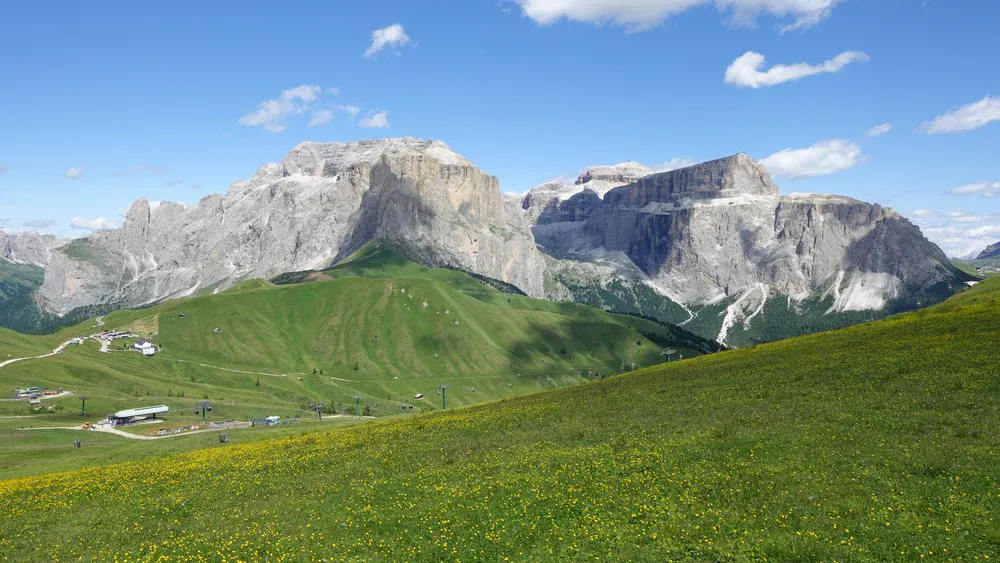
There are several more restaurants and huts before you get back to Sella Pass. All the time the beautiful Sella group is in sight, while the walls of the Sassolungo group are on the left side above you.
My tour
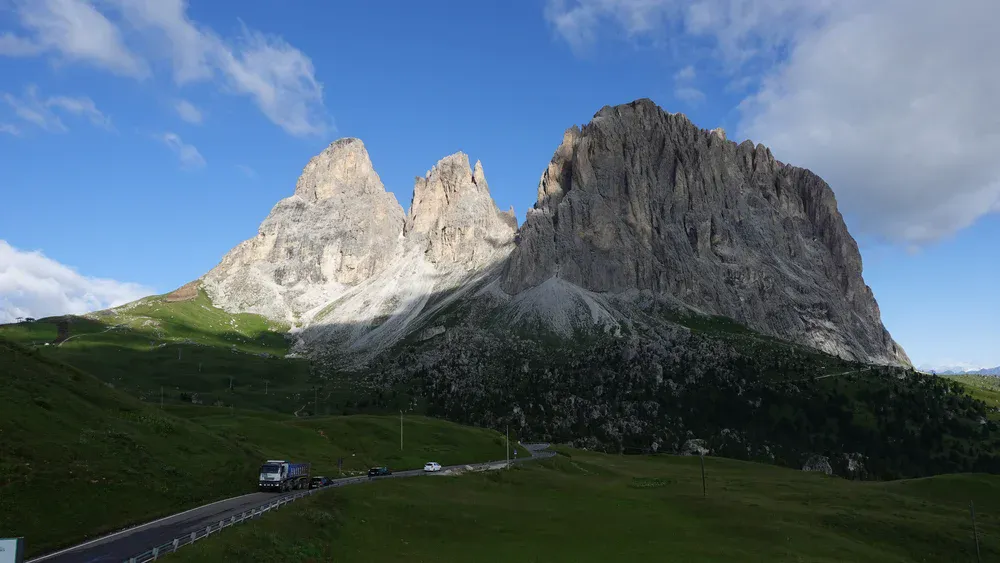
I started from the highest point on Sella Pass at around 8:30 in the morning, and the photo below shows the area as I was descending down the road to switch to the route that goes to the right around the massif.
The weather was perfect, and I was at Comici hut at 10 am. I continued walking without resting. Initially there were few people around, but this was changing quickly, and on narrow paths it was becoming annoying to pass large groups of people who were walking slowly.
At 11 am I was at the point where the route to Rifugio Vicenza splits to the left, and at 12:10 I was at Rifugio Sasso Piatto where I had a very long rest. The area was indeed crowded, but this is normal for such a beautiful place and with such great weather.
After that I continued east in the direction of Sella Pass. It took me around 7 hours of normal walking without pushing hard; I simply enjoyed the day.
All the tour is presented in my video; please have a look:
Gear, water & food
For this tour you do not need any special equipment; standard hiking boots or shoes are sufficient. I used Nortiv 8 boots, trekking poles, and my Mammut Lithium 40 backpack.
As usual, I carried a rain poncho, rain pants, and a rain jacket. If you do not have a jacket and are unsure what to choose, consider the Mammut Crater Pro HS.
There is no water on the route, so carry what you need or rely on the huts and restaurants.
Conclusion
The Sassolungo round tour is one of the most pleasant high-altitude walks in the Dolomites. The route stays high the whole time, yet the elevation difference is small, so it is suitable for any reasonably fit hiker.
With excellent views in all directions, numerous huts along the way, and good trails throughout, it is a tour that combines comfort with spectacular scenery.
Another advantage of this route is its flexibility. You can shorten the day by crossing the massif in the middle, or extend it by climbing Sasso Piatto from the hut above. Because of the many huts and restaurants along the southern part of the route, it is also a good option if the weather becomes unstable later in the day.
Overall, this is a highly recommended tour if you want a full-day walk in the Dolomites without technical difficulties.
Just start early, choose your direction wisely, and take enough time to enjoy the landscape around one of the most impressive mountain groups in the region.
Thank you for reading. Let me know if you have questions or comments; there is a comment section below.
Note that I also have a book titled Dolomites Solo, so have a look if you plan to do some mountaineering tours in the area.
Please join us at our Facebook group Dolomites Visitors Hub.
FAQ
How difficult is the Sassolungo round hike?
The Sassolungo circuit is considered an easy to moderate high altitude walk. The route stays mostly between 2000 and 2300 meters and the total elevation gain is relatively small for a full day tour.
Trails are wide and well marked and there are no exposed passages or ferrata sections. The main challenge is the length of the walk and the altitude, so basic fitness and proper hiking footwear are recommended.
When is the best time to hike around Sassolungo?
The best period is from late June until early October when most huts are open and the trails are usually free of snow. Early in the season there can still be snow on higher variants of the route, especially on the north side below the cliffs.
July and September are often the most stable months for weather. In August the area can be crowded because this is one of the most popular walking tours in the Dolomites.
Are there many huts on the Sassolungo circuit?
Yes, this is one of the most hut rich tours in the Dolomites. Along the route you will pass several mountain huts and restaurants including Rifugio Emilio Comici, Rifugio Sasso Piatto, and Rifugio Sandro Pertini.
These places usually serve food and drinks during the summer season and offer excellent views of the surrounding peaks. Because of this you do not need to carry large amounts of food, though it is still wise to bring enough water.
Can beginners hike the Sassolungo round route?
Beginners who are comfortable walking for several hours can complete the tour without problems. The trail network around Sassolungo is well maintained and clearly marked, and the route never requires technical climbing skills.
However the tour is long and entirely above 2000 meters, so it is best suited for hikers with some experience in mountain terrain and good physical condition.
Leave a Reply